Monday, July 30, 2012

Purse Palooza - Mabel Bag

I share this review of the Mabel Bag last month for Sara's Purse Palooza over at Sew Sweetness & thought I'd post it here too in case you missed it.  Enjoy!


***********************


I'm so excited to be sharing the Mabel Messenger from Jenna Lou Designs with you today!  I'd say this is probably one of my favorite bag patterns.


100_1022


Fabric & Interfacing - The pattern calls for medium to heavy weight fabric, medium weight fusible interfacing (the pattern recommends Pellon Decor Bond), & heavy interfacing (the pattern recommends Pellon Peltex).  All three times I've made this bag I've used quilting weight cotton & have been happy with the weight of the bag, but using a decor weight for the exterior would definitely add some extra weight to the bag.  I used a medium weight fusible interfacing, although it was lighter & more flexible than Decor Bond, and Pellon Peltex.  I always like to add interfacing to my lining pieces, even though it's not called for in the pattern.  I like the extra weight it adds, and keeps the turning hole from getting stretched out during turning.  


In addition to fabric & interfacing, you'll also need strap hardware, a zipper, and a magnetic snap.  


Pattern pieces - The pattern includes only three pattern pieces, two of which are taped together for the main body piece.  All other pieces (zip pocket & strap) are cut by dimensions straight from the fabric.  


When I made my version with the straight top (more on that later), I just traced the body piece onto freezer paper.


Illustrations/instructions - The instructions for this bag are fairly short (only 4 pages, including photos & cutting instructions), but thorough.  There are a lot of great color pictures for each step.  


The only part I had difficulties with the first time I made this was the zipper pocket.  It was my first time attempting a zipper pocket, and I just couldn't wrap my head around it.  I ended up not adding the pocket since I was pinched for time & didn't have enough fabric to re-cut my lining if I messed up.  The next time I made the bag, I ended up using this tutorial for the zipper pocket (also found in The Bag Making Bible) & it's my go-to method now.  Reading back over the instructions now, they make more sense, but I think I still like the other method a little better.


I also prefer the double-fold bias tape method of making the strap (although not cut on the bias) rather than the method in the pattern (folding the edges in 1/2", then folding in half).  I like the added strength of having the strap 4 layers thick through the full width.


Modifications - This bag is great as it's written, but it's also perfect for tweaking to fit your needs.  Each time I've made it, I've done things a little differently.  I just love the versatility!


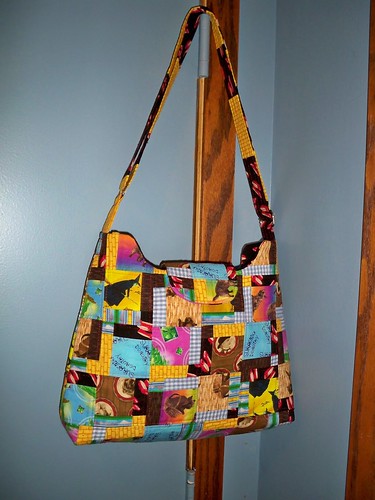
The first time I made it, I followed the pattern pretty exactly, other than skipping the interior zipper pocket.  This was one of the earlier bags I made, and I had a tough time sewing the curve at the top of the bag because the stiffness of the Peltex interfacing.  


Mabel bag


I wasn't able to topstitch the top of the bag once I had it together (the pattern skips this step), something I always try to do to finish a bag.  You can see here how the lining doesn't sit very nice at the top because of this.


100_1024


I also added a key clip for keys or a little pouch I made to go along with it. 


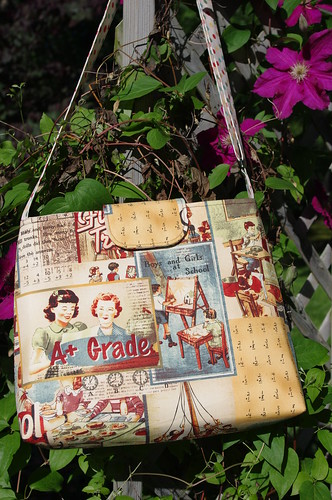
Because of the troubles I had with the curve the first time, I skipped the curve & made the top straight across on the second bag I made.  I also added the interior zippered pocket on this one.  I really like how it turned out, but it's definitely missing something with the straight top.  The curved top is definitely one of the things I love most about this bag. 


Modified Mabel bag


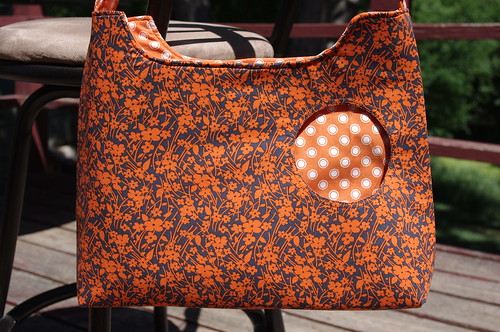
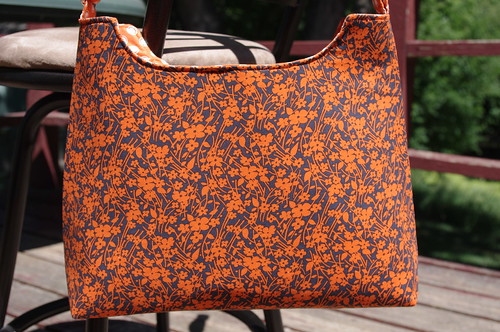
The most recent bag I finished up, I decided to tackle the curve again, hoping it might be a little easier now that I'm a bit more experienced.  I was right, the curve was definitely easier this time, although still difficult to maneuver due to the stiffness of the Peltex.  I was able to topstitch at the end this time, which I think really finishes the bag.  Just make sure you really take your time if you're going to try.  I also skipped the flap this time; I was going to put the magnetic snap on the inside, but decided to skip it altogether.  I wish now that I had added the snap, but I'll live without it.  


Front
IMGP0816

Back
IMGP0819


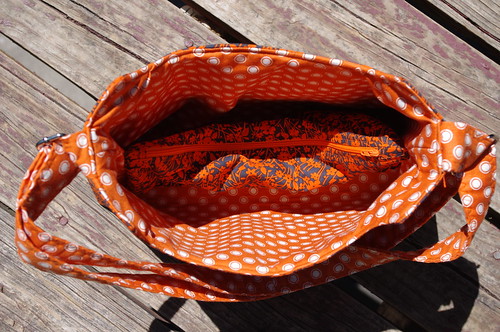
Instead of the interior zipper pocket in the lining, I added an interior zippered divider.  


IMGP0820


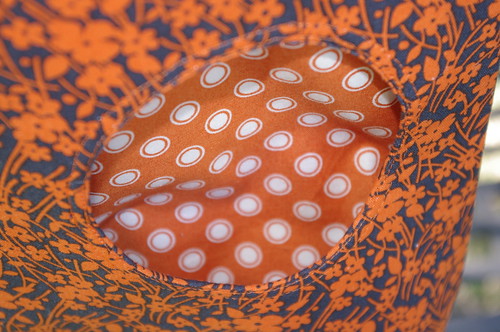
I also added this fun circle pocket on the outside.  


IMGP0809


Conclusion - I would say this is an intermediate pattern, mostly because of the difficulty the Peltex adds, plus the zippered pocket & adjustable strap.  Overall, it's a fairly quick bag to sew up, and after making it twice before, I didn't even need to get out the instructions this last time I made the bag.  I've made three now, and definitely plan on making more!


Big thanks to Sara for letting me share with you today!

Wednesday, July 25, 2012

A quick finish

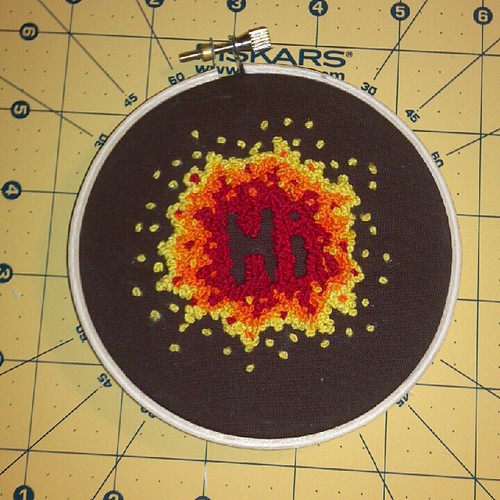
IMG_20120725_231140.

I've been working on this little project since...Christmas, maybe?  I can't even remember, except that I remember working on it at my in-laws' house, so it was either Christmas or October when we were there for corn harvest.  Anyways, it's just good to have it finished!

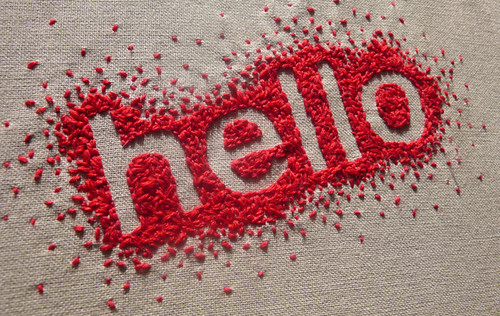
I started it after seeing this fun version & wanting to do something similar.

ThingsWeLike / HypeForType
via www.hypefortype.com - Flickr

It's kind of funny, I hadn't looked at it again recently (or before I started), and just now realized mine is French Knots, which I had thought this one was as well! Guess I was wrong, but I like my version, & it's a lot more dense.

I didn't have any real plan for it in mind when I started, but toyed around with making it into a pouch or a wall hanging.  It's now headed off to a new home (well, as soon as I can make it to the post office), and I hope it'll be well-loved!

It was certainly a fun little project, and I think I'll make another soon.  I love having something small to work on while sitting on the couch watching TV in the evenings, and this is pretty mindless work.  Not sure what I'll make next, but the possibilities are endless!

Until next time...

Tuesday, July 17, 2012

Picking up where we left off

What do you say we finish what we started & sew up the last three bags in the Style Stitches book!  I know, I know...it's about time!

I know everybody is going to start getting busy with the end of summer & back to school, but not long after that everybody will get busy with the holidays, so there's no time like the present, right?  I'm going to run things just a bit different for the last three bags since I more-than-likely won't be making them, but I still want to see all of yours.  Maybe some of you can convince me that I need to finish up the book as well.  :)

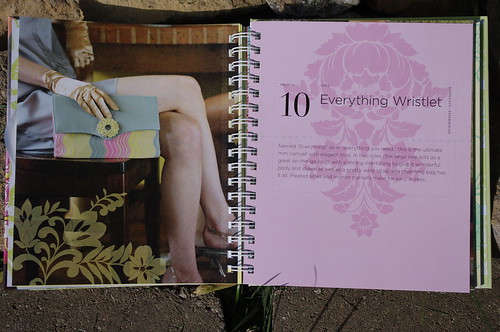
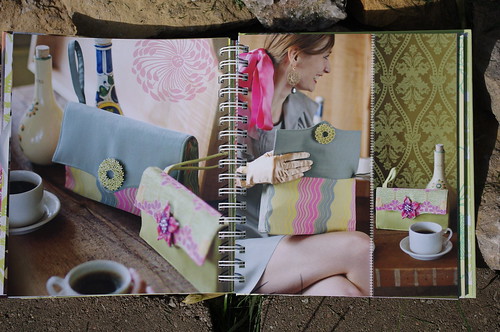
First up, for August, is the Everything Wristlet.  As usual, the link up won't be until the end of the month, so you've got all of August, plus the rest of July to work on this one!

IMGP0121

IMGP0122

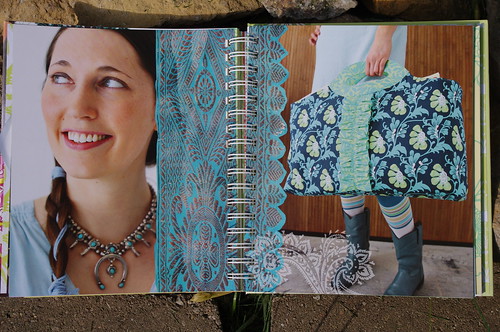
September will be the Miss Maven Ruffled Handbag.  I'm not a huge fan of ruffles, but you could easily leave them off for a different look.

IMGP0123

IMGP0124

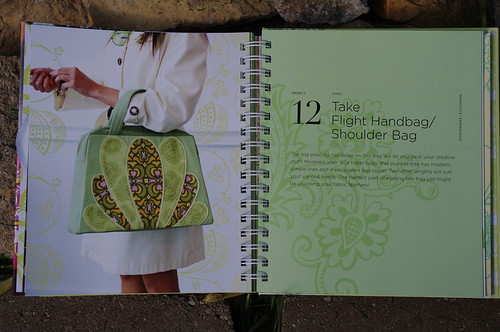
And finally, in October we'll finish up with the Take Flight Handbag/Shoulder Bag.

IMGP0125

IMGP0126

Remember, you can share your questions, fabrics, & finished bags in the Style Stitches Sew Along Flickr group, we'd all love to see how your bags are coming along!

Until next time...

Sunday, July 8, 2012

I must have been crazy...

I'm working on the back for the new quilt (which is taking longer than the top!), and was thinking about how long it took me to finish up Coop's quilt.  I got curious, and couldn't remember exactly when I basted it, other than remembering I was pregnant out to here & miserable crawling around on the floor to pin it.  I just looked back, and realized I must have been insane.  Or nesting.  Or...something...but probably just plain nuts.

Here Raven is "helping" me baste Coop's quilt, what ended up being just 10 days before I had him. 

IMGP0347

And here's me two months before that (I apparently didn't take any pictures of myself after that...huh...), so I was still very much growing. 

breeMaternity_026
Yes, I had some of my maternity pictures taken while standing in a soybean field.
There are corn pictures too. :)

Did I mention crazy?  I remember I was sweating buckets, it was so hot, even though I had the AC cranked & was freezing poor hubby out of the house.  And I was watching some random kids' cooking competition.  I was in such a hurry to get it done, and somehow I still thought I might be able to finish it before Coop was born.  

Anyways, there's really not much point to all this, except to remind myself that I really can't complain when it comes time to baste this quilt.  It should be a complete cakewalk compared to the last one!

Until next time...

Friday, July 6, 2012

I've been holding out on you...

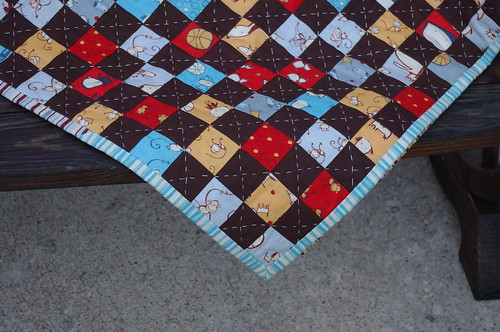
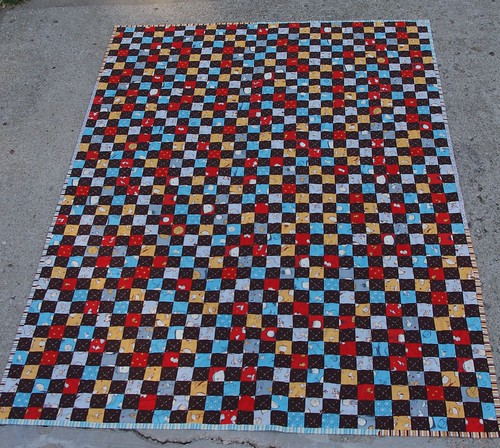
Ummm...so, yeah, Coop's quilt is done!  And it's kind of been done for over a week, but I haven't shared the pictures yet.  So sorry!  The closer I got to the end, the more & more excited I got about finishing it, then once it was done I completely forgot about posting it.

Coop's quilt

I am so totally in love with this thing.  It doesn't hurt that I've been working on it for almost a year & a half!

Coop's quilt

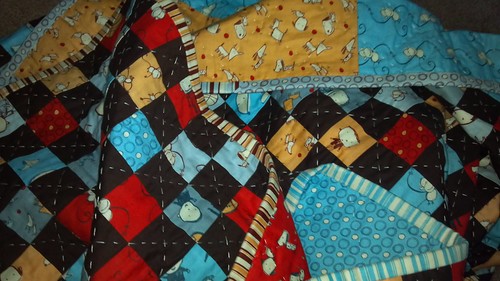
Coop's quilt

I was so worried when I washed it the first time since I hadn't pre-washed any of the fabric.  My worst fear was that all that red would bleed all over the rest of it, but Color Catchers to the rescue!  I used a dozen (not even joking!), six on the first wash & six on the second, and they definitely did their job.  I'll probably wash it alone & use some more the next time I wash it as well.  The last thing I need is for it to get ruined in the washer.  

I couldn't have been happier when the very first time I spread it out on the floor, Coop was playing on it like crazy.  I think this is one of my all-time favorite pictures of Coop!

Untitled

Coop's quilt

The back is fairly simple, but I really love how it turned out.

Coop's quilt

It feels so good to be done!

Postage stamp quilt

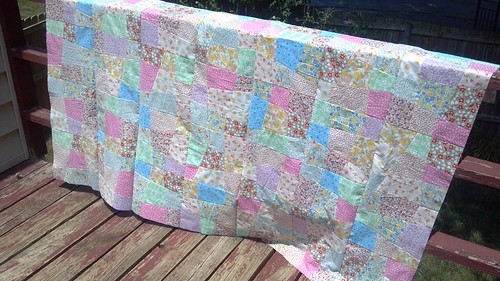
So you might be wondering what have I been up to the past week that kept me from sharing all this?  Oh, just this little project!

Vintage print wonky 9-patch

That's right, I made another quilt top!  This one is a little smaller than Coop's (50"x70"), but I finished the whole top in six days.  That's right - six days - start to finish.  I'm working on the back now & trying to decide how I'm going to quilt it.  I think I'm going to try doing this one on the machine, so we'll see how it turns out.  So far I'm loving it though!

Until next time...