Showing posts with label swap. Show all posts

Thursday, November 3, 2011

Pouch-a-Palooza

I've been wanting to share these for the last week or so, but every time I remembered it, I was working on another & decided it was better to share them all at once.

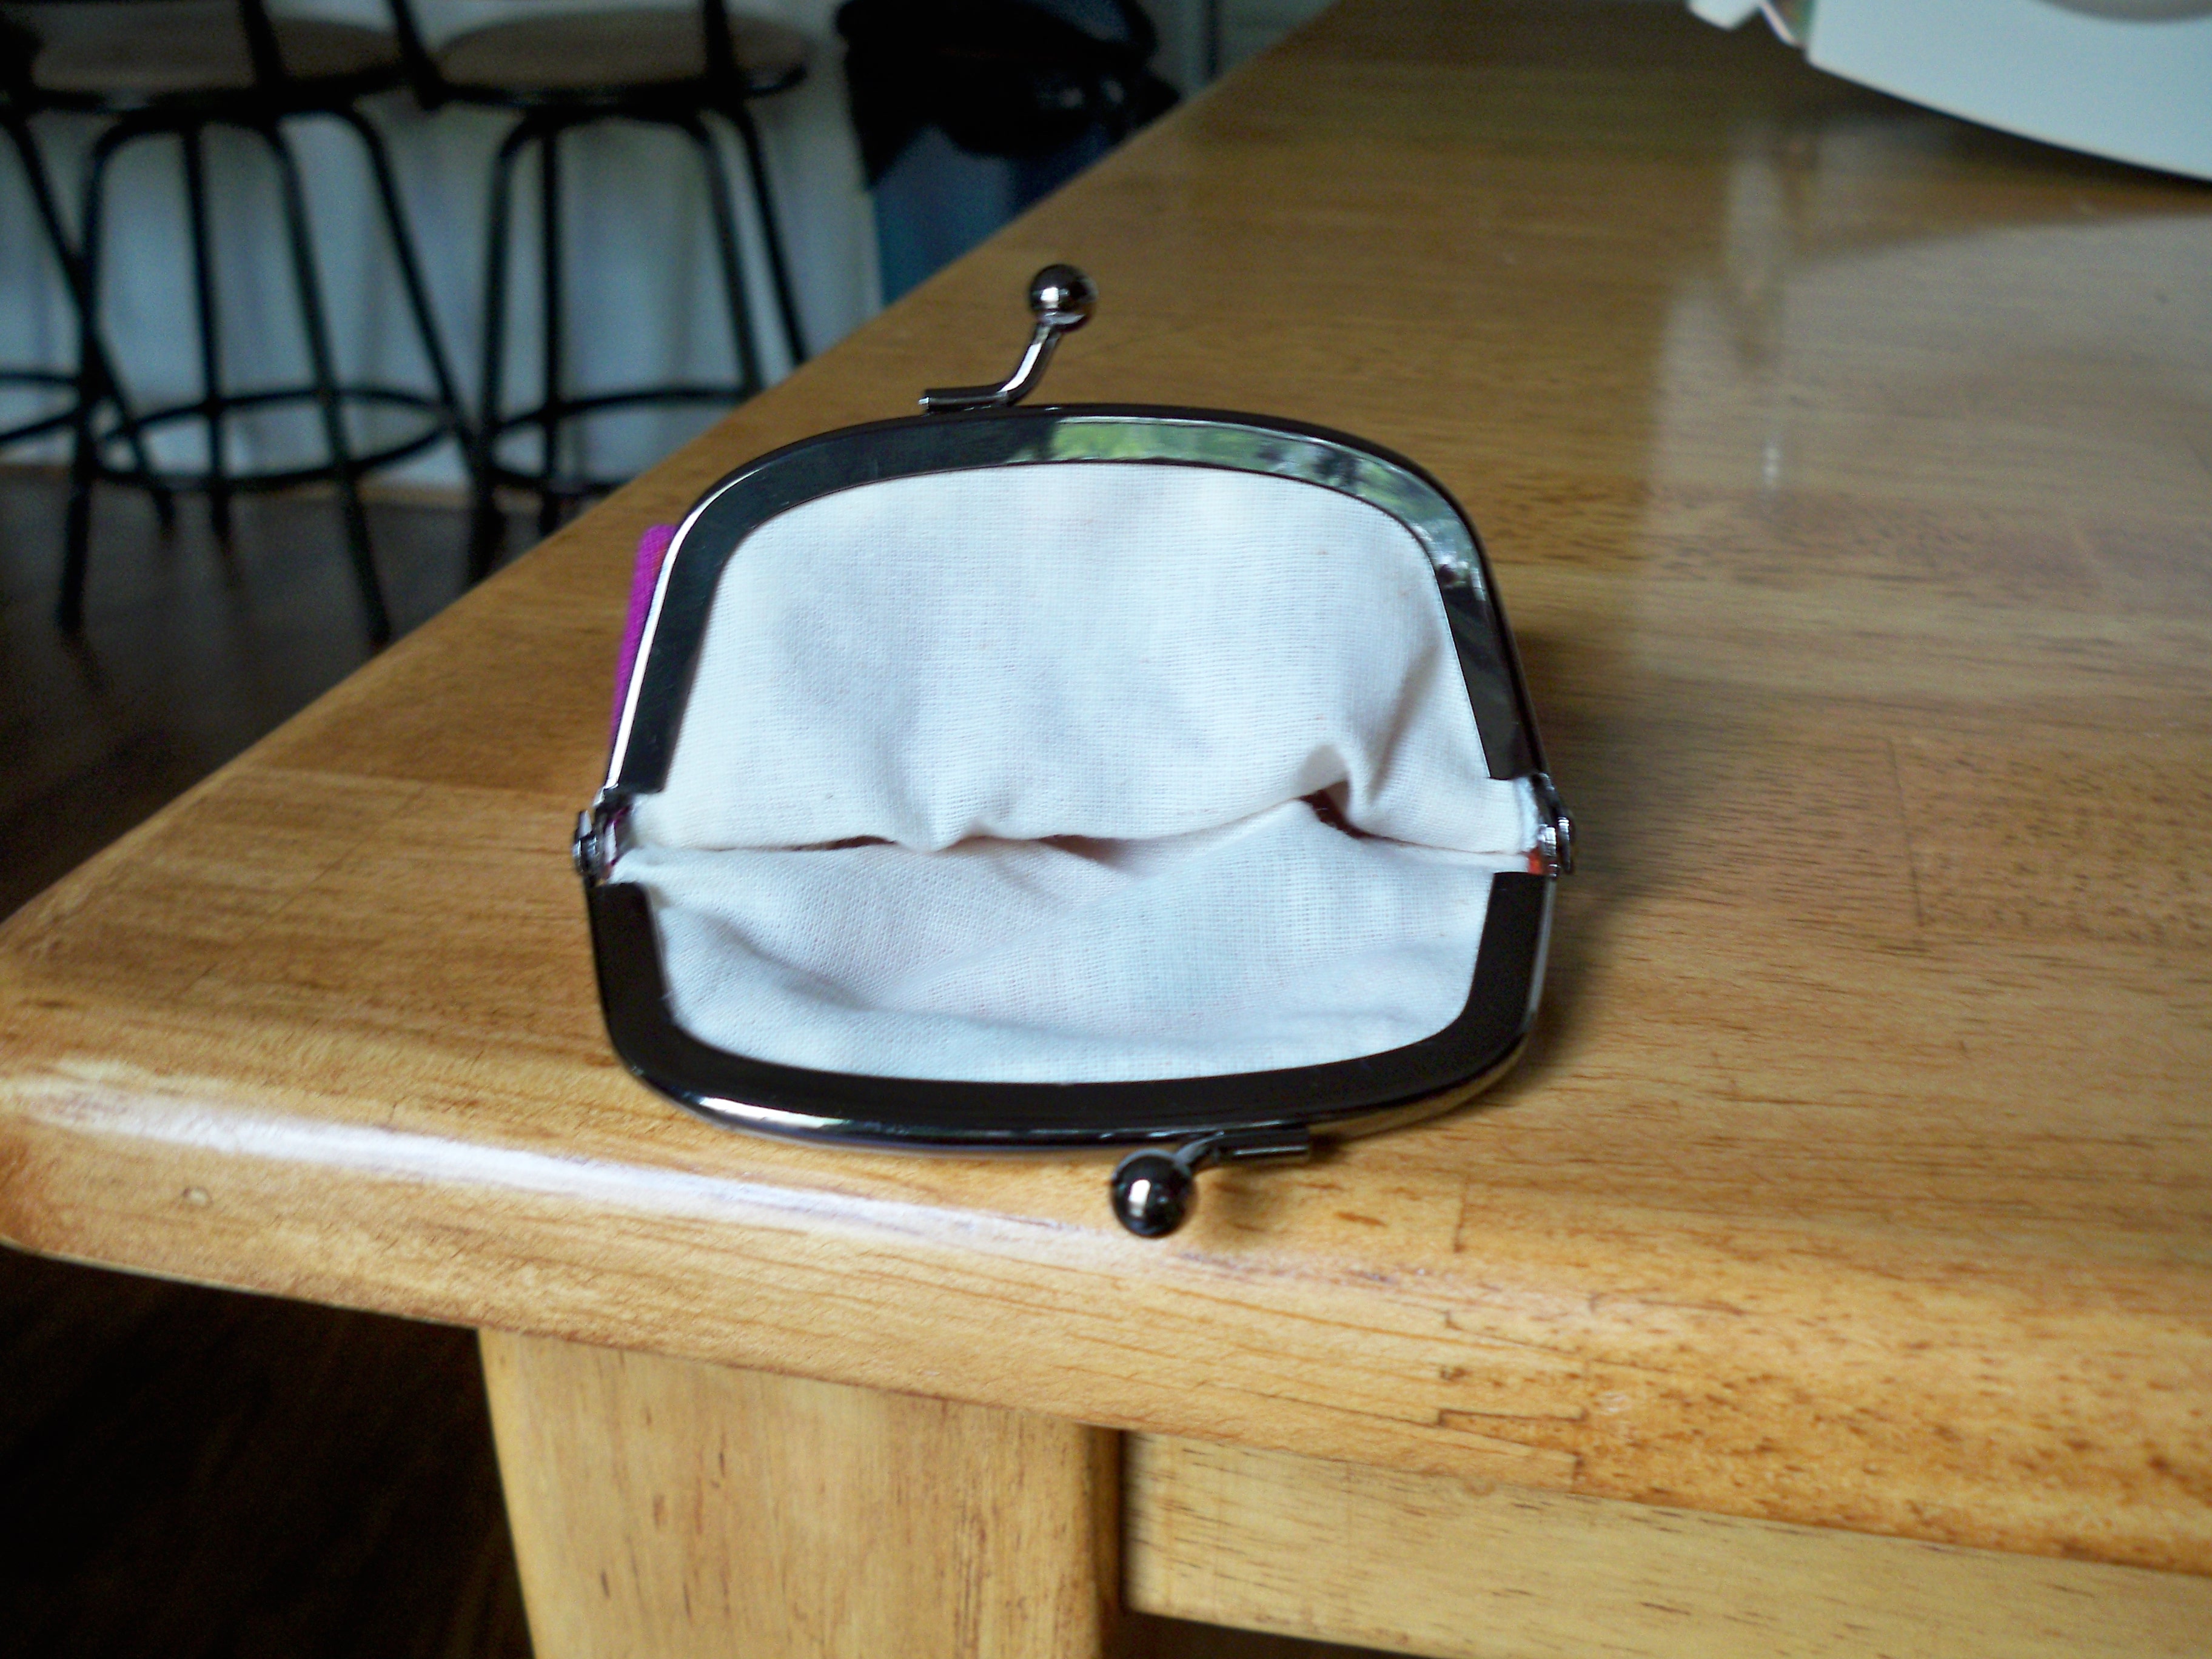
It all started when I decided to sign up for round three of the Pretty Little Pouch Swap (now that I think of it, I don't remember if I shared what I sent/received from round two since it was right around the time Coop was born), and my partner said she'd like a little frame coin purse. I've been wanting to try these for over a year, so I decided to just get over my fear & give it a go.

I started with this tutorial from OCD: Obsessive Crafting Disorder, except I drew my pattern on freezer paper instead of directly on my fabric. It worked out better since I was using scraps rather than charm squares, but mostly I wanted to be able to reuse my pattern instead of having to draw it every time. I also found this tutorial from U-Handbag.

My first attempt was with a sew in frame, but I couldn't get it to stay put to sew, so I just glued it in, which was probably better since it gave me practice for my PLPS pouch.
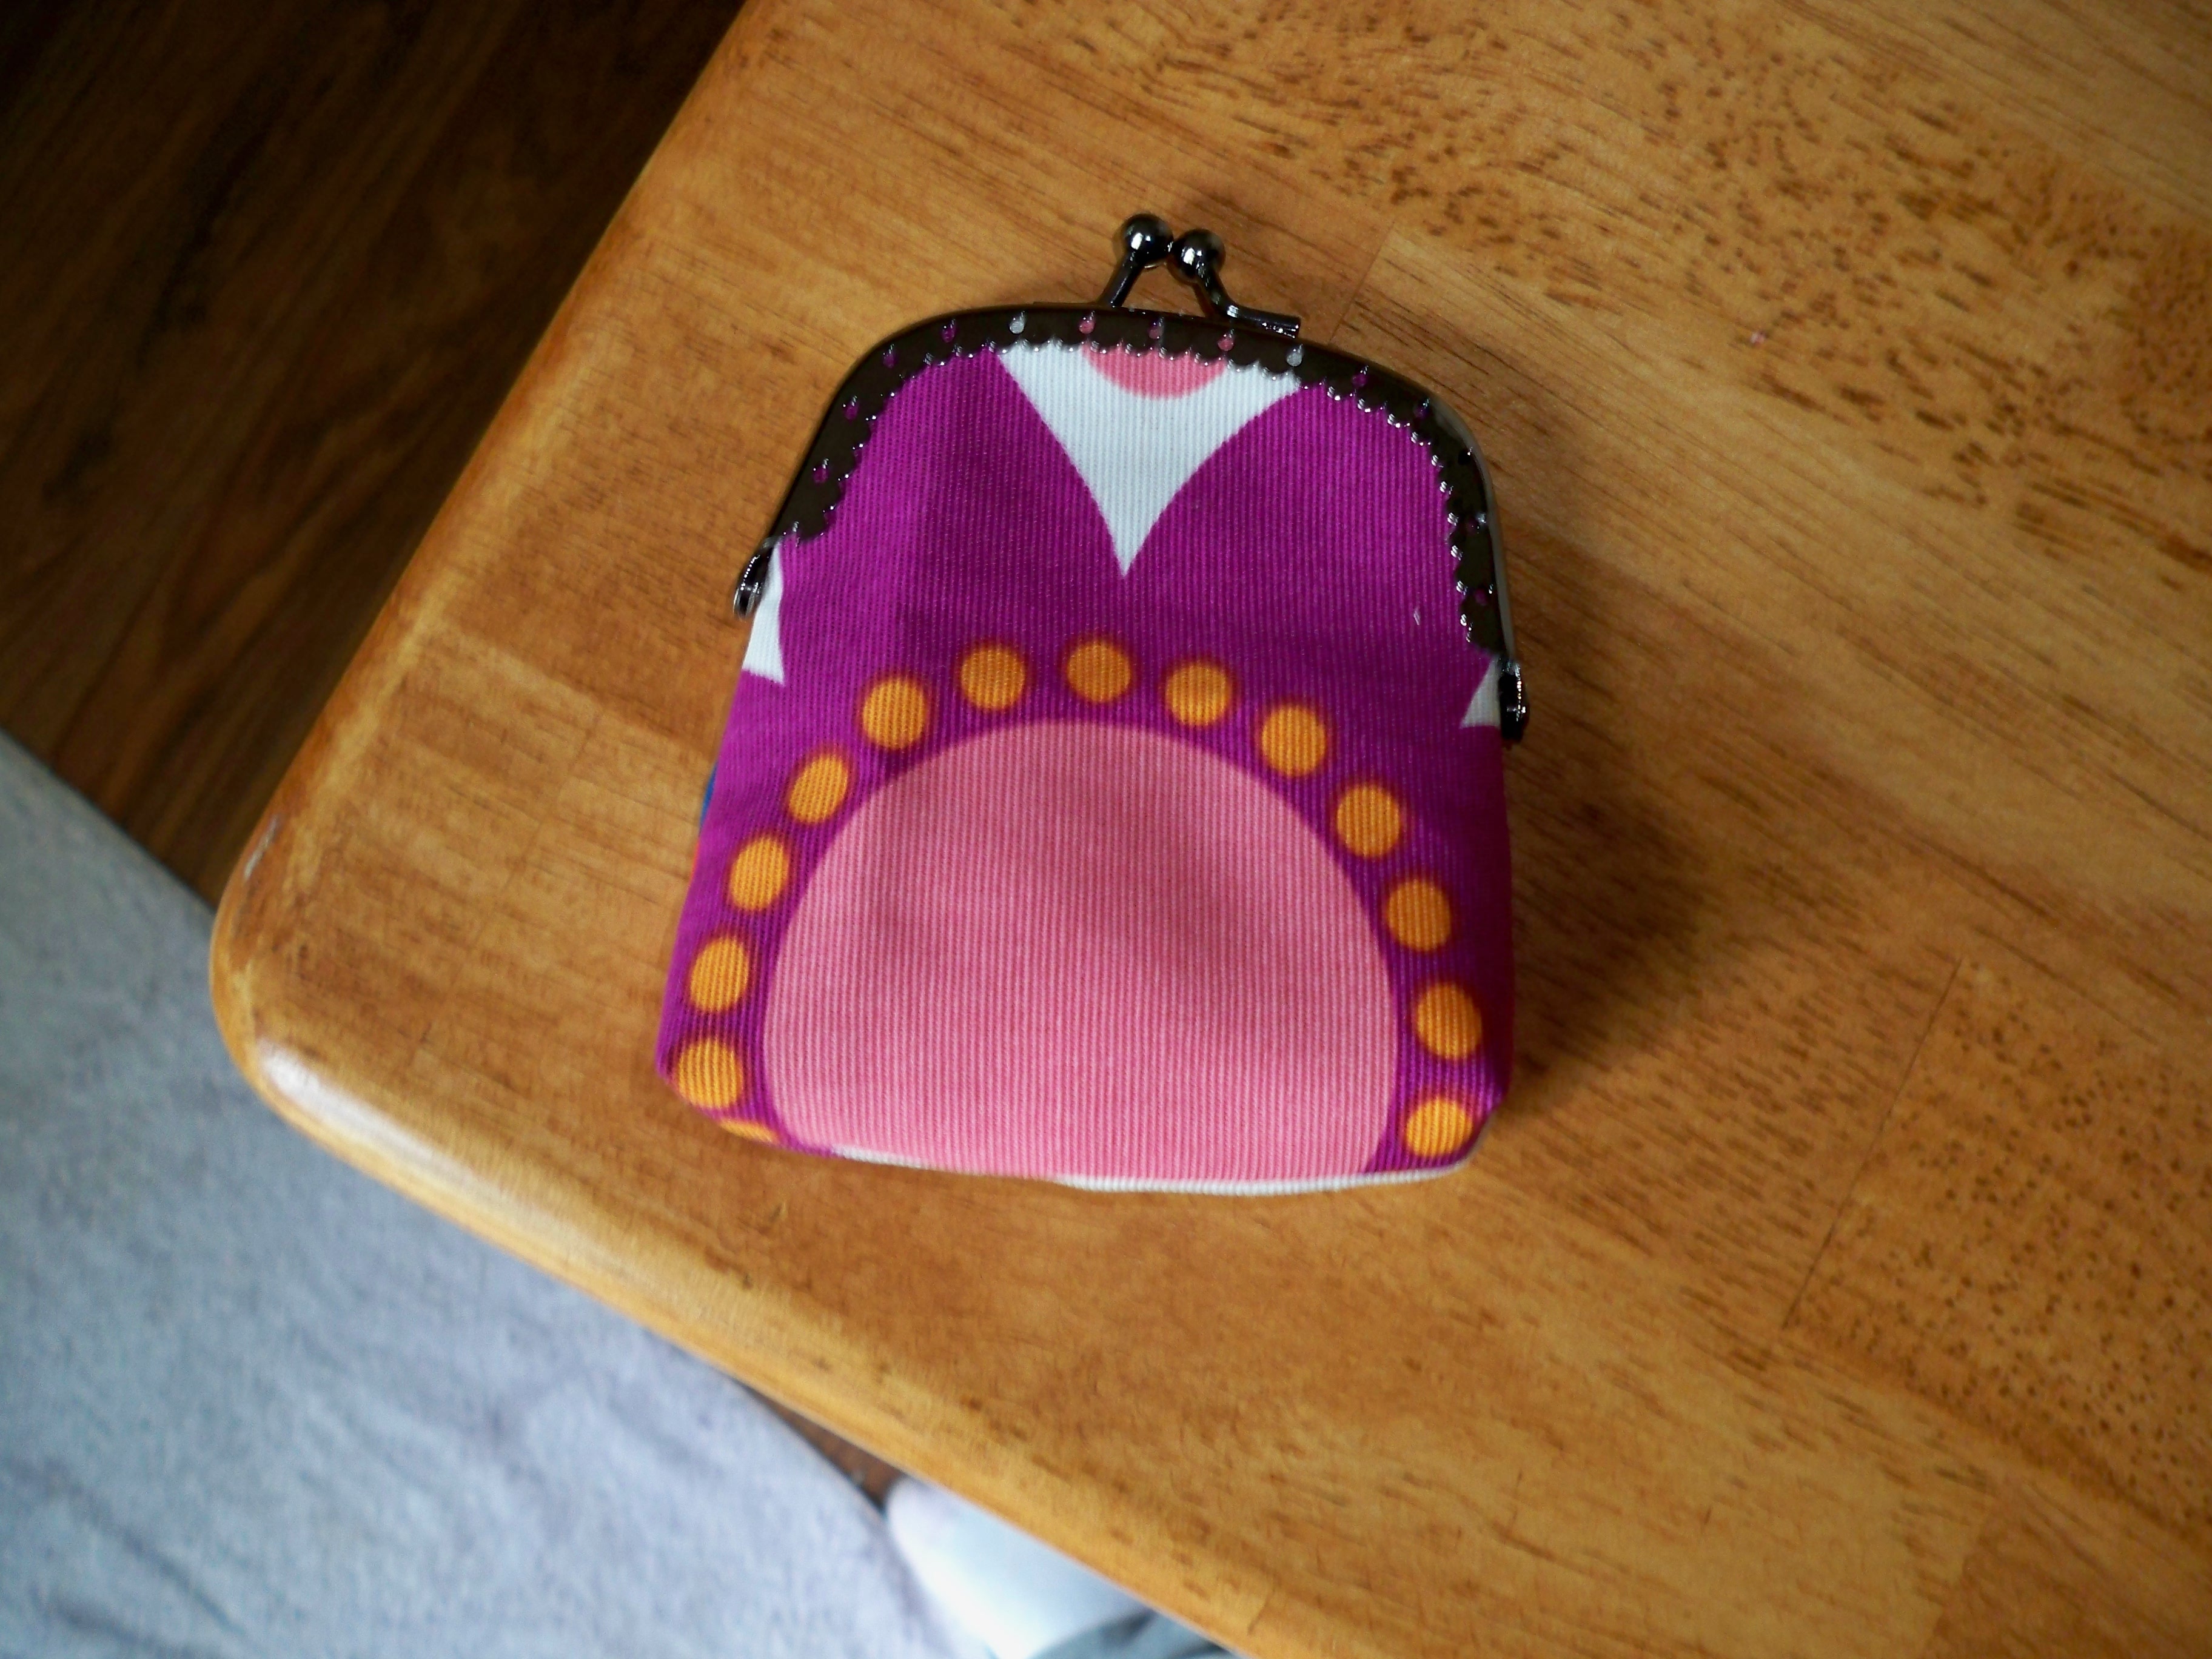
coin purse

coin purse

coin purse

I was pleasantly surprised by how quick & easy it came together, so as soon as the new frames were delivered, I dove right in to work on my swap pouch. I've got to tell you, I love how it turned out!
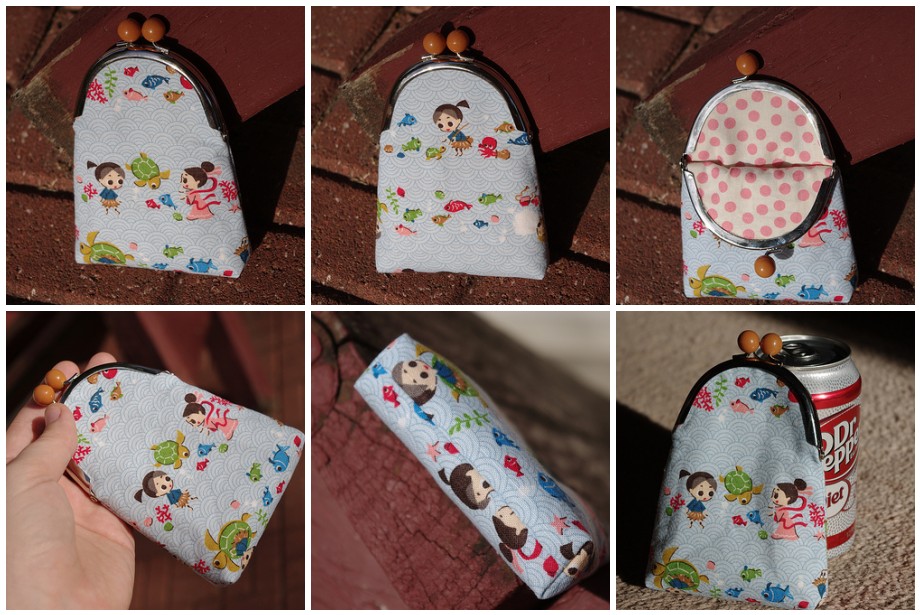
Pretty Little Pouch Swap - Round 3

I knew I also wanted to make a simple zip pouch, but with the zipper on the front rather than on the top. The few tutorials I found all ended up with exposed seams on the inside, which I didn't want, so I decided to figure out a pattern on my own. (Wouldn't you know it, I just found this tutorial that results in no exposed seams. Go figure! I still did mine differently though since I have no top seam - the back fabric just wraps up & over.)

My first attempt turned out exactly how I wanted (other than forgetting to top stitch the bottom half of the zipper - my own stupid fault) & I really like this style.

I should have made the zip ends match the outside, but it's okay for a practice pouch. I couldn't get a picture of the inside, but it's fully lined with no exposed seams.
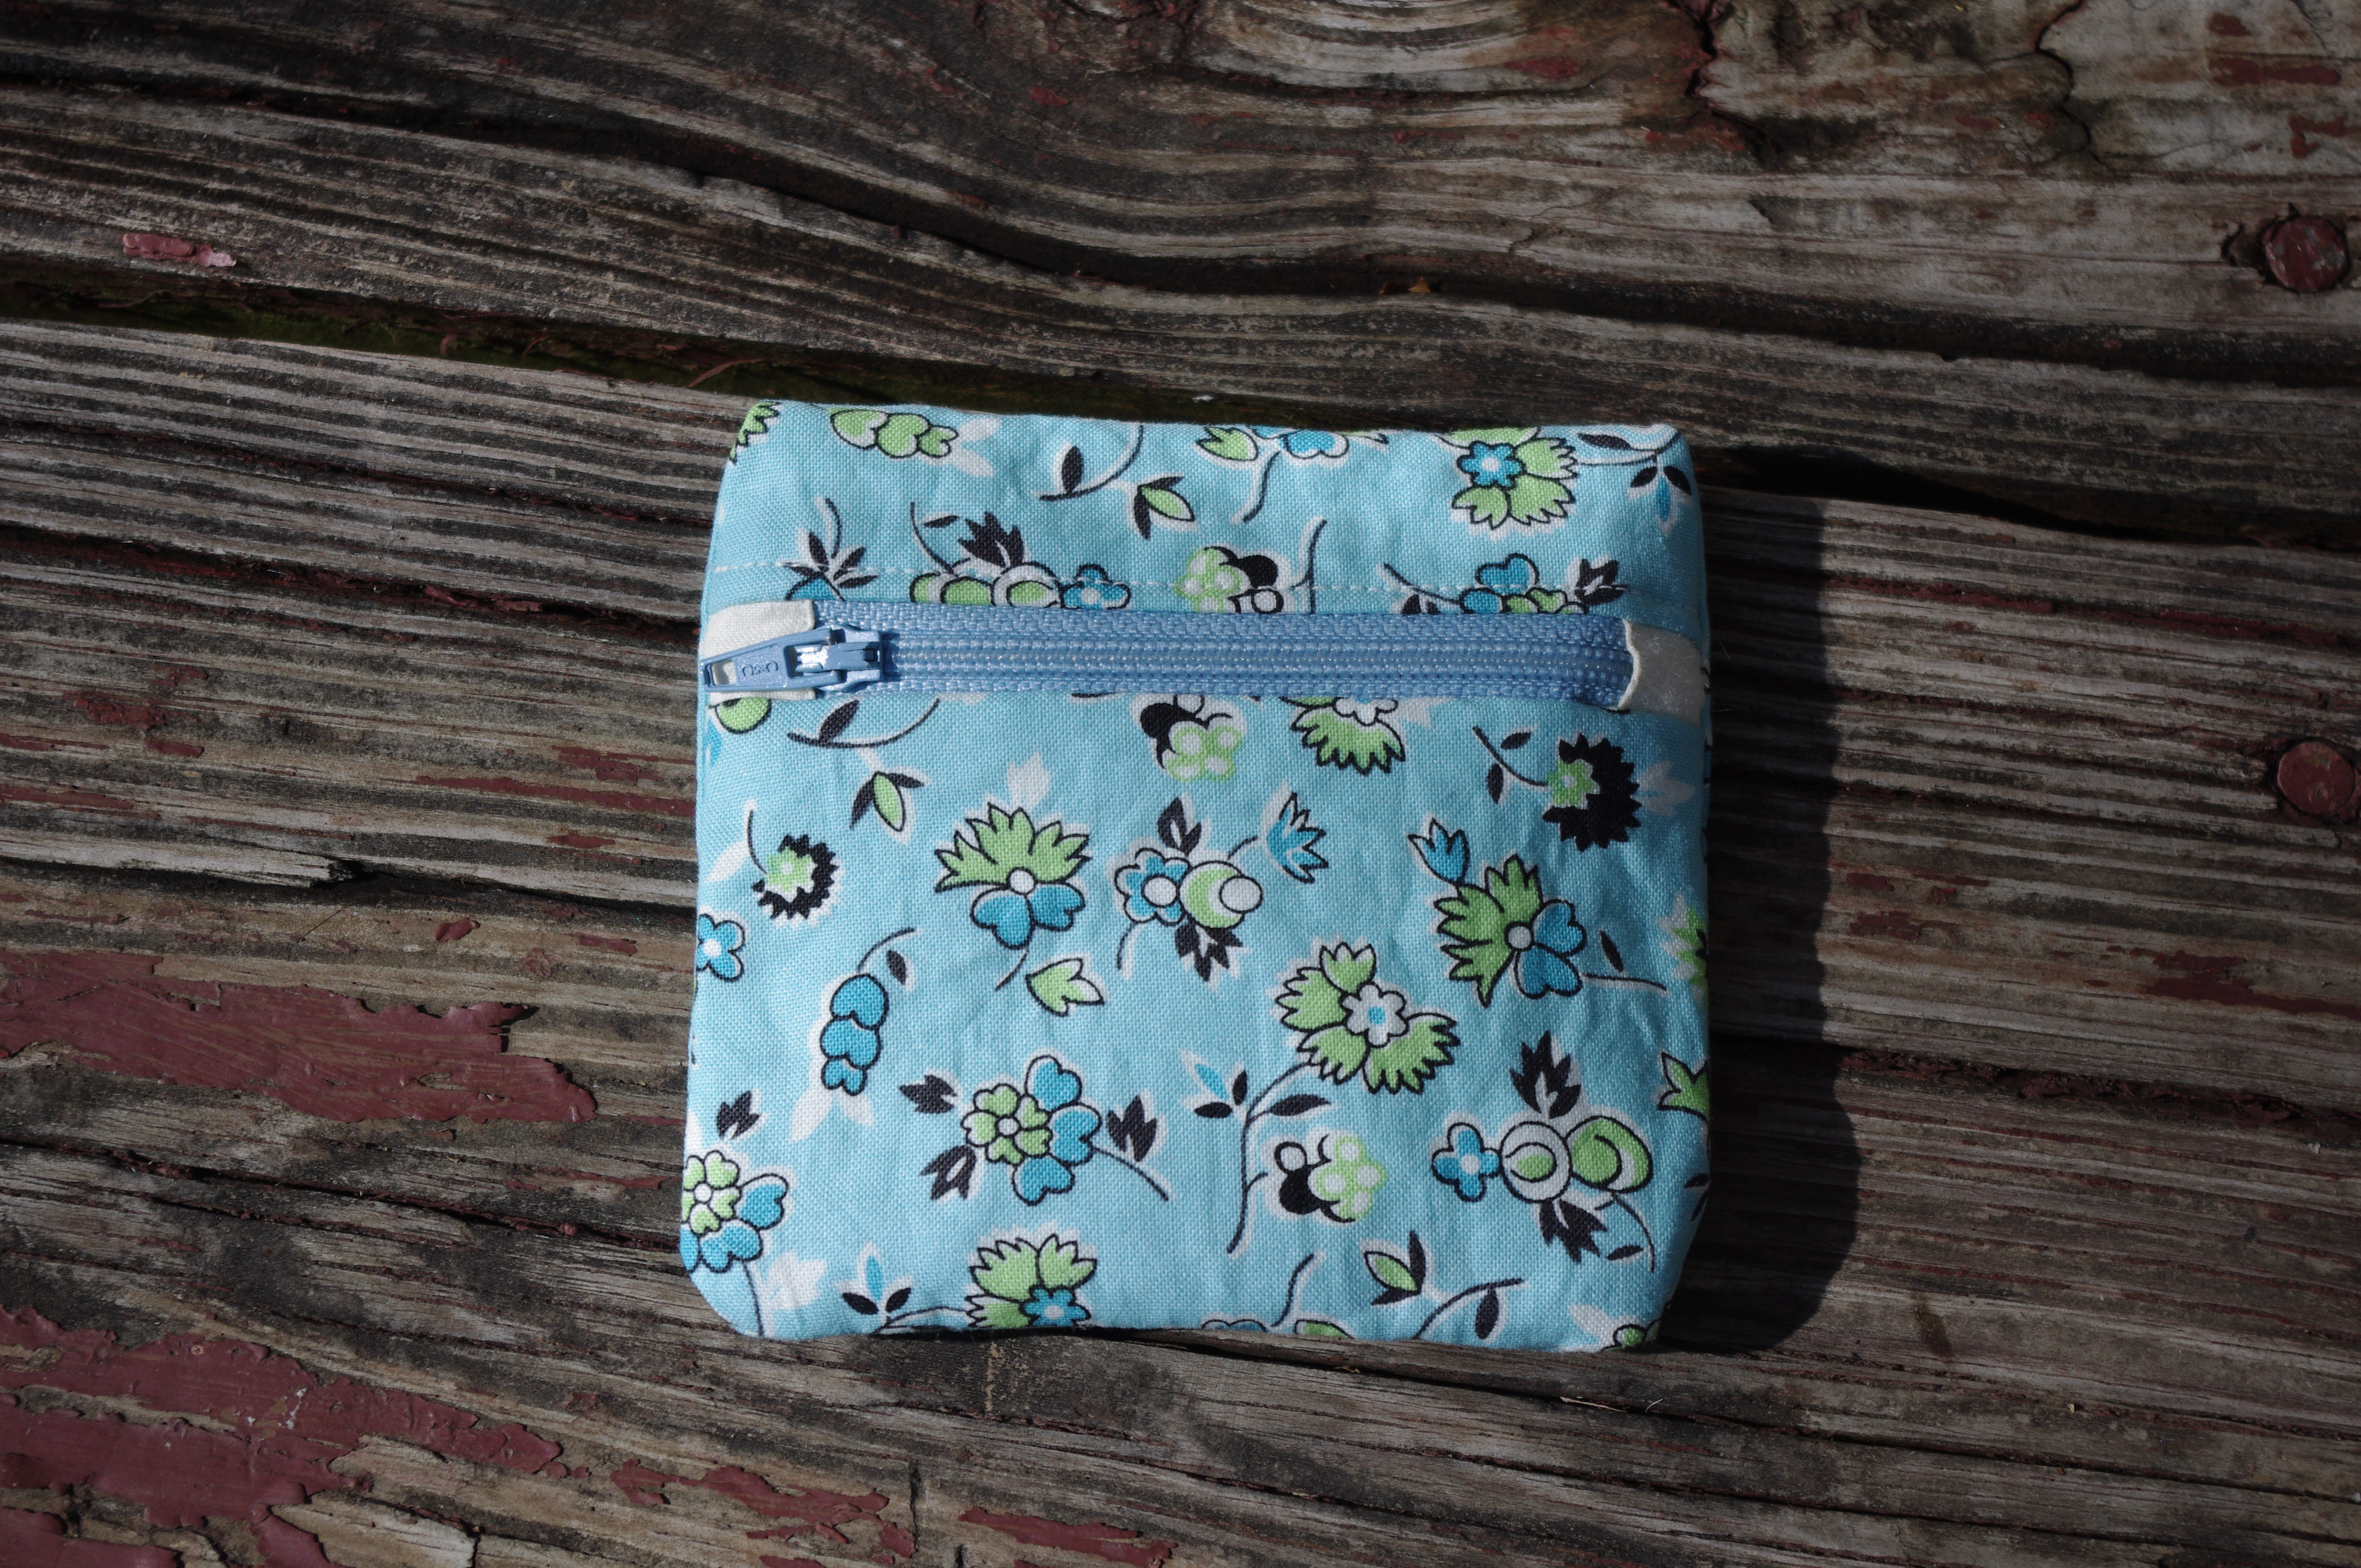
IMGP0598

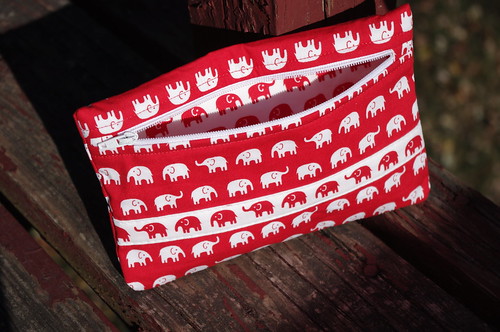
My PLPS partner said she likes elephants, so here's what I ended up making her:
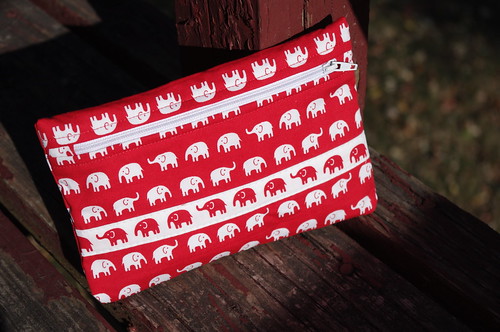
Elephant pouch

Elephant pouch

I cannot even begin to tell you how much I love this pouch! It turned out so much better than I was expecting & I really had the hardest time sending it off. But my partner loves it too, so it's worth it.

Since I got so hooked on the frame purses (and had ordered 7 of them!), I couldn't help but make more!

I like the smaller size of this little one just a bit more than the taller version.

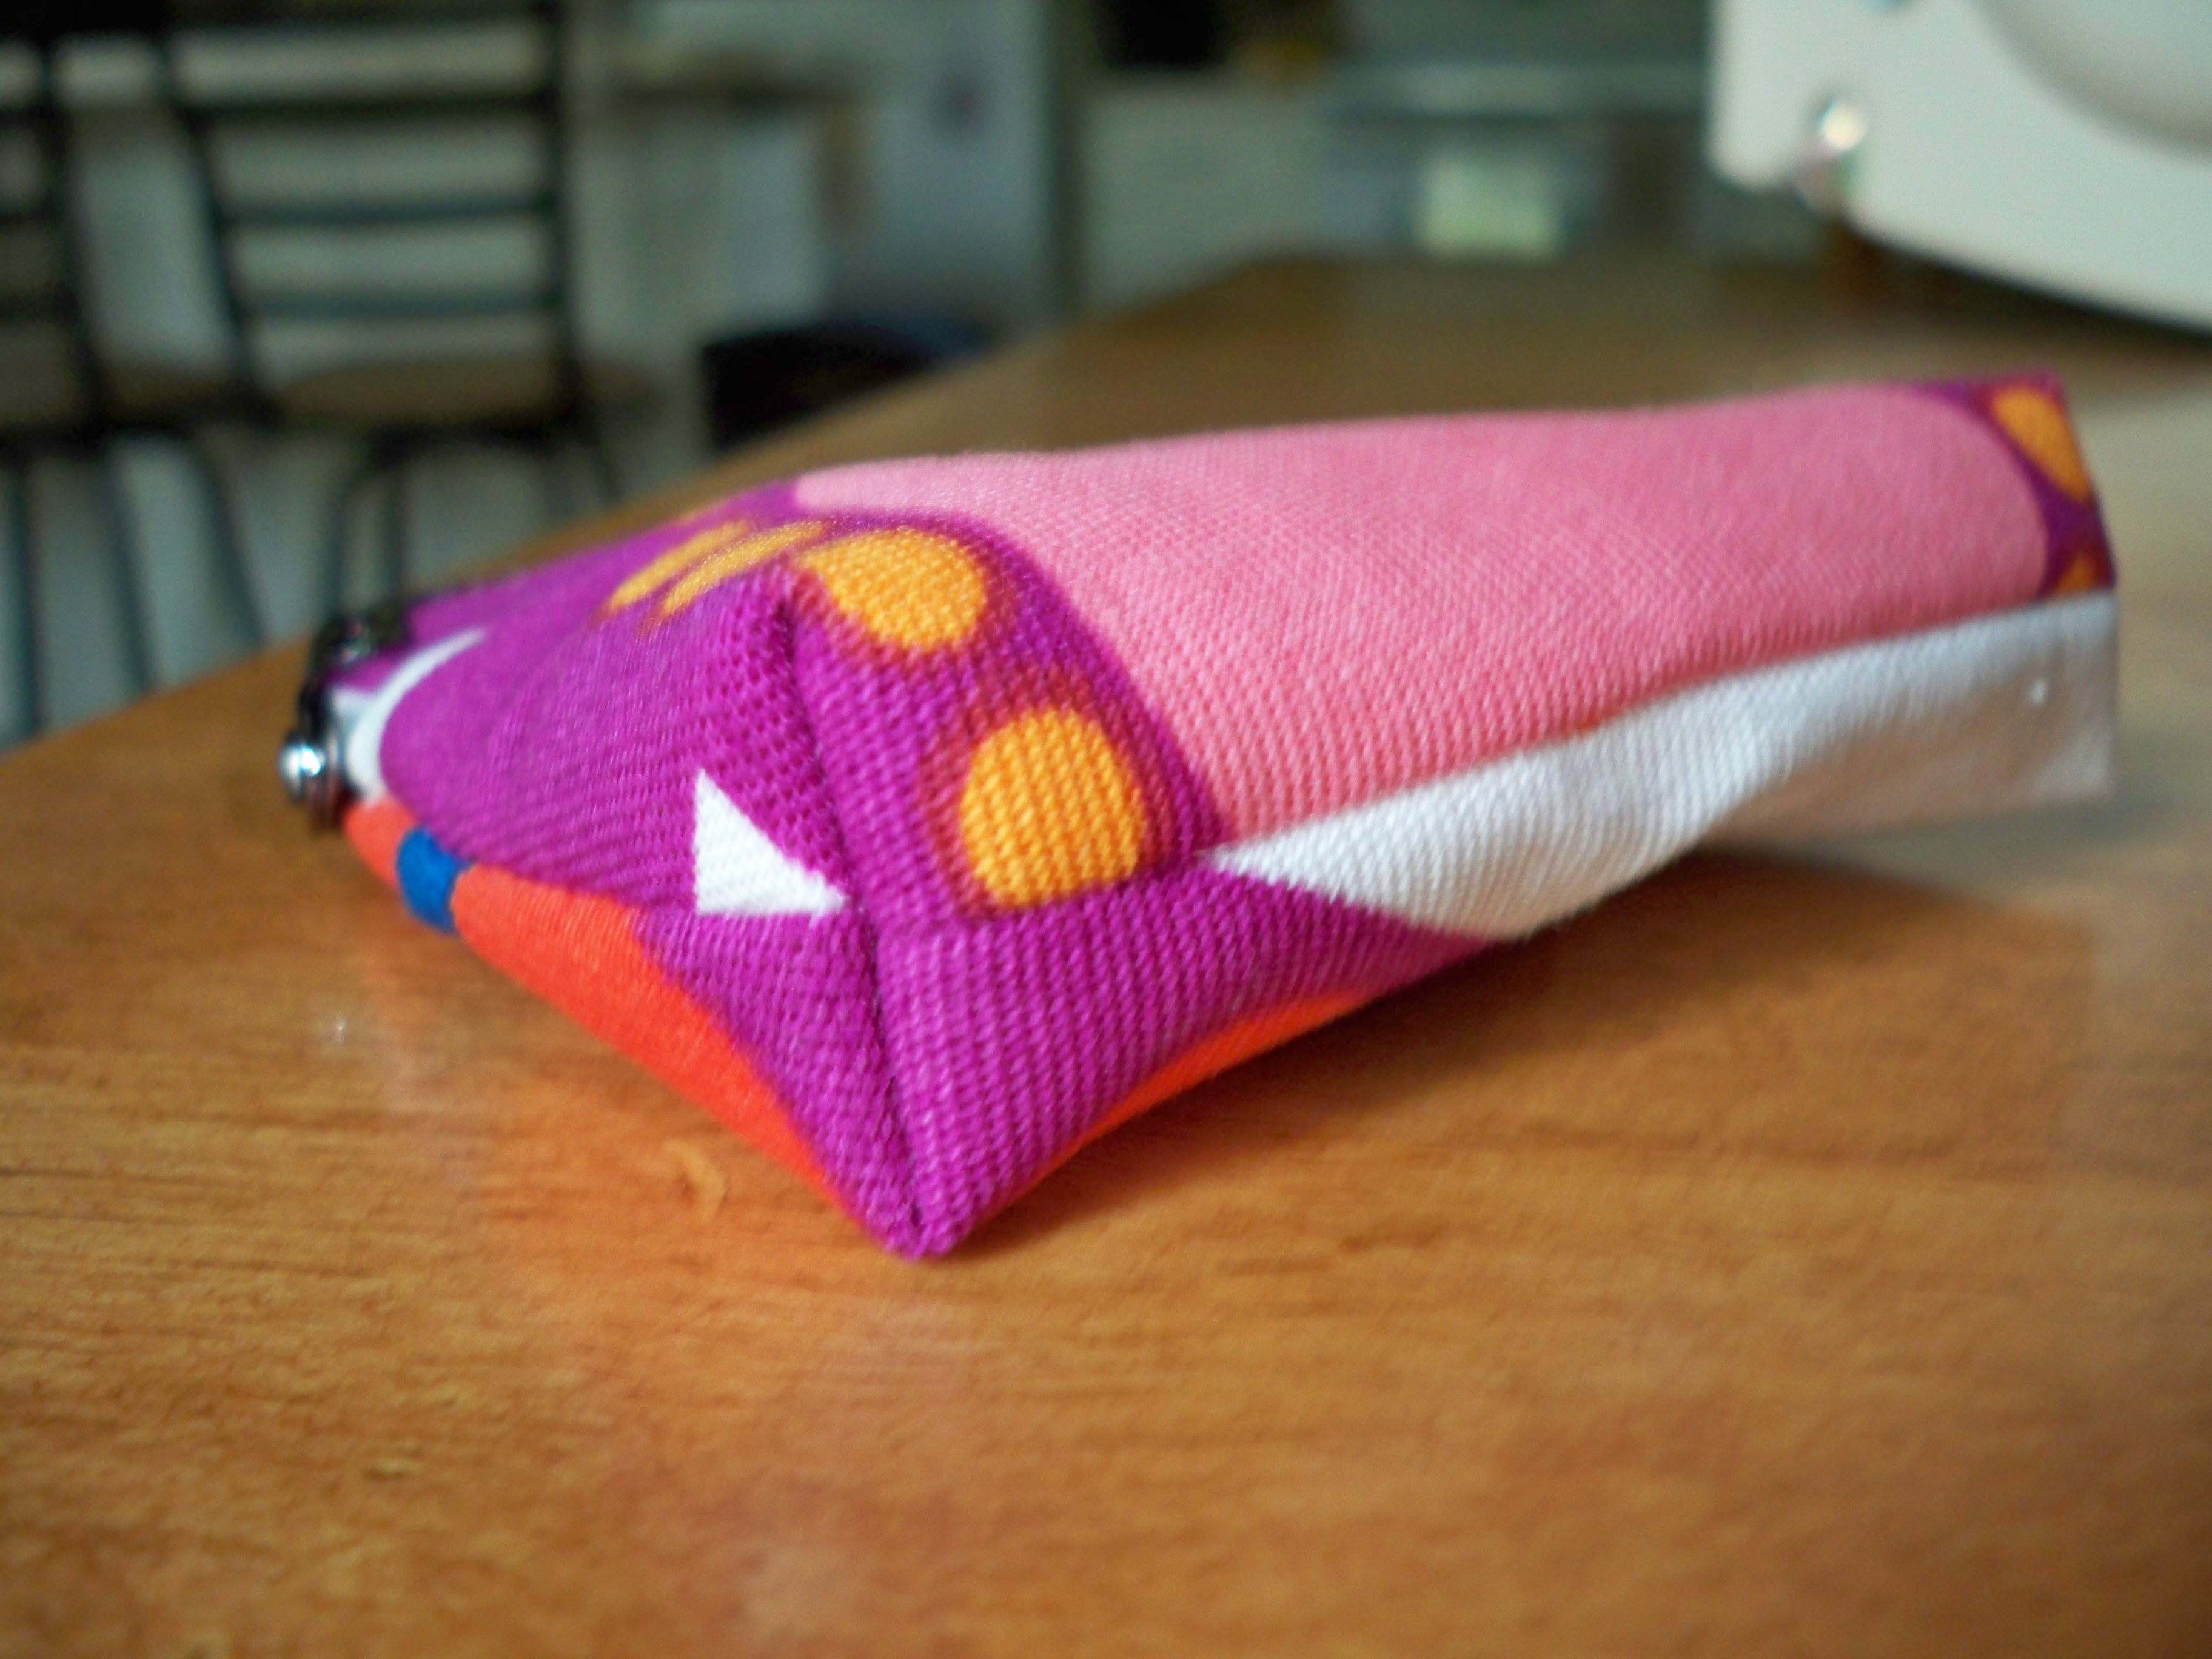
purse frame coin purses

This one is my favorite shape, by far. I made darts instead of just boxing the bottom, and I really love the more rounded shape.
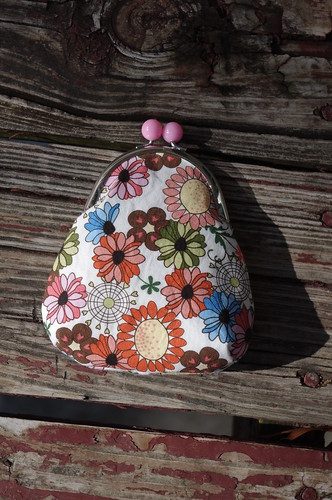
IMGP0599

I tried making a shorter version of this one, but I added batting & it just didn't work out, so I'll have to try again. I've still got a few frames left, including one I "reclaimed" from a photo album, so I'm excited to try out more shapes/sizes. Seriously, these things are addicting! If you've been thinking about trying them but haven't gotten up the nerve, give it a try! I promise if I can do it, you can too!

If anybody is interested in how I make mine or that zip pouch, let me know & I can take pictures for a tutorial the next time I make one.

Until next time...

Sunday, October 31, 2010

Gussie bag - final bag swap version


Oh, I'm so excited about this! I'm so glad I stuck with this bag & didn't give up & resort to another pattern, I'm just loving how it turned out. There seems to be an extra bit of satisfaction from the fact that while this pattern probably isn't ground-breaking in its originality, it did come straight from my mind, not from a pattern I have purchased.

And now that my partner has received her bag, I present to you, the Gussie bag!


Isn't it pretty?! While this fabric probably isn't one I would have normally picked up, I absolutely fell in love with it the more I worked with it. It's a perfect blend of fall colors.


As I was working on getting the pattern pieces cut out, I tried to decide what I wanted to do for the front pocket. On the first versions of the bag (I still have a third one I haven't shared yet) as I was working on the pattern, I embroidered a little something on the front to make it a little less plain. I knew I couldn't embroider on this one because the pattern was just too busy for it, but I also knew I wanted to do something to break up the pattern on the front side (the back is all the print fabric, I forgot to take pictures of that).

I toyed around with the idea of making the front panel all out of the brown interior fabric, or making the center pocket (that wide panel on the front is split into three pockets) the print material, or trying to appliqué a piece from the print onto the panel (which with this print would have been really difficult), then though of just putting a band of the print across a brown panel. I liked that last idea best, but thought it might look a little out of place, until I remembered the gathered clutch from Noodlehead that everybody has been doing lately. A-ha!!! I could make the brown part gathered or pleated, then add the print piece as a band across it! I remembered that at one point my swap partner had mentioned she liked pleats on bags, so it was a win-win situation. I quickly cut out a new front panel (seriously, this was a last-minute, game-time decision after everything was already cut out), adding about four inches to the width, then tried my hand at gathering. It took a couple tries, and I wish I had added more than four inches, but overall, I love how it turned out. It breaks up the pattern on the front of the bag while still adding to the overall look of the bag.

Here's a closeup of the gathers. Like I said, I wish I had added more to the width of the piece so it could have been gathered more. But I do still think it came out nicely.


The inside has another full panel that was split into two pockets.


On another trial version of this purse (the one I haven't share yet, it's wider than the first two I showed), I had yet another panel pocket on the inside that wasn't split at all. For me it's perfect because I like to keep receipts & other papers separated in my purse, and the pocket keeps them from getting all crumpled & lost at the bottom of the purse.

And here's my lovely gusset on this version. I opted not to do the bias tape method (the one with embroidered flowers), and somehow managed to get the gusset to turn out nice & crisp, unlike the very first one (the one with the embroidered heart).


I'm telling you, I don't think I could have been happier with how this turned out! I'm toying around with the idea of making a tutorial and/or a pattern for this, but the thought of all the pictures & explanation that would be needed make me think I'll probably push that aside if I'm being honest with myself. Right now, with the exception of one freezer paper stencil piece (with a few notes on it), the entire pattern is just in my head. Trying to sufficiently explain some of the steps could be difficult, even if the overall construction of the purse isn't terribly hard. I'll admit, attaching the gusset will certainly try your patience, but I think it's all worth it in the end. At the very least, I'll add this pattern to my list available for custom order, so just shoot me an e-mail or leave a comment (make sure your e-mail address is attached to your profile, or you include it in your comment!) if you're interested.

Oh, and if you really, really want a pattern or tutorial for this, just let me know. If enough people want it (seriously, it would probably only take a few), I'll be much more likely to take the time to do it. I have to tell you, while I have always fully respected people charging for their patterns before, I have a whole new understanding for it & can appreciate it even more when they offer free patterns & tutorials. When it comes to charging for patterns, I think Rae explained it best when she talked about her Bonsai Bag pattern.

Until next time...

Sumo Sweet Stuff
NightOwlCrafting
Join  us Saturdays at tatertotsandjello.com for the weekend   wrap    up           party!

Tuesday, October 12, 2010

Sneak peak - the Gussie bag

I just can't wait to share part of this bag, on one hand because I need some serious help figuring out a little problem, and on the other hand because I'm just so excited about the little "extras" I added. Yes, I realize these are just practice bags, but I figured if they turned out nice enough (hey, I'm optimistic!), I wanted them to be a little less plain.

I've made two versions so far, varying only slightly. The one on the left ("flower") doesn't have a top band because I added a pocket panel to the front side and I used bias tape to bind the edges. This one isn't lined yet because I'm not entirely certain the best way to do it. The one on the right ("heart") has a top band (and pocket on the back) and I sewed the pieces right side together, then flipped right side out.


One side on the heart bag turned out really nice & pretty:


The other one (on the right, here), not so pretty:


Any bright ideas on the best way to add a gusset? I'm really attached to the idea of this purse & don't want to give up on using it for the bag swap. I do know I could do square corners instead of having them rounded, but I'd prefer not to. And I could keep the general shape of the bag & use darts instead of a gusset, but I like how this is the full depth all the way up the purse. It makes it surprisingly roomy for a smaller purse.

I can't figure out quite why, but one side was also higher than the other. So when I tried to sew in the lining, the top seam was super angled going from one side of the strap to the other. To fix it, I just patched in another piece of muslin (wasn't too terribly concerned about how it looked for now since I was just going to carry it to check the functionality & sizing. Although, it's really growing on me). I wasn't able to get the original edge in the seam, so it's a little messy in this corner.


I had to add this little heart to hold in the patch. But it turned out kind of cute, so it was totally on purpose. :)

Oh, and don't mind the ugliest topstitching in the universe on this, I wasn't too particular.


And now for the fun pretty stuff.

I just hand drew this heart (as well as the little one that's on the other side for the patch). It's nothing spectacular, but I like the simplicity. And yes, I do draw my hearts with that line going from the bottom back up to the top. It was on the little one too, but I chose not to stitch it because it looked funny on such a small heart.


And my favorite part:


I found the flower pattern over at Needle'n Thread, and there are a ton of other really great patterns, including a couple alphabets. There's also a lot of other good embroidery info over there, so check it out!


I did a simple stem stitch for all the lines, a French knot at the end of each vine, and French knots to fill the flower centers. I mixed colors for each part so it was a little more dimensional, and I really love the way it turned out.

Oh, and don't mind those faint blue & purple lines, apparently not all the ink has disappeared yet, and I obviously didn't completely follow all the lines.


So there you have it, let me know what you think!

Until next time...


Sumo Sweet Stuff

Monday, October 11, 2010

Working out the kinks...

Well, still working on the pattern I would really love to use for the SMS Bag Swap, but I'm not sure it's going to happen. I did finally find some great fabric for it this weekend, but I've only got two weeks to get it sorted out, made, & mailed. Sounds like a long time sitting & talking about it now, but I'm not quite completely happy with it yet, and I'm not going to send out something I don't love. I'll give it a few more tries though before I give up on it for the swap. Even if that does happen (and I'm really hoping it doesn't, because I really do like at least the idea of this bag), I'll definitely keep working on perfecting it. Until I make up my mind about it, I don't want to share too many pictures/details of it (I want it to be a bit of a surprise for my swap partner!), but I am going to share a couple small details I've added to the practice bags. I'll save that until I can get some decent pictures though (it's a bit dark now).

Just wanted to share a quick update, I hope those of you who are participating are in a better place with their swap bags! :)

Until next time...

Friday, October 8, 2010

New stuff on the blog & a little randomness

If you follow me on a reader, you might want to stop by the blog, I've added a few new tabs up at the top. Plus, you may not have seen the pretty new makeover I did a month or so ago. I'm loving the color, but think I may be time for some more fall colors. We'll see. :)

The first new tab is my Project To-Do List. The more I think about this, the more I realize I should probably rename it as my Project Wish List since my actual to-do list at home includes none of these projects! :( Over time I've been e-mailing myself all kinds of patterns & tutorials, but then they get buried in my e-mail, and I seem to have completely lost a few, so I thought this might be a better way to keep things organized. I'll add links to my versions when I complete a project, and I've been adding more to the list, so check back occasionally. Definitely let me know if you've done one of these projects, I'd love to see how yours turned out! And let me know what you think should be added to the list, I always love finding new ideas!

The other new tab is for the October Photo Hunt Challenge, but I'm still kind of up in the air about participating. If I do, I'll add the pictures over there to keep track of them for now. We'll see how the month goes.

As a side note, thank you for all your kind words after my last post. Like I said before, the kindness of so many people I've never met is amazing. A CaringBridge website has been set up by the family if any of you would like to be updated on how Romayne is doing. Although he has a very long road of recovery ahead of him, it sounds as though he's doing better than the doctors expected of someone with his severity of injuries.

I've started work on the muslin for the new pattern I hope to make for my bag swap partner. I decided to use actual muslin instead of digging into my stash since I have no idea how this first go-round will turn out. I'm doing a few things I've never tried before, so it should be an interesting weekend. Last night I did a little embroidering on what will be the front side of it, just in case it's nice enough to use. I actually kind of like the look of the plain muslin, so if it goes well it'll be my new purse. :) Hopefully I can get it finished up this weekend & post a few teaser pictures. I don't want to give away too much since the entire bag will be somewhat of a surprise to my swap partner & I'm not certain whether she reads the blog or not. I don't want to take any chances, so you'll have to wait for full pictures until November.

I used the freezer paper pattern trick for the first time when I made the pattern pieces for this purse & I think I'm a convert. It's soooooo much easier than pinning pieces! Nick was watching as I made them & was pretty impressed when I explained why I was using freezer paper. I did find that if I ironed on all my pieces, then went to cut them out, some of the pieces were starting to lift off as I got to the last few. Maybe I wasn't using a hot enough iron? I wasn't sure what to set it at & didn't know if I could damage the iron, paper, or fabric by using too hot of an iron. If you've used this method, how hot do you set your iron? I did remember to turn off the steam, and had it set around Synthetics. I'm thinking I probably could have turned it up a little bit.

Until next time...

Monday, October 4, 2010

SMS Super Style Bag Swap update

I got my swap partner this weekend & I'm so excited to get started on a handbag for Sharon! I was checking out the patterns she sent me (Buttercup bag, Marlo Bloom, Pixie, and the not-yet released Bonsai), and I really like the general style of them all (especially that Marlo Bloom, I may still need to get my hands on that one. Hello, did somebody say reversible?!). The Buttercup pattern is even one I finally picked up last week (free version to give it a try!) after admiring for some time now.

Today I was looking around at even more handbag patterns & have decided I'm going to at least attempt to make things even more difficult for myself...errr...I mean challenge myself...and make my own style/pattern/design. I've got it all sorted out in my head, so we'll see how this goes. And with the October 25th shipping deadline, this bag can't go the way of the Origami Imposter & just sit around in my brain forever. I figure if all else fails, I've got the Buttercup bag to fall back on, but for now I'm going to get creative!

Until next time...

Tuesday, September 28, 2010

Sew, Mama, Sew! Super Style Bag Swap

Come join in over at Sew, Mama, Sew for a Super Style Bag Swap! I've signed up & am super excited about it. I'm already thinking about what I want to make, even though I know I need to wait until the first to get my swap partner to discuss the important details. I'm definitely excited about this since I've seen other swaps around (hello I-Spy Quilts!), and this one is right up my alley. But you'd better hurry if you want to sign up, you have to do it by tomorrow (Wednesday)!

I do have the new Amy Butler book, Amy Butler's Style Stitches: 12 Easy Ways to 26 Wonderful Bags & am thinking about trying out one of the new patterns for this swap. There are some really cool bags in there (and a few styles that just aren't me), so I'm looking forward to trying them out.

I'll be sure to share what I make for the swap & what I receive in return.

And I have to give credit to Sourkraut over at Langes Fädchen, Faules Mädchen, where I found out about the swap. Thanks! And since I brought it up, make sure you go check out her fantastic Halloween bags (especially that last one. LOVE IT!). I've been thinking I may need one for myself, but somehow managed some self-restraint at the fabric store last week. And I really like these cute Doily Tanks which also sound super easy!

Until next time...