Hopefully you saw this back in August as part of Sara's Sewing Back-to-School series, but just in case you missed it I wanted to share again!

************************************************************************
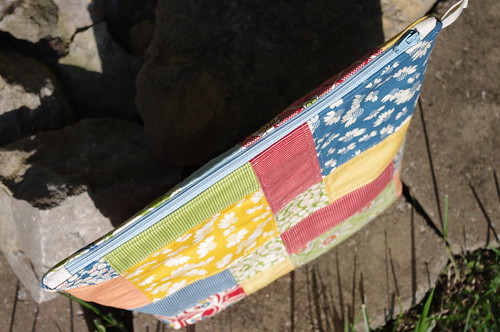
Here's my (more or less) fool-proof method for adding zippers. This is not some new or ground-breaking method. In fact, there are probably other tutorials out there that use a similar method, but this is what works best for me.
When you've gotten to the point where you're ready to put in a zipper (you've cut out all your pieces & applied any interfacing necessary), measure the top of your pouch, and get a zipper that is at least the same length. Zippers are sold in measurements based on the actual zip length, not the overall length (includes the amount past the zip stop). So if the pouch you are making is 12" wide at the top, you'll want to get at least a 12" zipper, which will technically be longer than your pouch. Remember, if you're using a plastic zipper, you can cut it to any length you like, so longer zippers are perfectly okay to use.
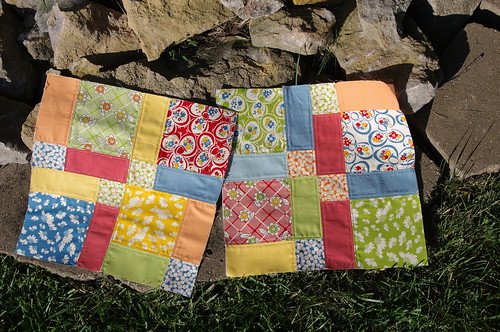
Here are the pieces I'll be using for my pouch. Each is about 13" square.
The zipper I chose is a 22" zipper, so I'll be cutting it to length a little later.
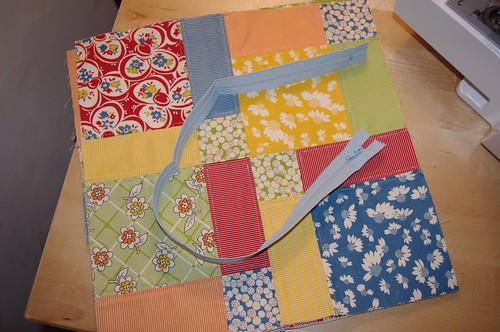
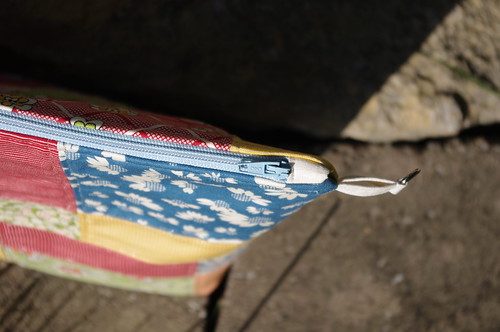
First we're going to make our zip ends. These are the little bits of fabric that will cover the ends of your zipper, act as a zipper stop, and keep your seam looking nice. It's the light-colored piece at the end of my zipper here:
Decide what fabric you want to use for your zip ends. You can choose something that matches your exterior, the zipper, the lining, or go crazy with a pop of color. In this case, I'm using the same muslin that I used for my lining. Unless you're making a tiny pouch with a very small opening, cut a piece of your fabric at least double the width of your zipper (I usually eyeball a piece around 5" long) & 2.5" wide.
(If you are making something with a very short zipper, you'll probably want shorter zip ends so you have the longest usable zipper as possible. I've gone as small as about 1" wide to start, but the smaller it is, the harder it is to work with, and doesn't look as nice on longer zippers.)
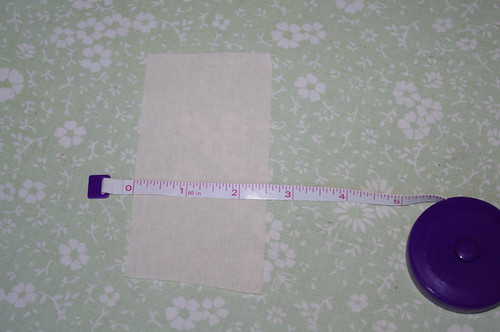
The length doesn't matter too much, as long as you have enough to cover both ends of your zipper.
With a hot & steamy iron (I use the highest settings for whatever type of fabric I'm using), press the piece in half lengthwise with the wrong sides together. Once it cools, fold one side in to the middle crease & press again. Again, once it cools, fold the other side in to the middle & press. We're basically making double-fold bias tape here (which you could use instead of making your own).
The left side has been pressed in to the middle.
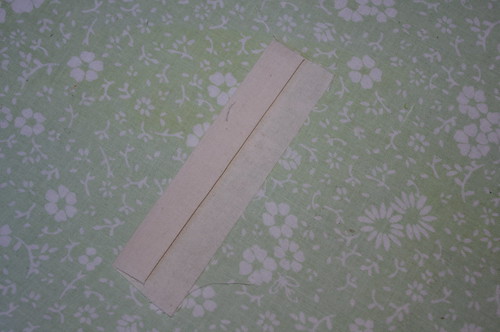
Sorry, I should have used fabric that had definite "right" & "wrong" sides...
You're left with a piece that has the right side showing on both sides, is approximately 5/8" wide, and is four layers thick.
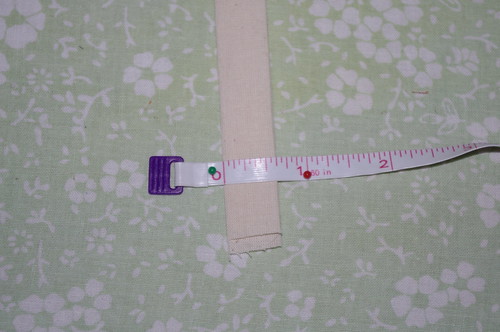
Go ahead & cut this piece in half, so you have two zip ends.
Next, take your zipper, and from the end without the pull when it's closed...
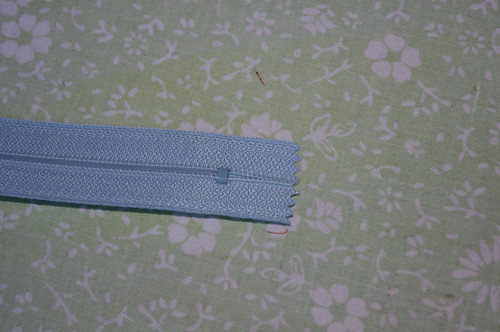
...cut off the tabs, as close to the metal stop as you can. Make sure you cut across as straight & even as possible.
(If you're working on a small pouch with a short zipper, you may actually want to cut off the metal stop so you don't have to worry about hitting it with your needle when you sew on the zip end.)
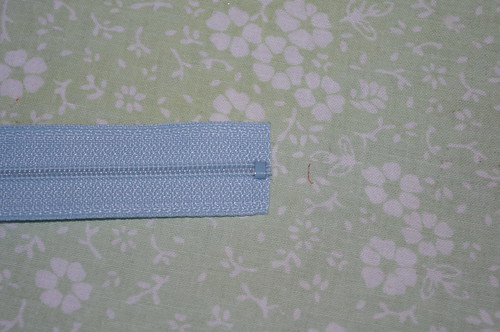
Now sandwich the end inside the zip end you just pressed. Put the end you just cut flush with the center crease.
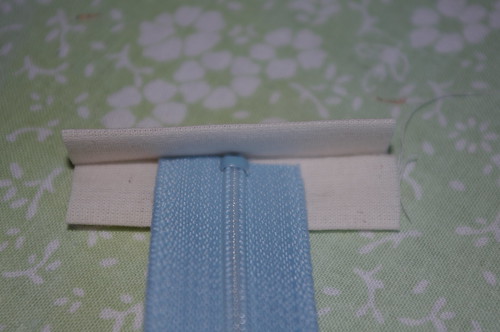
Close it up, and pin in place.
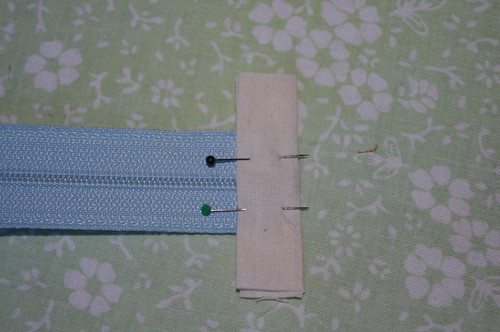
I sew as close to the edge of the zip end (along the zipper) as I can & still make sure I'm catching both sides - about 1/16".
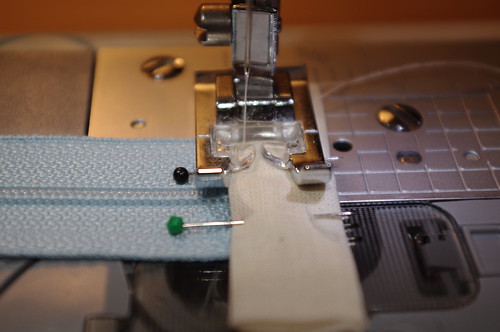
Make sure you backstitch at each end of the zipper. Your zip end is probably wider than your zipper at this point, you don't need to sew all the way to the end of the fabric, I start & stop just off the zipper, making sure to backstitch on the actual zipper.
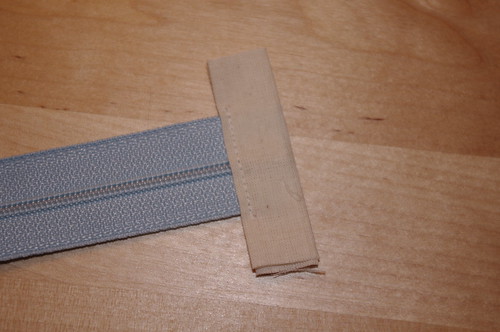
Now, measure the top of your pouch again (overall length of the pattern piece, not what you think the finished size will be). You're going to want to make a mark on your zipper just a smidge (technical term, I know...) over an inch shorter than the width of your pouch. I like to sew with a 3/8" seam, so you can adjust accordingly depending on how wide of a seam you like to sew. I've found that cutting the zipper about 1 1/8"-1 1/4" shorter than the pouch works best for me.
Remember, my pieces are 13" square, so I marked my zipper at 12", and I'll cut just short of the line.
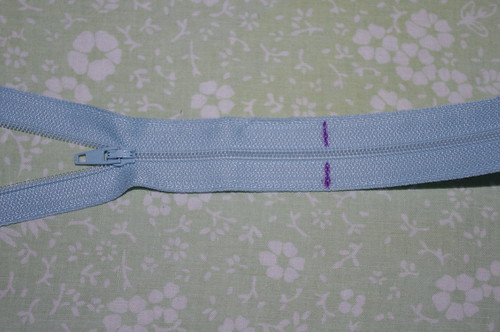
This is important!!! Do not, I repeat DO NOT, cut your zipper at the line if it looks like the picture above. Don't even think about it. I know it would be so much easier to cut it when it's closed up like that, but you'll be leaving your pull on the wrong side.
Move your zipper pull past your line (towards the zip end you already sewed on - mine is off to the right), so it looks like this:
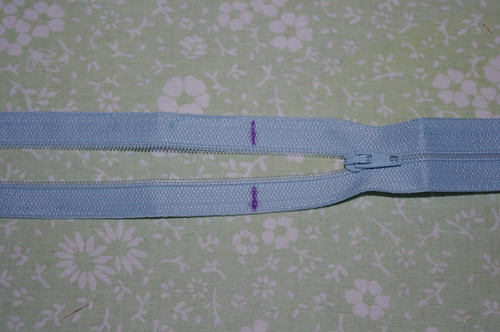
Before you cut it, sew it together below your line. It doesn't have to be pretty, you just want the two halves held together when you sew on your zip end. Trust me, it'll make things much easier in a minute. I just hand sew it with a few stitches.
(Sorry, I turned my zipper around between pictures. My finished end is now on the left.)
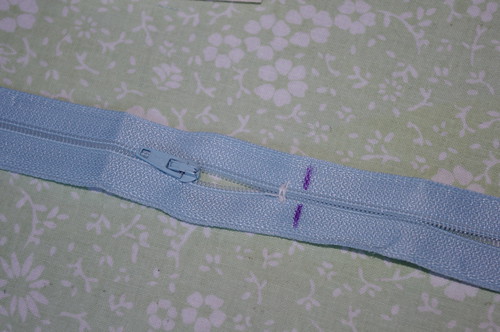
Once you've sewn the ends together, double check that your zipper pull is in the correct part of the zipper, then go ahead & cut the zipper. If you marked your zipper an inch shorter than your opening (like I did), then cut it a little smaller. If you marked it right at 1 1/8"-1 1/4" shorter than the pouch, then go ahead & cut right on your line. Again, try to cut it as straight & even as possible.
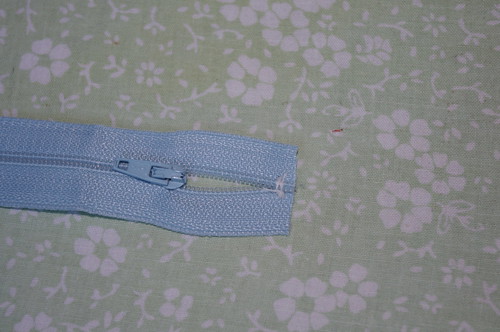
Now, just like the other end, sandwich it in the middle of your remaining piece of zip end, push up flush with the crease, pin, and sew in place.
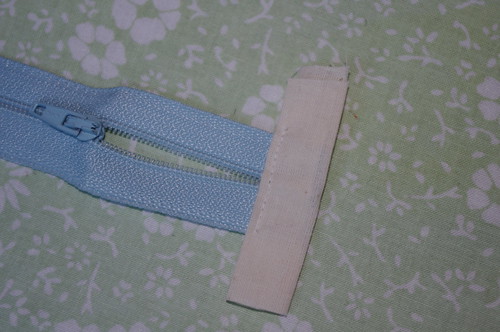
Trim your zip ends so they're even with the width of the zipper. Your zipper (including zip ends) should now be finished on both ends & approximately an inch shorter than the top of your pouch.
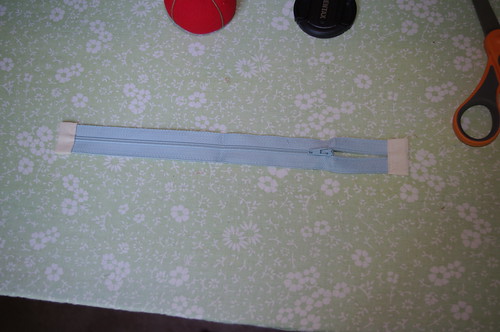
Take the first exterior piece for your pouch, it doesn't matter which one, and lay it down rightside up. Center your zipper wrong side up along the top edge of your exterior piece. You want the "working" side of the zipper to be facing the right side of your exterior. Basically, you're placing the fabric & zipper right sides together. It doesn't matter which end the zipper pull is on, unless you have a preference (I always sew my first piece with the zip pull on the left). Make sure the zipper is centered - you can either measure on each side of the zipper (my method of choice), or fold the zipper & fabric in half then match up the center points. Open your zipper a couple inches, then pin in place so that the edge of the zipper is flush with the top edge of your fabric.
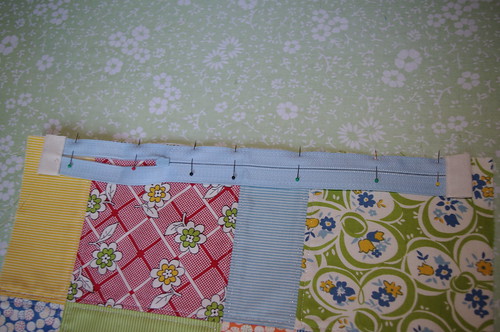
(Note: You can skip this next step, basting in the zipper, if you'd like. Personally, I'm not typically a fan of basting, but I always baste my zipper to the exterior. If you want to skip the basting, you'll sandwich your zipper between your exterior and lining pieces in this order - exterior right side up, zipper right side down, and lining right side down. Like I said, I always baste (even when I made 22 zippered pouches at once!!), but it's totally up to you. If this is your first time sewing a zipper, I really can't recommend basting enough.)
Baste the zipper in place, about 1/8" from the edge (not right along the zipper teeth). Be sure to sew over the zip ends as well, but don't go past them. When it comes to sewing zippers, I always,alwayspull out my pins as I get to them. They always seem to pull the zipper out of place just a bit & can cause problems if you leave them in. So, even if you normally sew over your pins (guilty as charged!), do yourself a favor & pull them when sewing anything with a zipper.
When you get close to the zipper pull, stop with your needle in the down position.
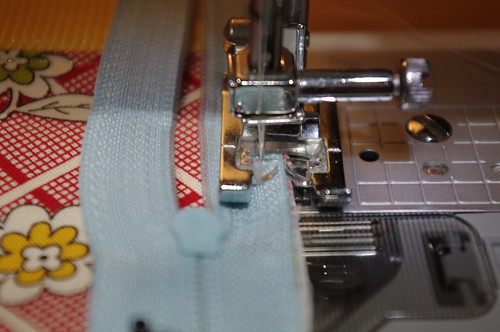
Take your foot off & completely away from the peddle. Some people will say to go ahead & shut off your machine too, but I can't since my needle moves every time I turn the machine on. Basically, just don't sew through your finger on this next part. :)
Lift your presser foot & move the zipper pull past the foot so it's out of your way to finish sewing. This can take some crazy maneuvering sometimes, and more than once I've had to remove the foot to get the zipper by. Personally, I prefer to sew as much of the zipper as possible with the zipper closed. So you may move it more towards the end, depending on which end of the zipper you're coming from.
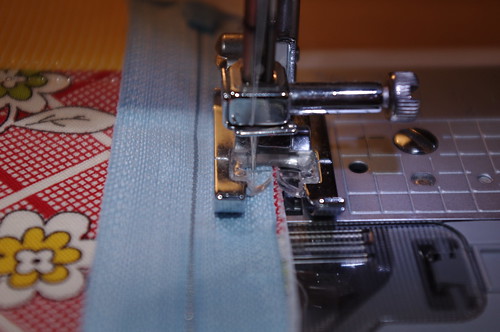
Finish basting on your zipper, making sure to backstitch at the end of the zip end.
Sorry my stitches are light & hard to see here.
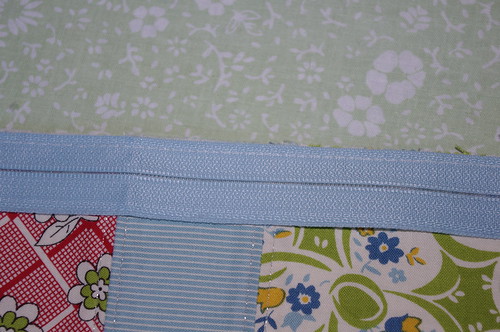
Once again, open your zipper a few inches.
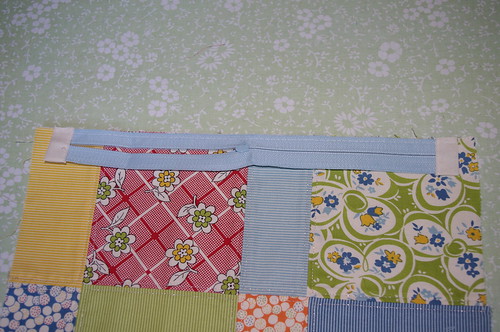
Place your first lining piece wrong side up, so the top is flush with the zipper & exterior piece. Pin in place.
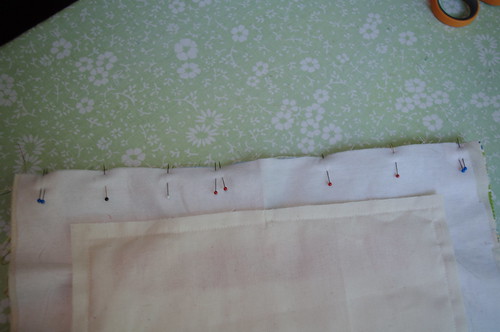
The double pins on the ends mark the ends of the zipper & the double pins in the middle mark the zipper pull. If you can tell where the zipper ends (you don't want to sew past the zipper), you don't need to mark those, but I recommend at the very least marking your zipper pull so you don't forget & get too close.
Switch to your zipper foot & sew along the edge of the zipper. We are sewing on the right side of the zipper, so you should attach on the left side of the zipper foot. The ledge of the zipper foot should sit on top of the zipper, and on mine, I know I can line up the right side of the little sled part (again with the technical terms...) with the edge of my fabric & have it sew nice & close to the zipper, but not too close.
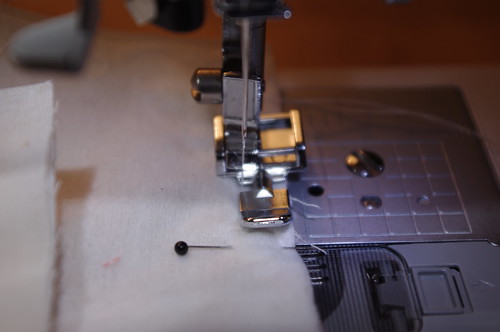
Start & stop at the ends of the zipper (including zip ends), but do not sew off the ends where you just have the lining & exterior together. Be sure to backstitch at each end. Stop when you get within about an inch of your zipper pull, leave your needle down, lift the presser foot, and move the zipper past the foot. Don't forget to pull your pins as you go instead of sewing over them!
When you get to the end & open it up, you should have this:
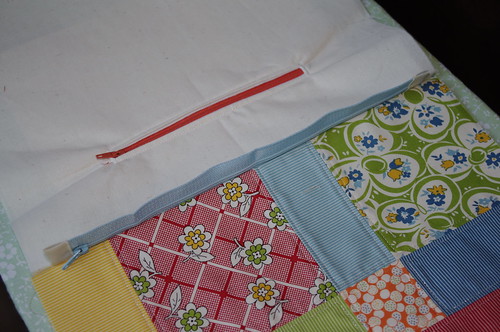
Both lining & exterior are right side up & the working side of the zipper is on the exterior side.
Flip the lining all the way over so the lining & exterior are now wrong sides together. Work the seam along the zipper so it's nice & flat on both sides, then pin in place.
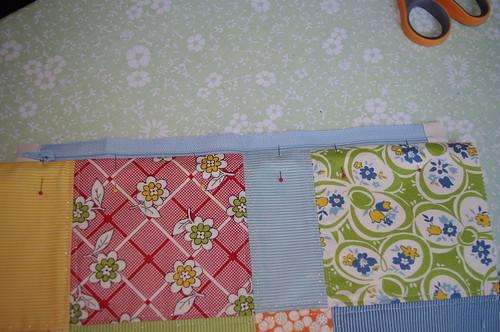
Topstitch along the edge of the zipper. You can either use your zipper foot or switch back to your regular foot (my choice). You want to stitch about 1/8" away from the edge of the fabric.
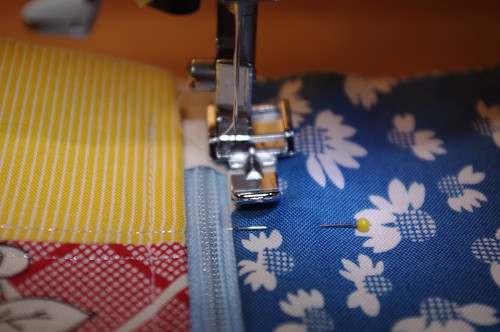
OR
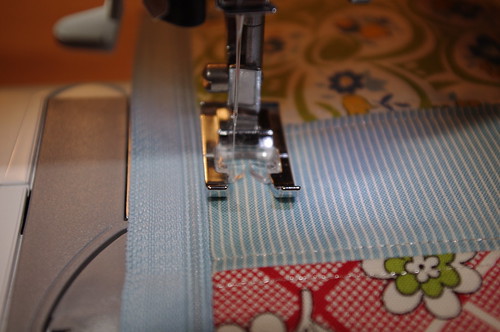
This will help keep your exterior, and especially your lining from getting stuck in the zipper.
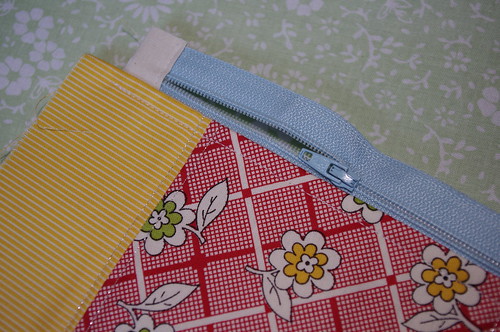
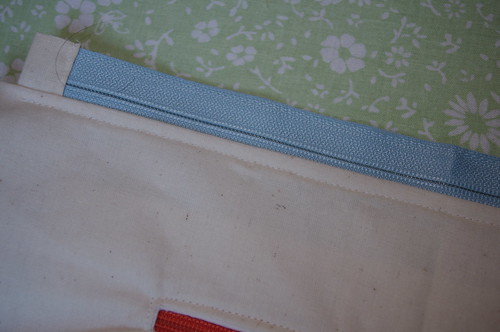
Now, we're going to repeat the whole process with the other exterior & lining pieces.
Place your remaining exterior piece down right side up, and put your zipper (now with an exterior & lining attached) on wrong side up on top. Your two exterior pieces will be right sides together, with the right side of a lining on top.
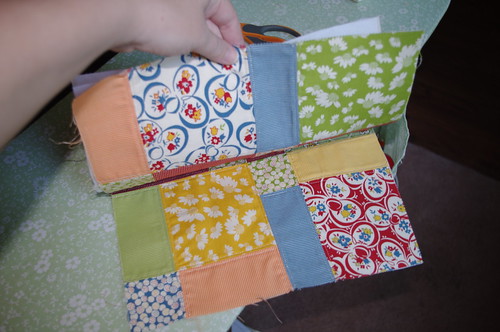
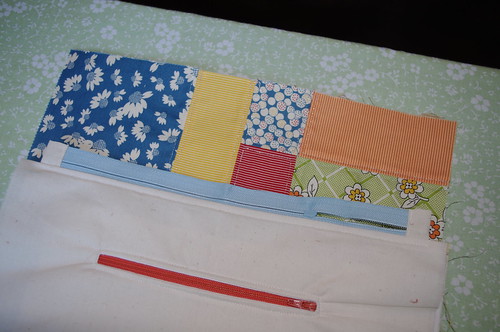
Line up the zipper flush with the top edge of your exterior fabric & pin in place.
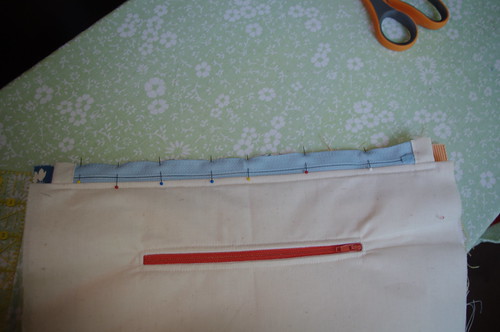
Baste your zipper in place the same as before, about 1/8" away from the edge.
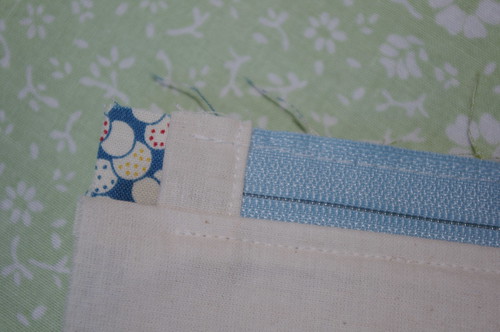
Lay your remaining lining piece on top, wrong side up. Make sure to mark your zipper pull.
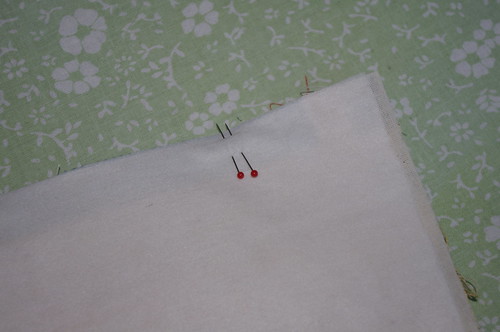
Your two lining pieces should be right sides together.
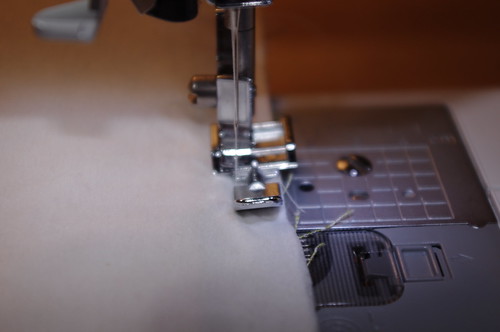
Once again, switch to your zipper foot, and sew, making sure to stop & move your zipper pull when you get to it, and start & stop at the end of the zipper, not the end of the fabric.
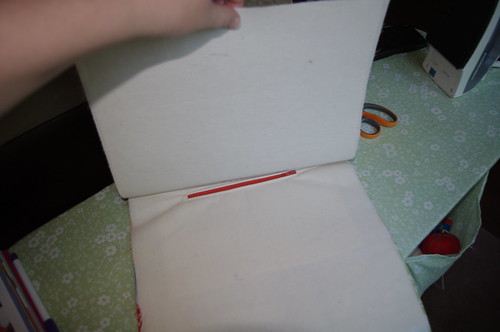
If you open it all up & lay it flat, you should have both right sides of the exterior along with the working side of the zipper.
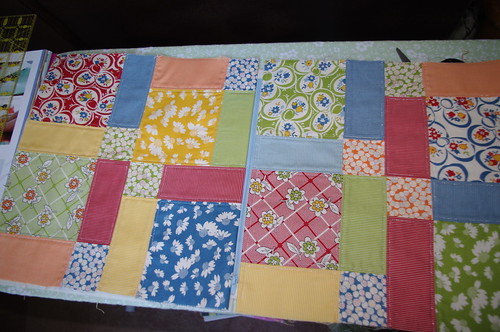
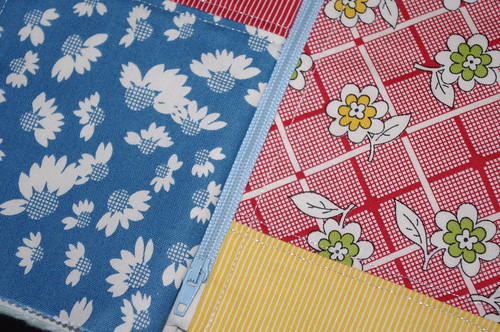
And if you flip the whole thing over, you should have both right sides of the lining along with the back side of the zipper.
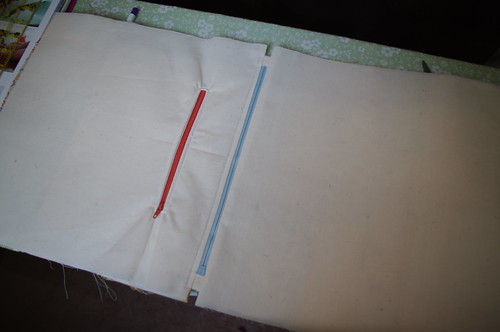
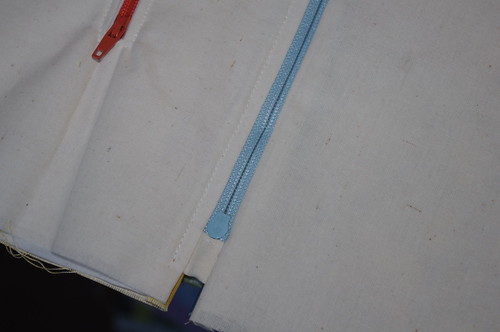
Now, on the pieces you just attached to the zipper, once again work the seam so it lays flat & pin so you can topstitch along the edge of the zipper, the same as you did for the first side.
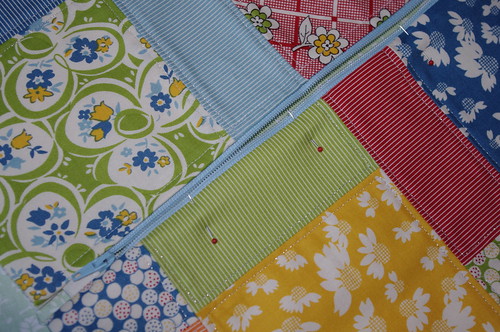
At this point, you may now return to your regularly scheduled pattern, if you were following one. If not, read on to finish up your pouch.
If you want to add any kind of loop for a handle, now is the time to do it. Make your loop (I use the same method as I did for the zip ends - basically making double-fold bias tape, but much smaller. I think this piece was 1" before folding & pressing.), then pin & baste it in place.
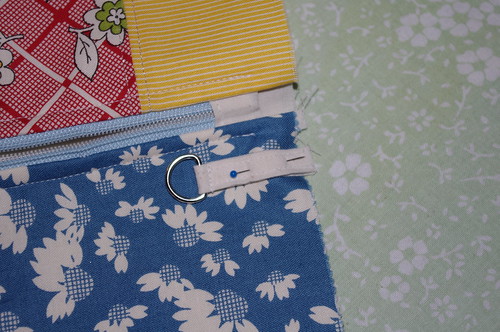
IMPORTANT!!! Right this very second, open your zipper. Do not forget or you will not stop cursing yourself later. Trust me, it's possible to open a zipper from the wrong side, but it is noteasy. Not at all. And do yourself a favor, open it all the way. Again, trust me, you'll thank yourself later.
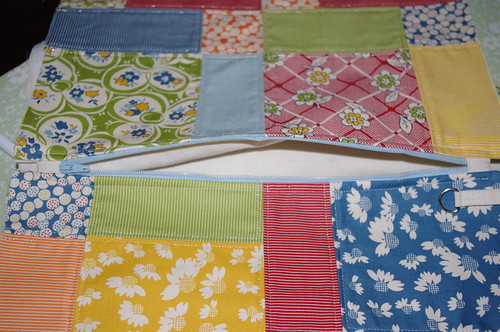
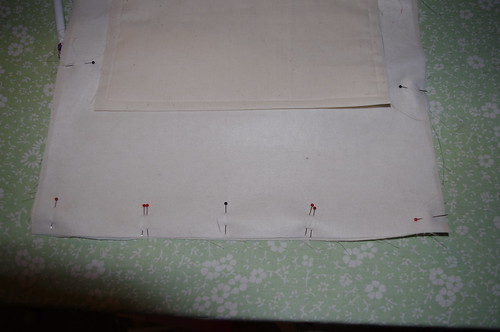
Fold the pieces back so your exteriors are right sides together & linings are right sides together, with the zipper in the middle. Pin in place.
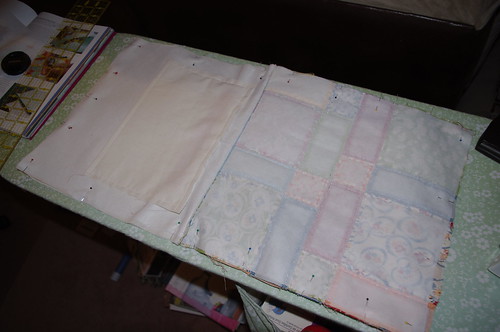
I always use double pins to mark where I need to leave my opening for turning. If I don't, I'll forget & sew all the way around.
I have found the absolute, best method for turning is this one from Michelle at Keyka Lou. If you aren't using this method, do me a favor & at least try it a time or two. I promise you'll never want to do it another way, and if you do, I want to know what your better method is. You can thank me later. ;)
When you're sewing it all together, do not sew over your zip ends when you get to that point, just sew in the space next to them. You'll probably have to decrease your seam allowance to squeeze by, and sometimes I even switch to my zipper foot so I can get as close as possible to the zip ends without actually sewing them into the seam.
If you're making a basic flat pouch, just sew all the way around, turn through your opening, sew the opening closed, and carefully push the seams into place at the ends of your zipper. Remember, your seam allowance here is probably smaller than everywhere else, so be gentle, but you can get them pushed out nicely.
If you want to make a pouch with a flat bottom, sew around only your exterior, start & stopping about an inch on the lining side of the zipper. If you make your gussets in your exterior beforesewing the lining, you've got the entire zipper to reach through, which is much easier than trying to reach through the opening you leave in the lining. Once your exterior gussets are made, sew around the lining piece, then use your turning opening to make your gussets.
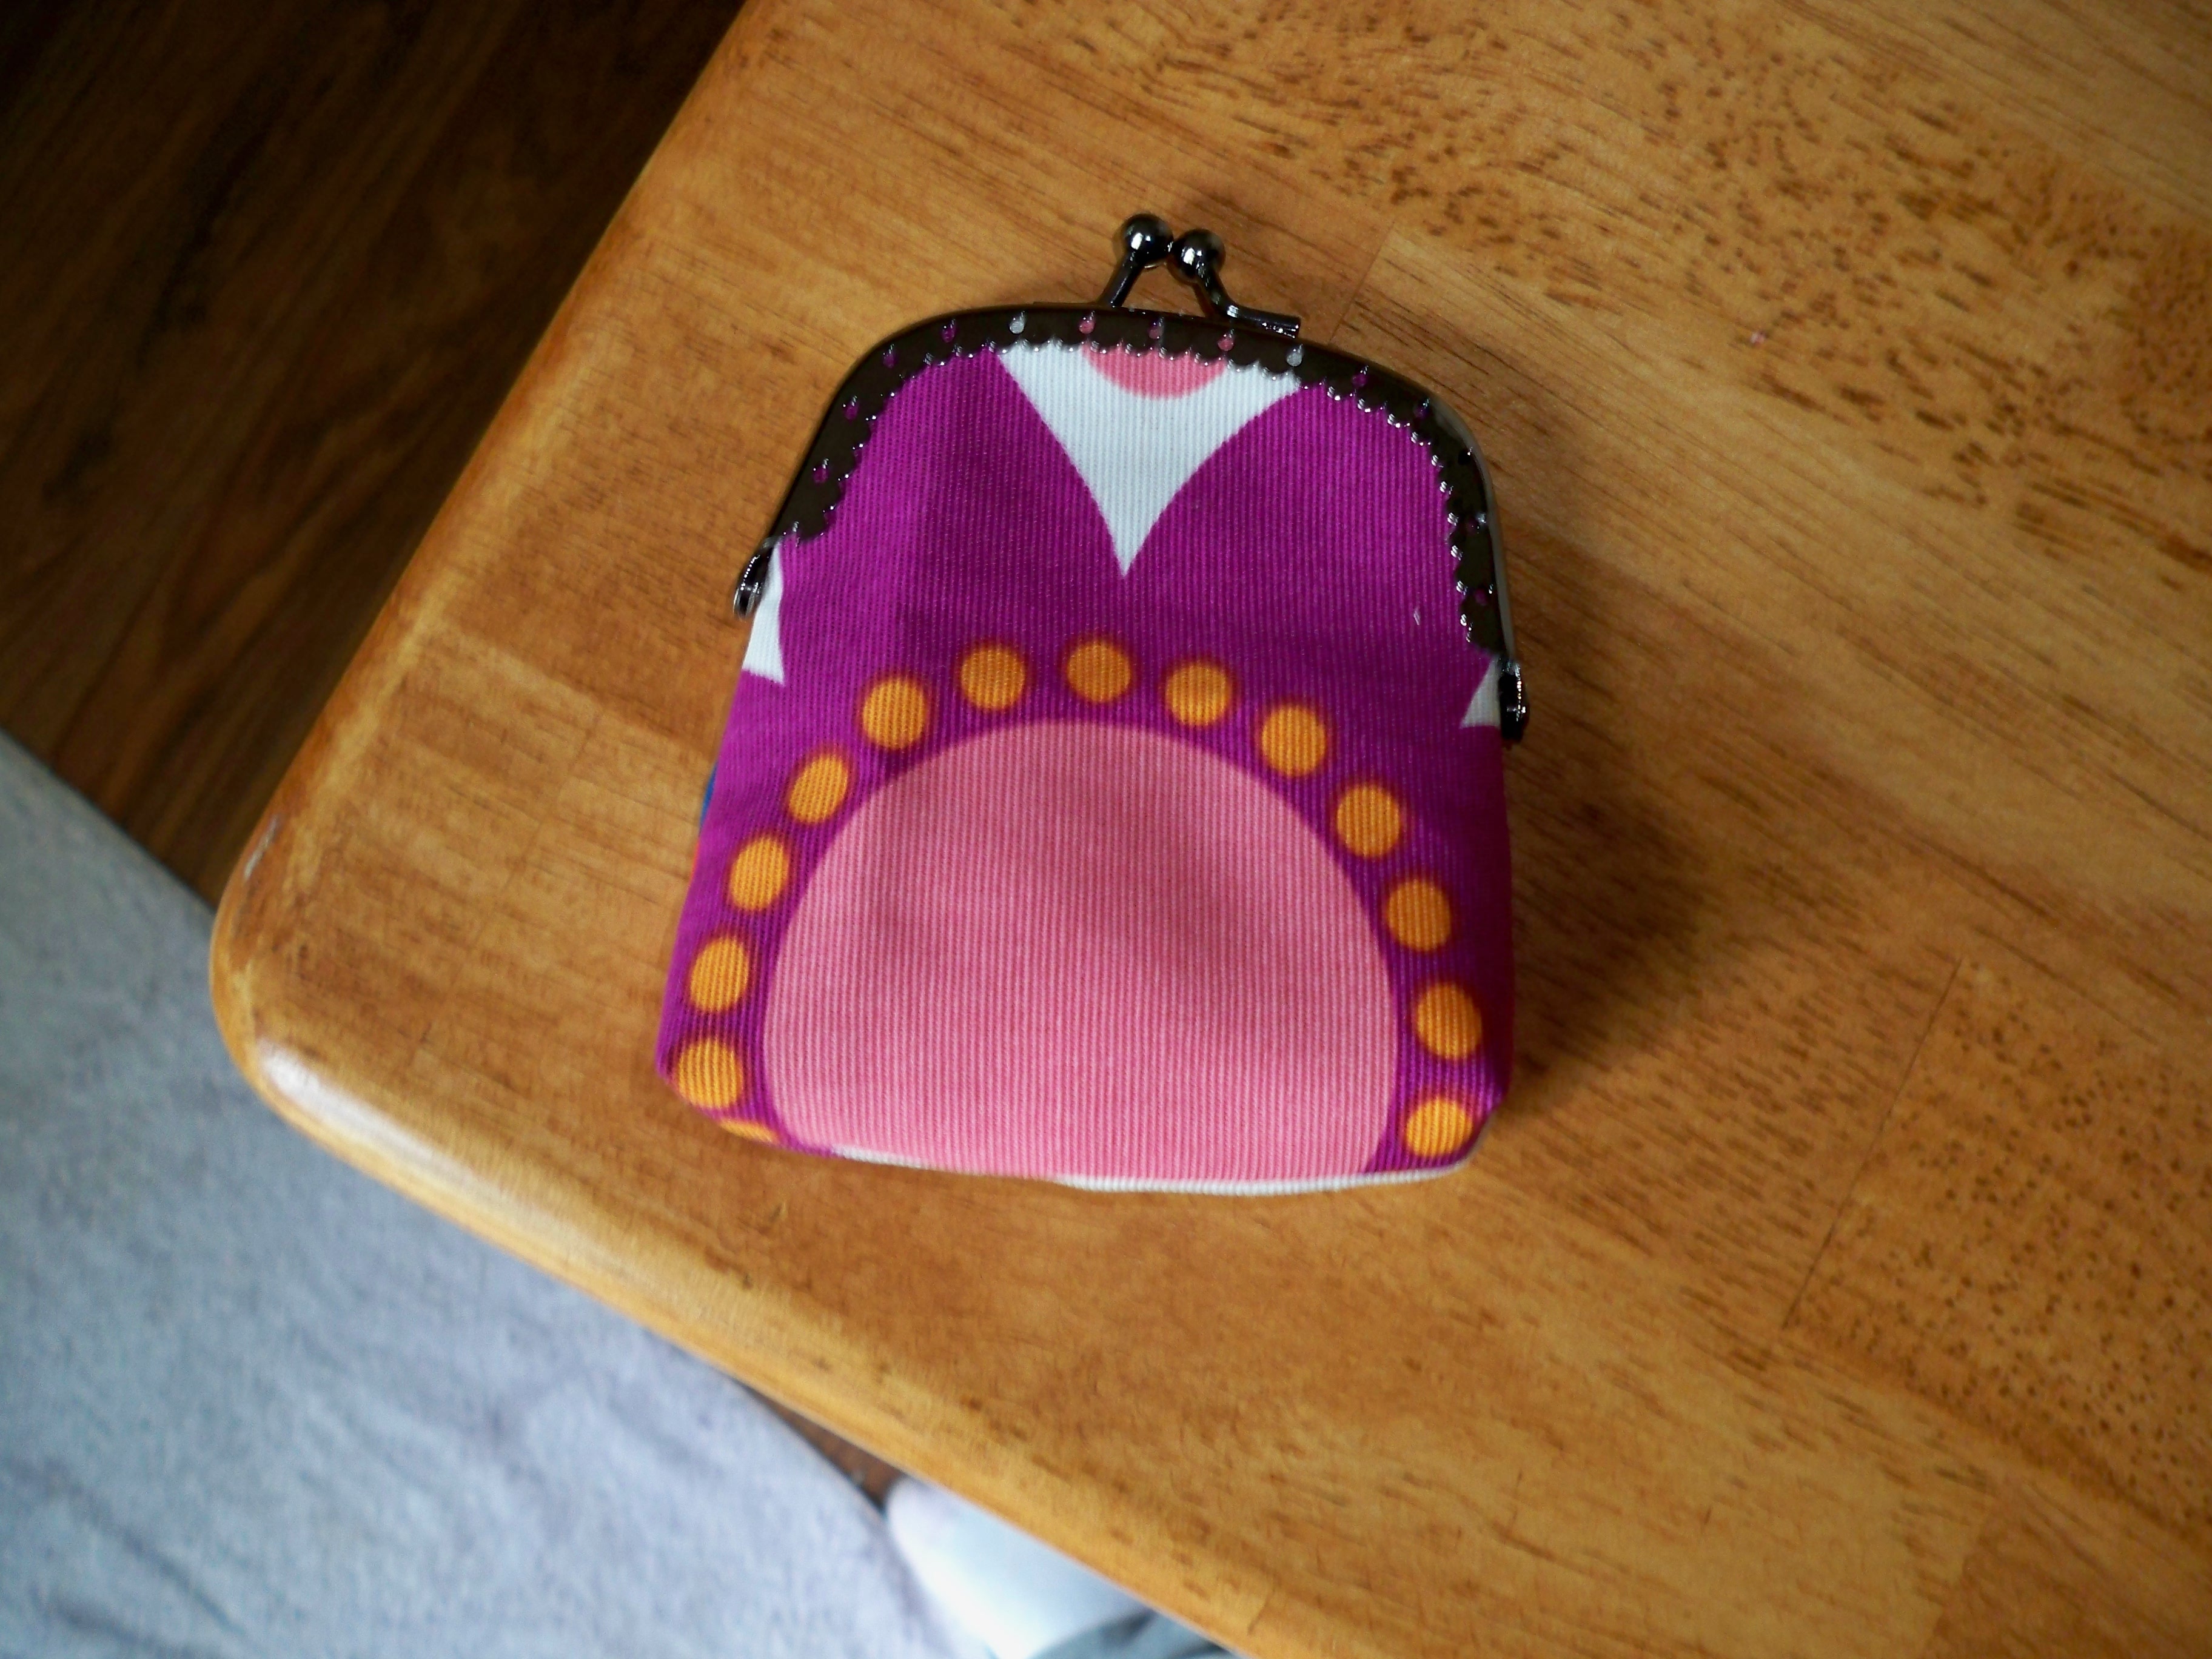
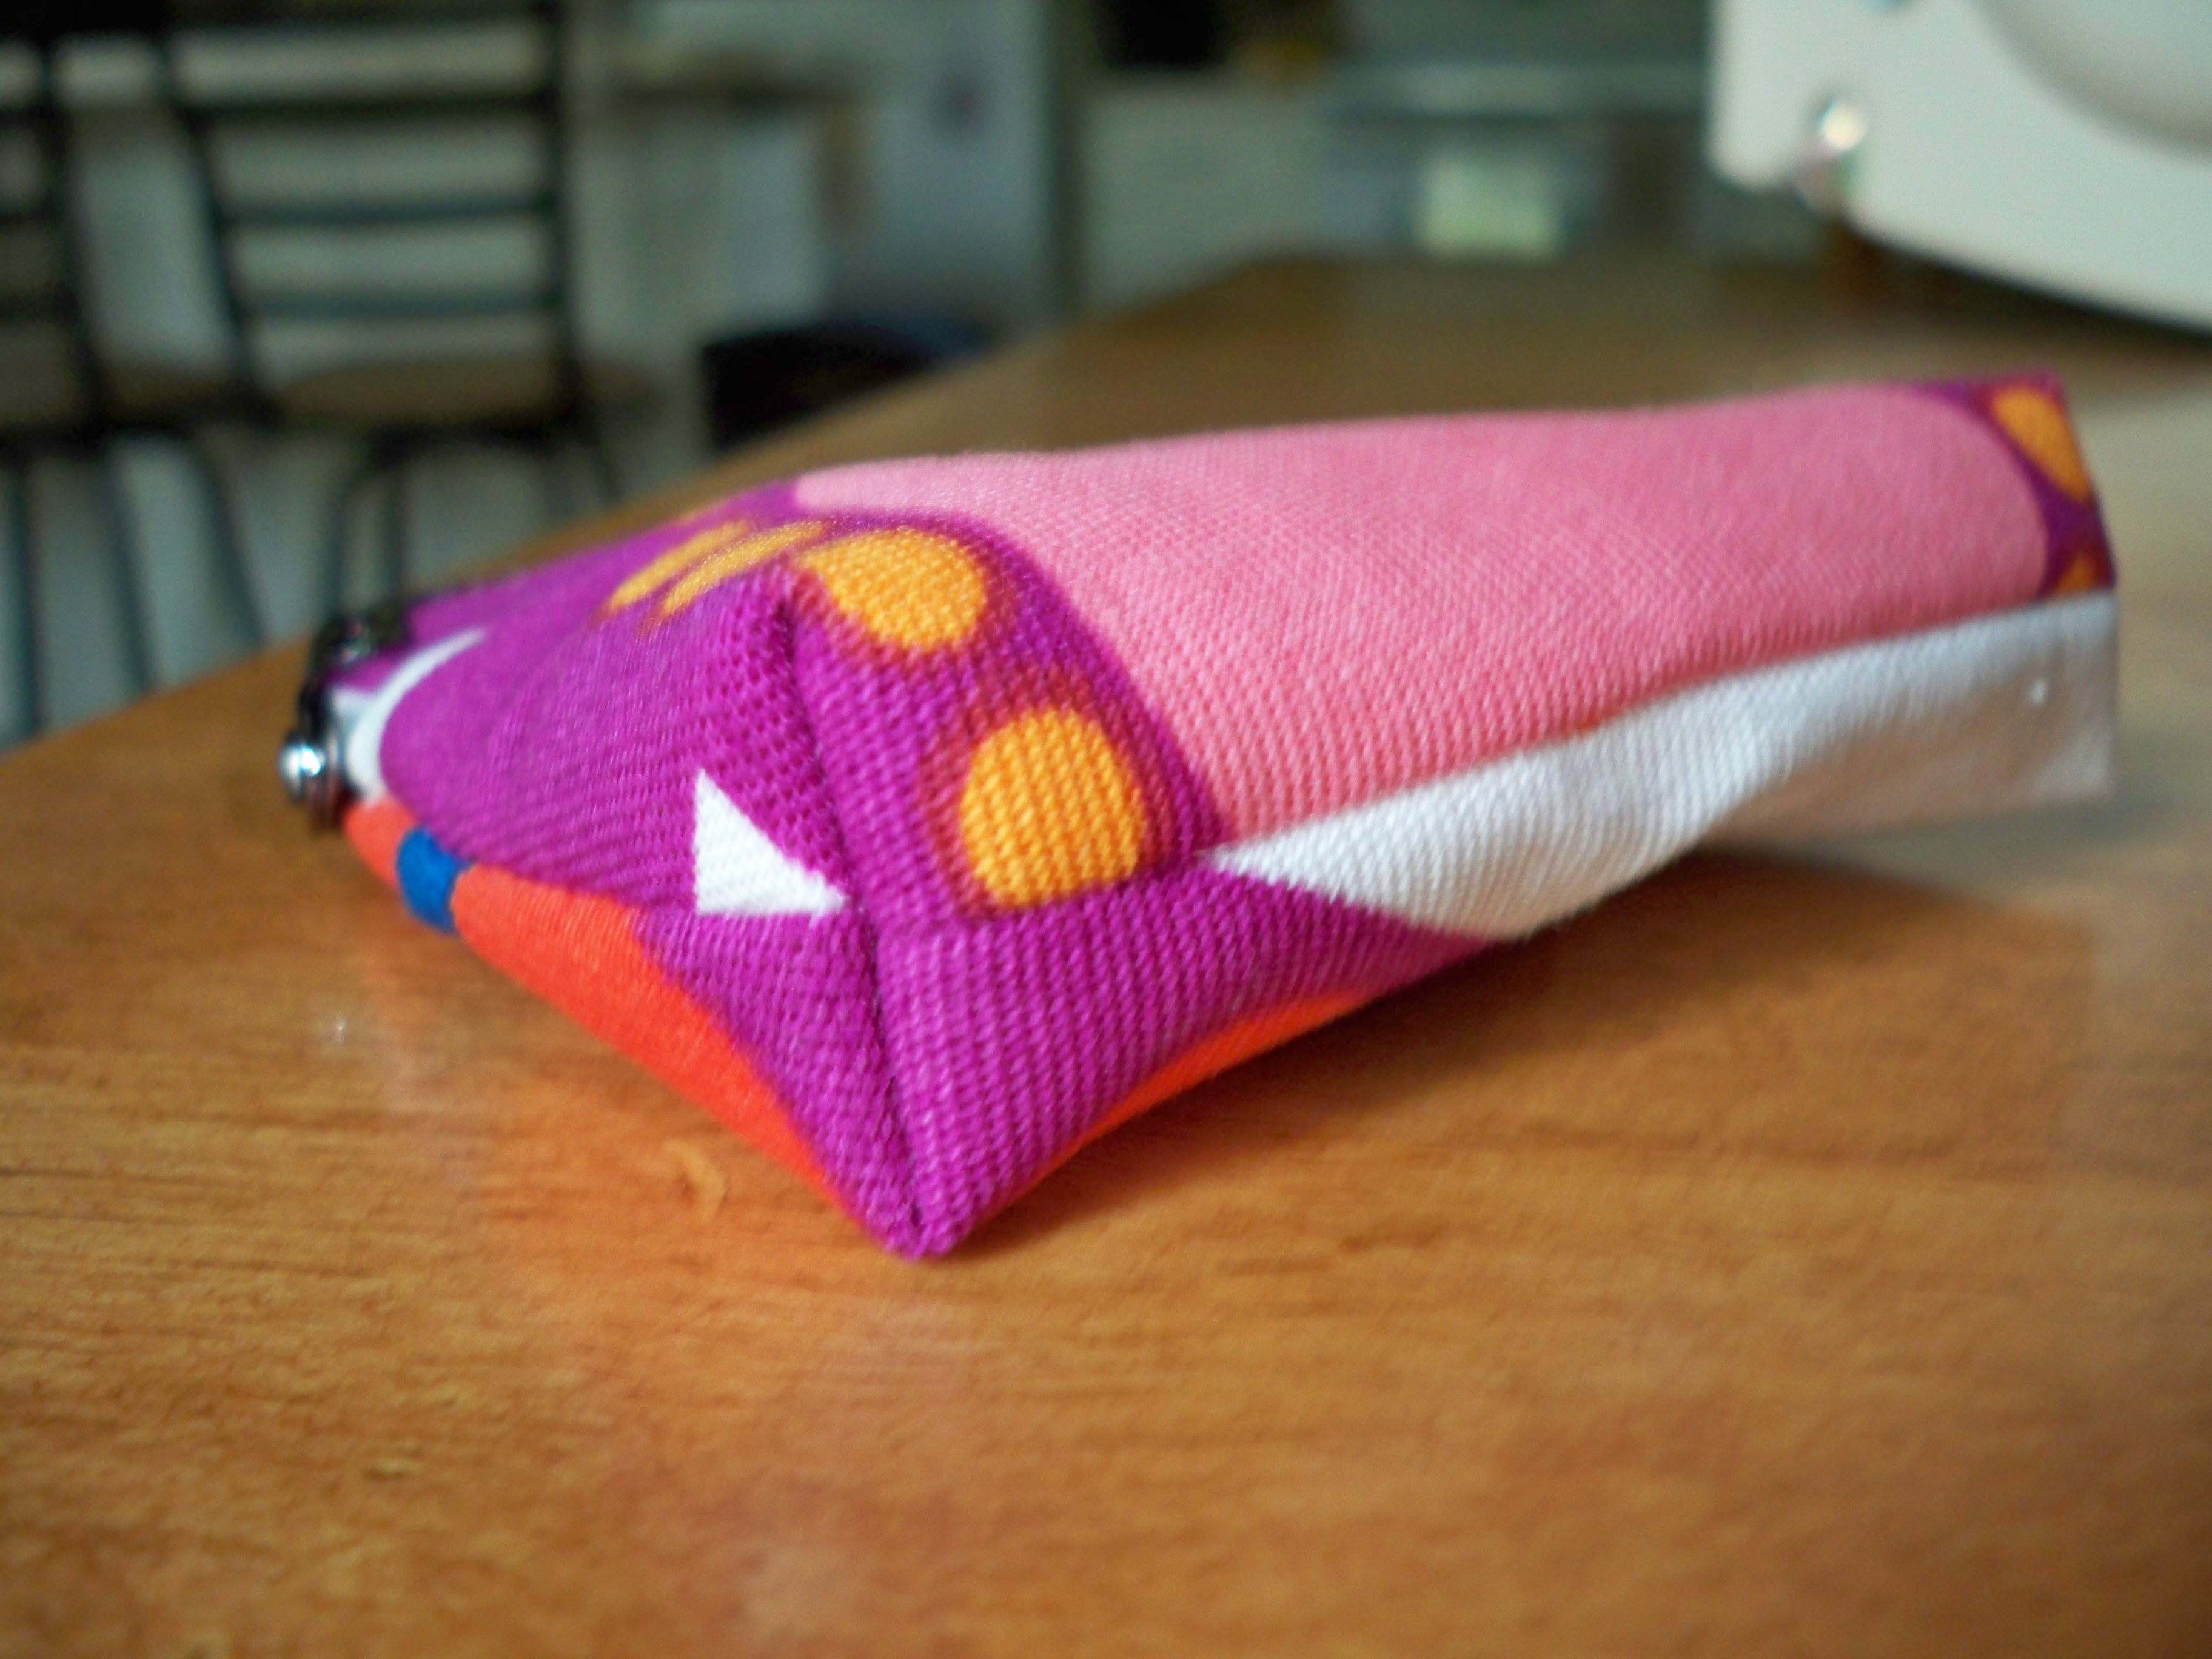
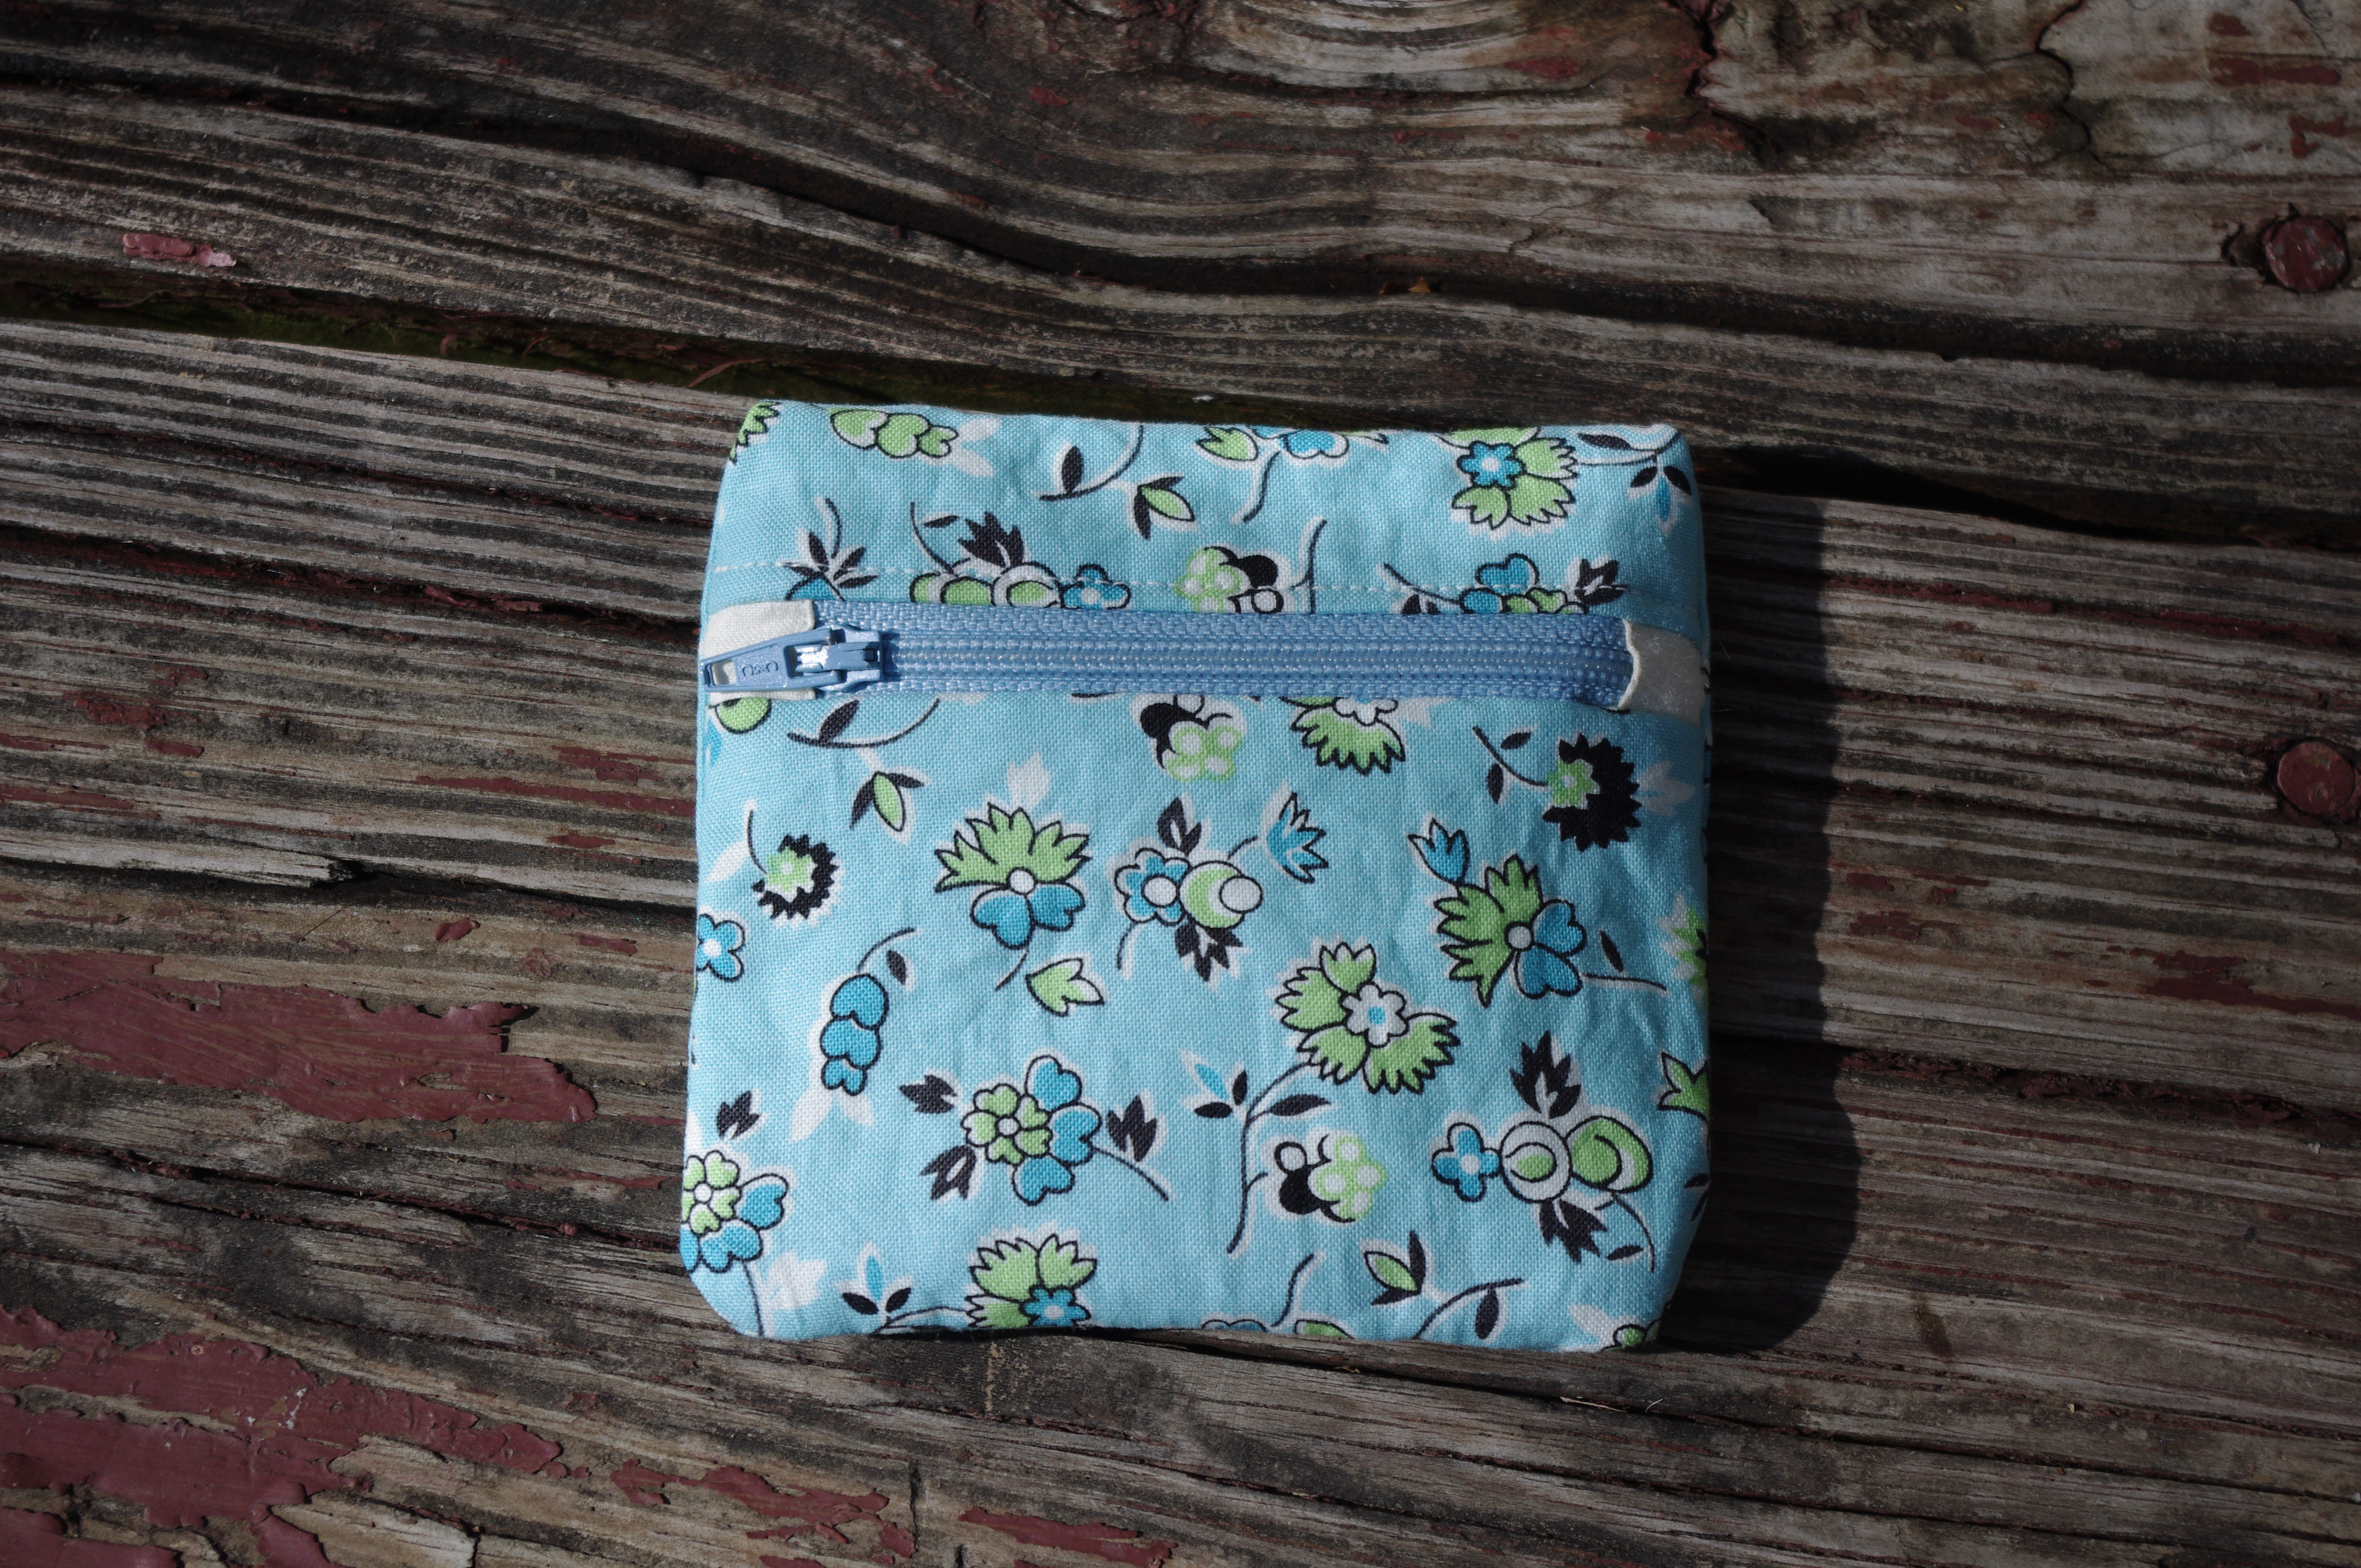
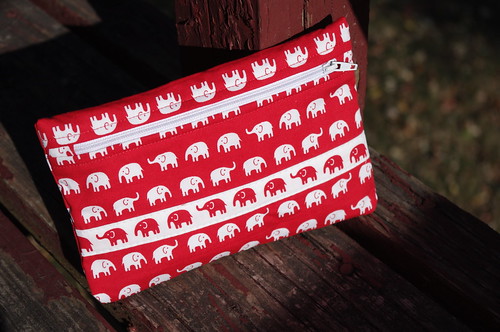
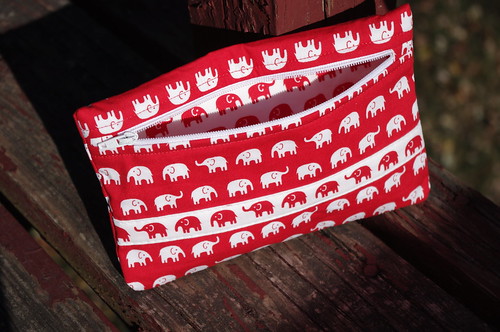
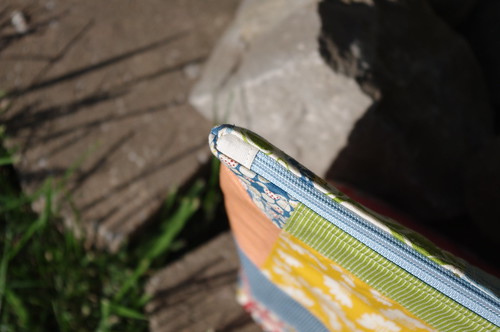
When you're all done, you should have a nice little pouch with a pretty zipper! It still takes some practice, but after you do it a few times, you'll have the process down so you barely have to think about it.
Good luck! If you have any questions, let me know & I'll try to clear anything up that might not quite make sense.
Until next time...