Wednesday, October 10, 2012

WIP Wednesday #36

WIP Wednesday at Freshly Pieced

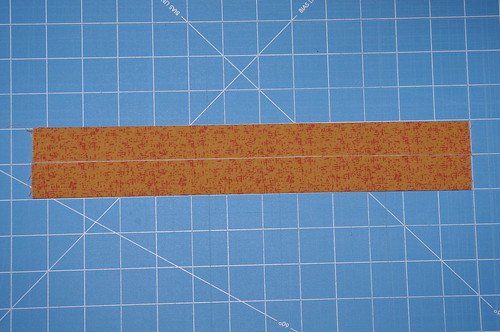
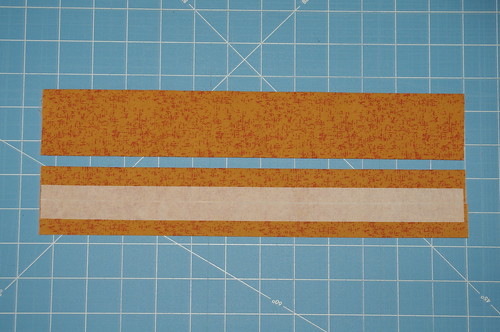
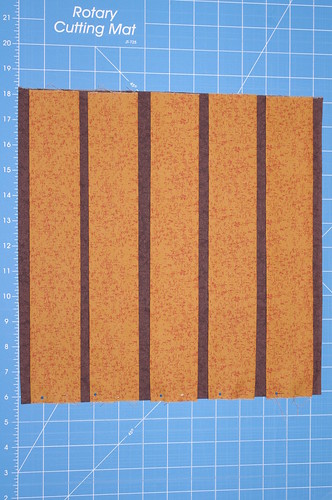
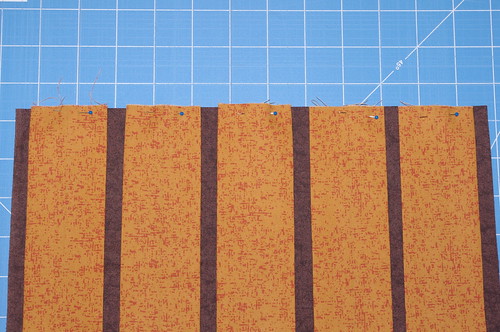
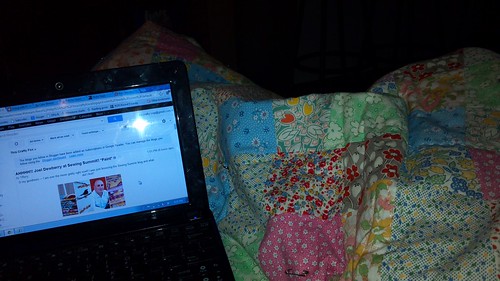
The other day I realized it's been quite a while since I worked on my wonky 9-patch quilt, so I dug it out this week to get to work on the quilting.  I had one line half-done, finished it up, then realized I forgot to grab my scissors & was too comfy to get up & grab them.  So instead I snuggled under the quilt (it's nice & warm!) & caught up on some blog reading (Hi Tiff!).  I wouldn't call it a wasted evening. :)

Untitled

I need to make Jill's block, hopefully this week so I don't fall behind.  I'm thinking about making all the blocks in solids so I can submit the mini in the Fall for Solids contest over at Pink Castle Fabrics.  I know I need to keep up with the blocks as we go or I'll start putting them off.

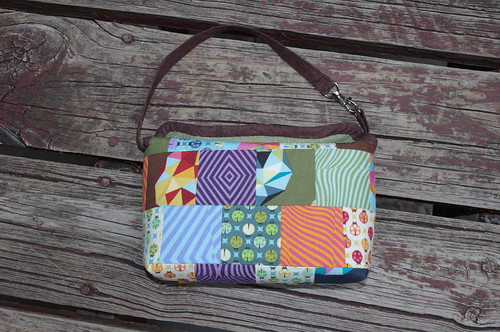
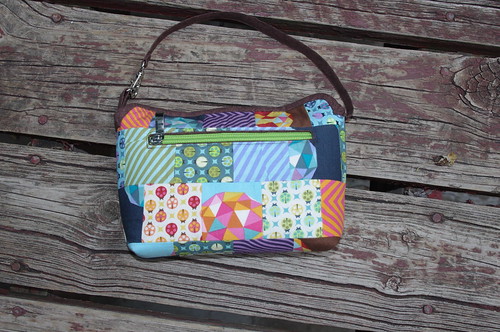
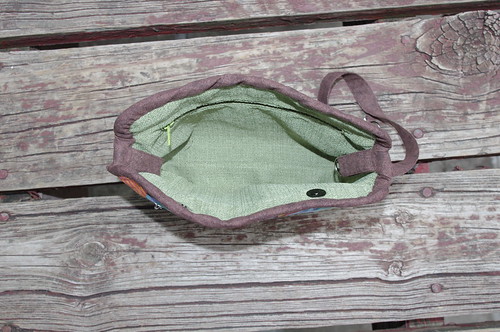
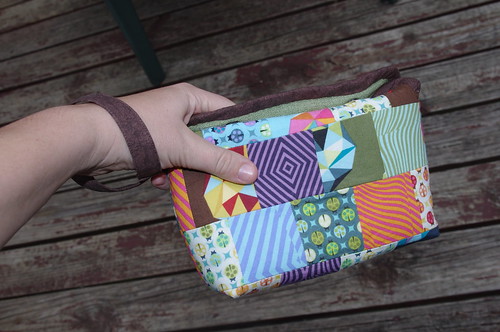
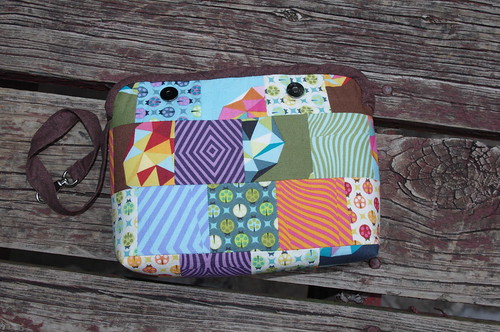
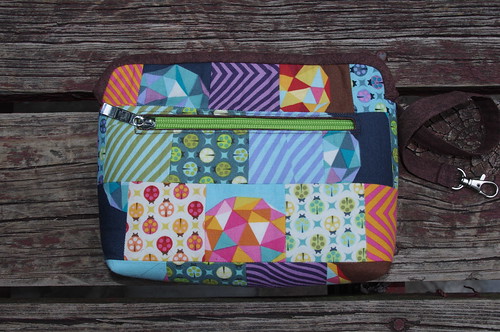
I have plans for another Airport Clutch, but haven't actually started cutting anything yet.  I've also decided to jump on the band wagon & make the Amy Butler Weekender.  Right now I'm finding as much inspiration & tips as I can, and have an entire Pinterest board dedicated to it.  Check it out & let me know what I'm missing!

Make sure you head over to Freshly Pieced to see what everybody else has been up to this week.

Until next time...

Monday, October 8, 2012

Cathedral Windows QAL: Block 3


Cathedral Window Sampler QAL

Time for Block 3!  Head on over to Made With Moxie today for Jill's block.  Isn't it fantastic?

Cathedral Windows QAL - Block 3 by Jill @ Made with Moxie

Jill has a very different method for creating her cathedral windows that results in a lot less layered (and therefore wasted) fabric.  One thing I have always disliked about cathedral window blocks is the many, many layers of fabric (and basically wasted fabric), but Jill has a great method that eliminates all the extra layers.  Seriously, this has totally blown my mind!

If you're having troubles wrapping your mind around Jill's method (it took me a bit, even with her great pictures & instructions), check out this video that should clear everything up.  It's so funny, I was just telling Jill that I had never seen this method for making Cathedral Windows before, then this video popped up on Pinterest this morning.  Talk about great timing!


Make sure you head on over to Made with Moxie for Jill's block & come back later this week for Block 4!

Until next time...

Friday, October 5, 2012

Happy, happy birthday...

...to me! :)
cupcake

I would have gotten the cupcake out to take a new picture this morning, but it's chilly & cloudy.  Boo.  The weather is always hit or miss on my birthday.  Some years it's sunny & warm, others it's cold & rainy.  I even remember one year when we had the first snow on my birthday - not a good gift!

It's a big birthday this year too - 30! - and I haven't decided yet how I feel about it.  I've been joking around the past couple months about the end of my twenties, and hubby says I'm struggling with turning 30, but honestly it's really not a big deal.  I think I had a bigger issue when I turned 23 (yeah, I'm not sure why either)! 

No big plans for the day, but hopefully Coop will let me get some fun sewing done.  I'm already making plans for my next Airport Clutch, and hopefully it'll turn out!

Until next time...

Thursday, October 4, 2012

Cathedral Windows QAL: Block 2

Cathedral Window Sampler QAL


I'm so excited to be sharing my Cathedral Window block with you today!

Woven Windows

Head over to the Pellon Projects site for a .pdf download of the instructions.

Woven Cathedral Window block

Fabrics needed
3 Fat quarters – 1 for the background background (brown)  and 2 for the strips (red & orange)

Materials needed
10” Pellon 805 Wonder-Under

Tools needed
Sewing machine & related supplies
Rotary cutting tools & supplies

Cutting instructions
From background fabric, cut one block 12.5”x12.5”.  From each of two remaining fat quarters, cut five 4”x12.5” strips (10 strips total, 5 each of two fabrics).

Cathedral Window Weave Block

From Pellon 805 Wonder-Under, cut ten 1”x12.5” strips.

Assembly instructions
With wrong side up, finger press or use an air/water soluble marker to mark the center lengthwise on each 4”x12.5” strip.

Cathedral Window Weave Block

Fold & press one edge to the center mark.

Cathedral Window Weave Block

Fold & press second edge to center mark.

Cathedral Window Weave Block

Repeat for each strip, resulting in ten 2” strips.

Following instructions on Pellon 805 Wonder-Under, press Wonder-Under to back side of each 2” strip centered over the seam.

Cathedral Window Weave Block

Once fused, remove paper backing from Pellon 805 Wonder-Under.

Place 5 matching strips vertically on 12.5” block, centered & with equal spacing between strips.

Cathedral Window Weave Block

Pin each strip at one edge.

Cathedral Window Weave Block

Fold up vertical strips 2 and 4, then lay down horizontal strip 1.

Cathedral Window Weave Block

Fold down vertical strips 2 and 4, fold up vertical strips 1, 3, and 5, then lay down horizontal strip 2.

Cathedral Window Weave Block

Repeat until all 5 horizontal strips are added.  All strips should be woven together.  Adjust strips so all spacing is even.

Cathedral Window Weave Block

Carefully transfer to ironing board, and following instructions on Pellon 805 Wonder-Under, press (may be necessary to flip block & press from back as well) to adhere strips.

Baste ¼” around block to hold down edges of strips.

Cathedral Window Weave Block

Fold back center of each section, and pin curve in place.  Don’t worry about making perfect curves, they will ease into place as they are sewn down.

Cathedral Window Weave Block

Cathedral Window Weave Block

Shorten stitch length, then begin sewing curves.  Back-stitch 1 or 2 stitches at the beginning and end of each curve.  Ease curve into place as you sew.

Make sure to pay close attention when sewing overlapping curves.  The bottom curve should be folded up instead of flat.

Incorrect
Woven Cathedral Window

Correct
Woven Cathedral Window

Sew each curve on both sides of each strip.  Once all curves are sewn, remove basting stitches if desired.

Woven Windows

All done!  Don't forget to share photos of your blocks in the Flickr group for your chance to enter the giveaways!

Until next time...

Wednesday, October 3, 2012

My new clutch

My mom has this cute little Coach clutch that I absolutely love & keep telling her that if she ever decides she doesn't want it anymore not to just get rid of it....  ;)  Unfortunately, she travels a lot for work, so she uses it all the time.  Her's closes with a twist lock & even though I figured I could make something similar myself, I hadn't ever installed a twist lock before & was really intimidated.  A few weeks ago I installed my first twist lock & it was a lot easier than I expected, so I decided it was time to make a clutch similar to mom's.  I wasn't patient enough to wait for the locks to be delivered, so I used magnetic snaps on this one.

Sara sent me some Tula Pink The Birds & The Bees charm squares, so I decided this was a perfect project for them. I cut them all in quarters, so I have a 2" patchwork.

Airport Clutch

It's actually kind of funny because I absolutely love the little lady bugs, but I picked the other two because I'm not overly crazy about the prints & didn't mind chopping them up.  But put together like this, I love it!  

I added zipper pockets to the inside & outside (mom's just had a simple slip pocket in the inside).  They aren't huge, but they are just big enough to fit my smart phone.  It's nice to have a place to securely stash a few things.

Airport Clutch

Airport Clutch

The lining is a suiting remnant I picked up at JoAnn's a while back.  The color is perfect, but it's kind of thick & not the best choice for the lining.  Something a bit thinner would definitely be better.  I added D-rings to both sides so the strap can be attached two different ways:  on the same side as a loop or on the opposite side as more of a purse-type strap.  Personally I prefer the loop, at least so far.

Airport Clutch

The flaps fold over on top of each other, so the snaps are on the inside on one side & the outside on the other.

Airport Clutch

Airport Clutch

I used bias tape to bind around the top.  It wasn't easy, and it certainly isn't as pretty as it should be, so I'm not sure if I'll do it this way again.  I do like the way it looks with the binding at the top, but it was such a pain to sew on! 

Overall, I'm pretty happy with how it turned out & look forward to making another.  Hopefully it'll come together easier than this one!

Until next time...

Tuesday, October 2, 2012

I couldn't help myself!

After seeing Sara's fantastic tutorial for Block 1, I just had to make it.  I stayed up late, but it really came together super quick.

I really loved Sara's Tula Pink version (hello, who wouldn't love anything made from that Tula Pink Birds & the Bees?!), but I think the solids really show off the pattern of the block.

Cathedral window block 1

What do you think?  Will you be making Block 1?  If you do, don't forget to link up in the Flickr group!

Until next time...

Monday, October 1, 2012

Cathedral Windows QAL: Block 1

Cathedral Window Sampler QAL

It's October!  Time to kick things off with Block 1 in the Cathedral Window Sampler QAL.  Head over to Sew Sweetness to check out Sara's block & get the full tutorial.  It's absolutely gorgeous!

cathedral block 1 by Sara @ Sew Sweetness

I'll have Block 2 for you later this week!

Until next time...