Monday, May 9, 2011

April winner!

Thanks to everybody who linked up last week! I always love seeing what you've made.

This month's winner of the fantastic prize package from Flamingo Toes is:

winner

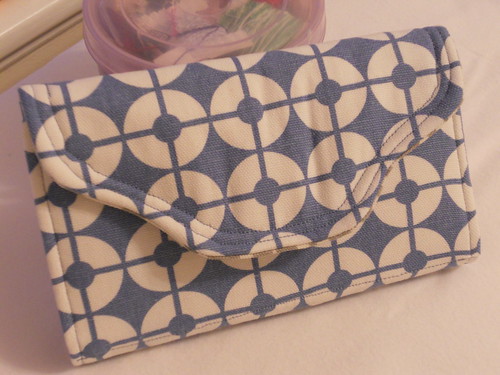
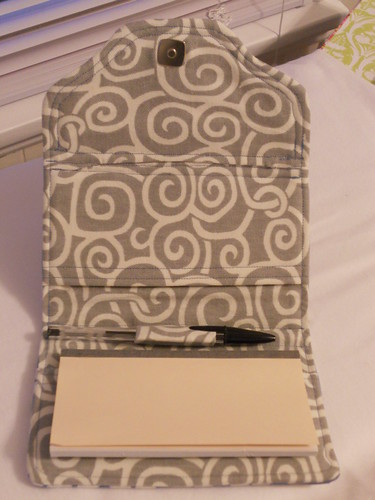
And number 11 is Jessica from A Blue Sky Kind of Life! Congrats, Jessica!

DSCN7769

DSCN7771

Jessica, please send me an e-mail with your contact info.

Until next time...

Thursday, May 5, 2011

Perfectly Pleated Clutch: Completed!

Wait, what?! Is it the end of May already? NOPE! I just didn't procrastinate this month & actually managed to get done at the beginning of the month. What a novel concept. :)

I said it before, and I'll admit it again now, I was not excited about this project when I first got the book. There were only a couple patterns in the book I didn't particularly like, and probably wouldn't have made them if not for the sew along. But let me say now, I'm so glad I did. I love it!

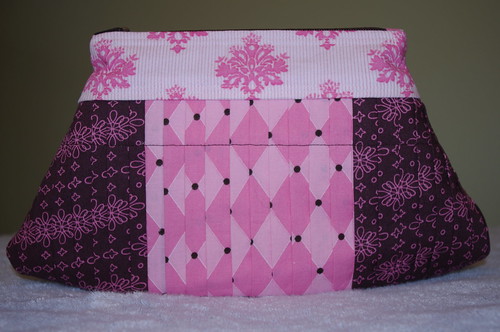
Perfectly Pleated Clutch

When I was first thinking about working on this one, I considered skipping the pleats, and just using the basic pattern for a clutch. I think that's still a great alternative if you don't like the pleats, or don't want to use that much fabric, but in the end I'm glad I stuck with the pleats. The clutch would still be cute without them, but I think the pleats add a lot to the design & take it up a notch from your basic clutch.

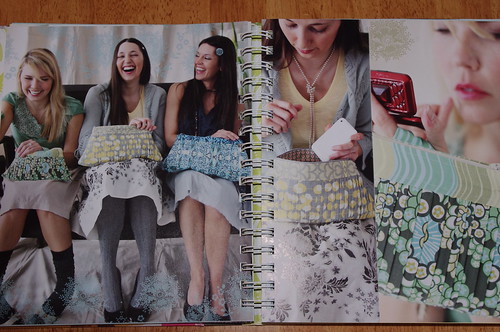
Amy Butler:  Perfectly Pleated Clutch
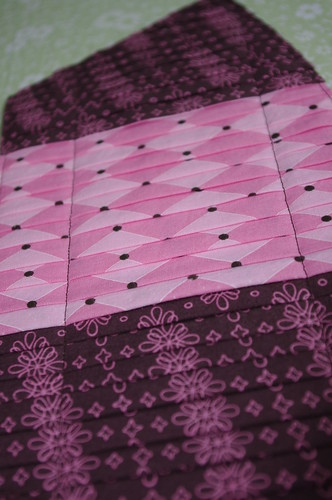
... sorry to share this again, I just love this shot of the pleats :) ...

Speaking of the fabric requirements for this, remember when I told you not to freak out about it? I'll stand by that. I have significant scraps left over from my six fat quarters, especially the fabric I used for the lining, handle, & band. The pleats use the most by far, but I've still got some decent sized usable pieces left from that. Had I not wanted to center the pink, I could have easily gotten each piece out of two fat quarters rather than three. Also, I used two fat quarters for the lining & pocket, but could have gotten all the pieces except one pocket piece on one fat quarter if I hadn't been fussy cutting on directional fabric. Obviously you'll use a bit more if you make the medium or large clutches, but I'm still guessing not nearly as much as called for in the book.

I only made minimal changes while making this, and overall I think the pattern is actually pretty good as written. Just like last time, I didn't see the need to baste the pocket pieces together before basting it onto the lining.

I did listen to Marci (her clutch should be up sometime next week) when she suggested adding an inch or two to the length of the strap since it was tight on her wrist. I just put the pattern piece about a half inch away from the folded edge & continued the line of the piece, essentially adding an inch of length. I think it's perfect - it slips on easily, but still won't fall right off.
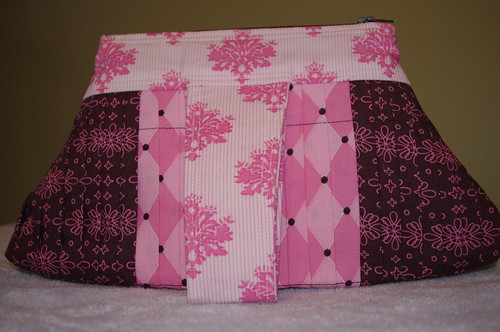
Perfectly Pleated Clutch

I didn't use the separate band on the lining side - I didn't see much point since I was going to be using the same fabric & it would just add an unnecessary seam & bulk. Instead, I just traced around the exterior piece after I added the band to it. It worked well, and I'm glad to have the lining as all one piece. The only thing is I wish I would have trimmed about a quarter inch off the lining piece all around (tapered from the top so the width at the top stays the same since the width at the zipper needs to match the exterior), or at the very least trimmed out most of the seam allowance after sewing the lining pieces together. Since the lining is the exact same size as the exterior, it's just a smidge too big & doesn't sit quite as nice as I would like on the inside. Usually when I make bags where you sew the exterior together, sew the lining together, then attach them together at the top, I'll just sew an 1/8" larger seam allowance in the lining so it's just a touch smaller than the exterior. That way when it's inside the bag, there's less bulk. It's not a big deal, but just something to think about.
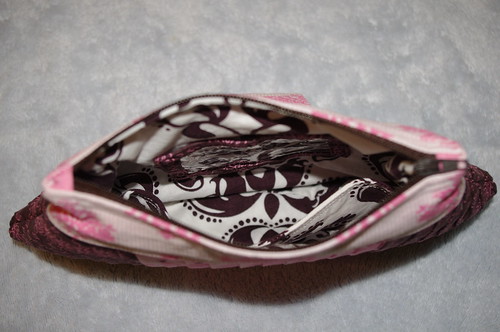
Perfectly Pleated Clutch

I did the zipper completely different than called for in the pattern. I'm never quite happy with how the ends of the zipper look when it's sewn directly into the seam allowance. I can just never get it lined up right so it looks pretty. Instead, I went with a covered-end zipper, and I'm absolutely loving how it turned out.
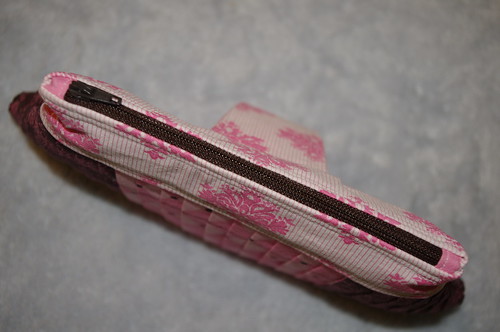
Perfectly Pleated Clutch

The zip ends even add a nice little touch to the top. To do this, I cut my zipper to 7" (remember, I made the small clutch!), but if I did it again, I'd probably go down to 6.5" to give myself a bit more room for the seams on either side, but I'll explain that in a minute. For the zip ends, I took a scrap of fabric just a bit wider than the zipper & 1 1/4" long. Fold & press in half (wrong sides together), then fold the ends in to meet the fold you just made. Basically you're making double-fold bias tape. Sew one to each end of the zipper, creating your new stops. When you're ready to put it all together with the zipper, instead of placing it like it says in the book, just center the zip along the top edge of your lining piece. You will have a space left at either end of the zipper - this is your seam allowance. You will not be sewing over the zip ends you created, only through the fabric that's beyond the zipper. I only left myself 1/4" on each end, planning to taper from a 1/4" seam by the zipper to the 1/2" seam called for in the pattern for the rest of the clutch. It was a really tight fit getting my foot into that little space though, which is why I recommend making your zipper a full inch less than the measurement of the top of the clutch (I only did 1/2" less). You still probably won't be able to actually make the 1/2" seam allowance right by the zipper, but it'll be much easier to sew. So basically, you aren't sewing the ends of your zipper in at all, but since you covered them with the fabric, it will still look & lay nice but not bulk up your seam.

I mentioned yesterday that I was working on adding an ID pocket to the lining, opposite the pocket called for in the pattern. As I was thinking about it, I decided I wanted to try out using bias tape around the plastic, rather than trying to cut a piece of fabric with a window in it. It actually worked really well, so I went that route. Basically I just wrapped the bias tape around a piece of plastic cut about 1/8" bigger (on all sides) than a driver's license or credit card, mitering the corners like you would if you were binding a quilt. It's not perfect where the ends meet since I was really struggling with that, but overall, I think it turned out pretty good.

ID pocket

The plastic I was using (cut from one of those bags comforters or sheets come in) was a bit old & wrinkly, so I decided to see if I could iron it a bit to smooth it out. It turns out you can iron it to be pretty smooth, just make sure (obviously) that you put the piece under another piece of fabric & don't iron directly on the plastic. And, uh, I also recommend turning your iron down to a cool setting, not the cotton/linen setting. Otherwise you end up with a hot blob of soft plastic. Not that I know from personal experience or anything - she said, dripping in sarcasm & melty fingertips. ;) Seriously though, that stuff gets hot, so be careful!

I didn't get very good pictures of it, but the only other change I made was to do a double-line of stitching everywhere I top stitched other than across the pleats - on both the top & bottom of the band & along the sides of the handle. It wasn't necessary, but I think it adds a nice finished touch.

Perfectly Pleated Clutch

Overall, I'm really happy with how this turned out & can't wait to give it to the new mama! And I can't wait to see yours!

Until next time...

Just a little reminder

Don't forget to enter your Beautiful Balances Checkbook Cover for your chance to win this month's awesome prizes from Bev at Flamingo Toes.

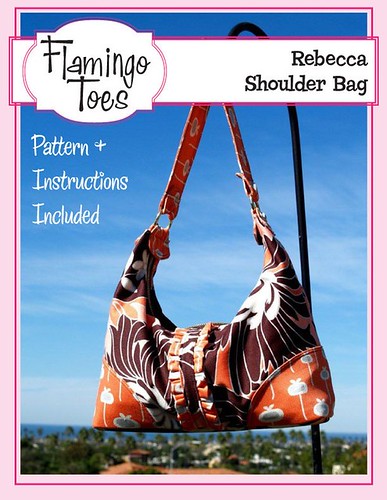
Up for grabs this month are a great Rebecca Bag pattern

April giveaway - Rebecca bag

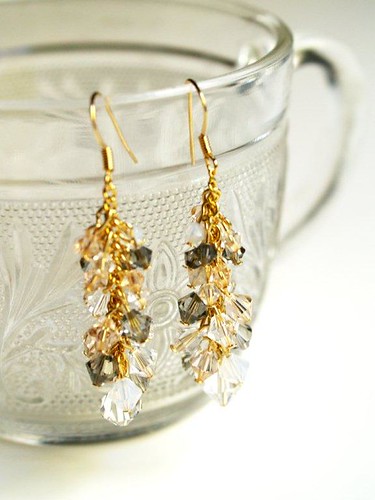
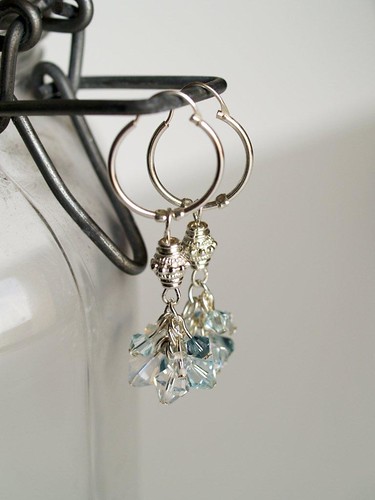
and one pair of earrings from Bev's awesome Etsy Shop!

April giveaway
or
April giveaway
or
April giveaway

What will you choose? Head over & get linked up if you haven't already! Entries close at midnight Friday.

Until next time...

Wednesday, May 4, 2011

WIP Wednesday #12

WIP Wednesday at Freshly Pieced

Another week down! I know I probably say this every week, but they sure seem to be flying by lately. I know August will be here before we know it. And I can't wait! :)

Thankfully, even though I didn't necessarily get a lot done this week, I still feel like I had a pretty productive week.

Need to start: Two Keyka Lou basic wallets, a Christmas present (for last year), the May String Me Along block, and a crochet blanket.

Started: May's project for the Style Stitches Sew Along - the Perfectly Pleated Clutch. I haven't been too crazy about this one, and when I got the book it was probably one of my bottom three patterns. For some reason though, in the last week I've gotten really excited about it, so was happy to get it started this weekend. I got the second exterior panel finished up Monday, so now I'm ready to cut out the rest of the pieces & get it put together.

IMGP0110

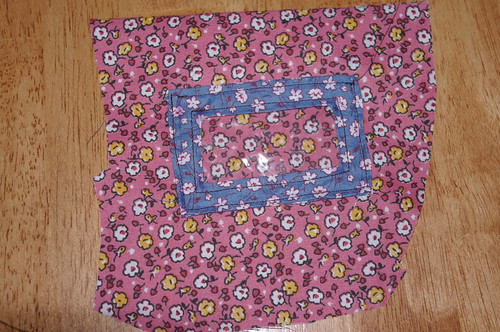
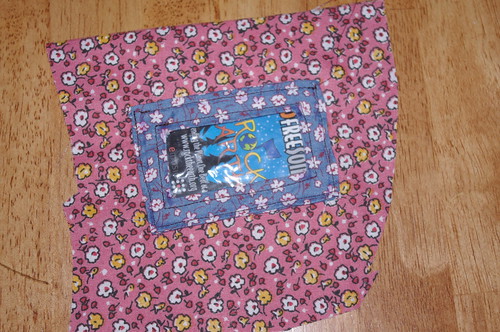
I also finally decided who I'm making the clutch for. Our boss' wife just had their fourth little girl on Monday, so we're going to use this as the "wrapping" for a restaurant gift card so he can pick up a few meals for them. Since I don't want the gift card to get missed in the clutch, I decided I want to put in a window ID pocket. I've never made one before, so I played around with it last night to try to figure out how to make the window pocket. I'm sure there are tutorials out there for it, but I had fun testing myself to figure it out.

IMGP0130

Not the prettiest stitching, but I was working pretty quick & dirty just to see if it would work out. There is a piece of plastic (cut from one of those packages comforters come in) so you can see into the window, but it's still protected.

IMGP0131

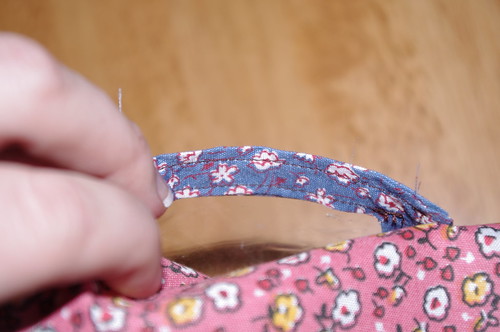
The inside of the pocket is basically lined too, not just folded over the edges. I'm not sure this is the best way to do this, it certainly wasn't the easiest, but it looks decent (ah, except those straggler strings).

IMGP0132

Also started a cover for our outdoor fire pit. Come check it out & help me figure out how to finish it.

Completed: Not a darn thing, but I'm okay with that this week. It's nice how a change in attitude can make this okay, compared to a couple weeks ago. :)

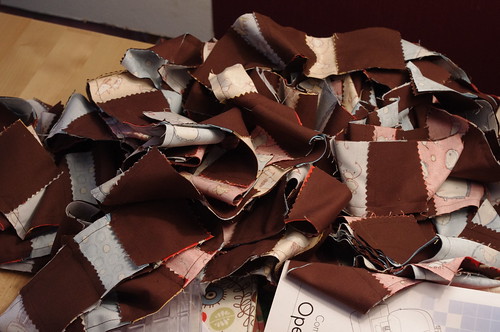
On Hold: You didn't think I forgot about the Origami Bags or Postage Stamp quilt, did you? I haven't done much except shuffle them around the past couple weeks, so I feel like this is a better place for them. Now that I think about it though, I've only got about 3 months to get the Postage Stamp quilt done so I'd better get going! It's not doing much good looking like this:

IMGP0072

Head over to Freshly Pieced to see what everybody else has been up to.

Until next time...

Monday, May 2, 2011

Fire Pit Cover

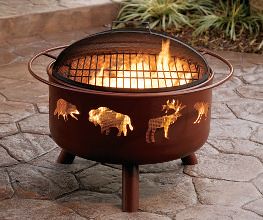
Hubby & I got this little fire pit not long after buying our house a few years ago. It's not much, and technically I'm not even certain we're supposed to burn outside within city limits. Don't turn us in and I won't tattle on the chicken people. ;)

fire pit
Photo from Cabela's

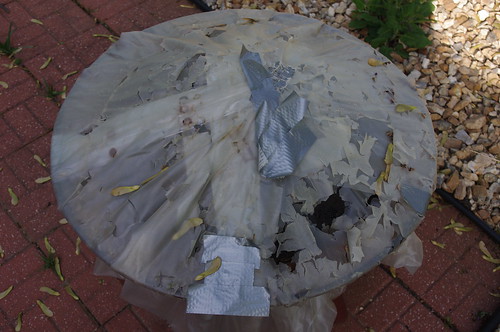
When we got it, hubby decided he wanted a cover for it so it wouldn't get full of water when it rains & the bottom won't rust out. My original plan was to sew one, but that was before I even had my sewing machine, so we settled for making one out of a heavy-duty shower curtain. It's held up surprisingly well the past few years, with just a few necessary duct tape patches. Unfortunately, it didn't fair so well in this spring's hail storm.

IMGP0127

Golfball-sized hail isn't something to be messed with!

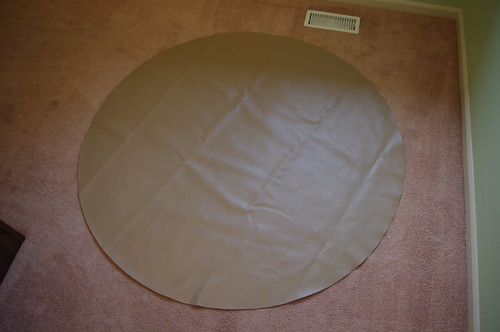
So now it's time to make a (hopefully) more permanent cover. I decided on some marine vinyl that I was able to pick up at JoAnn's. When I first measured the diameter of our fire pit, I decided that I wanted to make a 60" diameter circle. I thought it would work perfectly because home dec & vinyl fabric comes on 60" bolts. Right? Wrong! It's only 54"! Argh... Fortunately I got lucky & had been giving myself plenty of extra room with the 60" circle, and it turns out the 54" circle is perfect.

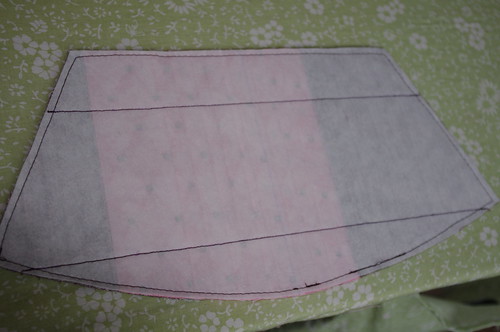
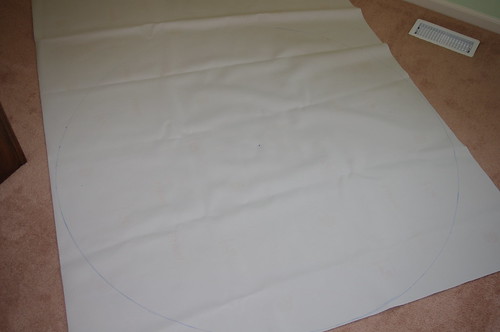
The first step was to draw & cut out the circle. I measured & marked up my center point, then used a piece of ribbon with a Sharpie poked through it to draw my circle. It's a little hard to see here, but I ended up with a pretty much perfect circle!

IMGP0128

Fortunately there's nothing in Goose's room right now, so I had plenty of room to lay out my piece of vinyl to draw the circle.

IMGP0129

Now I have a decision to make - how in the world do I put in my drawstring? My very first plan was to actually make a casing & use elastic, but the circle would have to be quite a bit bigger to fit around the wide part of the fire pit, so I decided to use a drawstring instead. Originally I was going to stick with the casing idea, leaving an opening or putting in buttonholes to have the ends of the drawstring come out to tie. When I started thinking about it though, it's going to be pretty tough to thread the drawstring through the casing. Also, folding over the edge of the circle, basically hemming it, to create the casing just won't work, unless I cut notches in the edge. My thought now is that maybe I had some sort of "belt loops" around the edge to run the drawstring through. I'm starting to think that might be the best way to go. Anybody have any better ideas? I'm open to your suggestions!

Since the vinyl won't fray or anything, I really don't need to worry about finishing the edges, so as soon as I figure out how to do the drawstring, I'll be able to get it finished up. Hopefully a nice, quick, & easy project. Hopefully!

Until next time...
Sunday, May 1, 2011

Perfectly Pleated Clutch: the pleats

I told you I was excited to get started on this one! The funny thing is, this was probably one of the lowest on my list of what I was looking forward to in the book when I first got it. But for some reason, over the past week or so I've started really looking forward to making this one. Not necessarily because I want it for myself, pleats still aren't exactly my thing, but I've not done anything with pleats before & it's always fun to try something new. And I've got to say, the pleats are really growing on me, so maybe I will end up keeping this one for myself!

IMGP0061

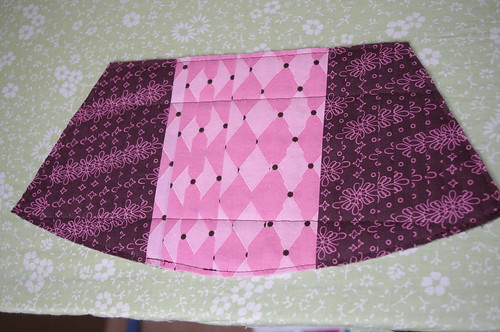
As I said before, I decided to use a few fat quarters pieced together to make my pleats. It worked out perfectly, and as I suspected, three fat quarters sewn together were more than enough length-wise for the small clutch.

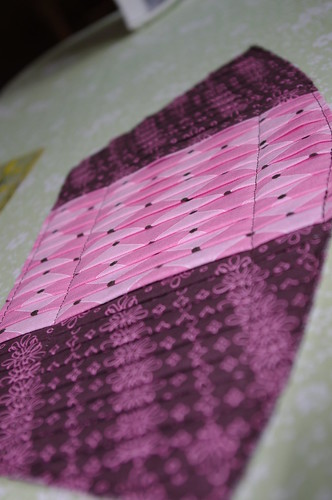
My biggest tip for working on the pleats, especially if you've never done them before (I hadn't!) is to have patience & take your time. As long as you're fabric can handle it (I'm using quilting cotton), use a high temp & lots of steam! It's also easiest to make the next pleat while your fabric is still warm (ummm...okay...hot) from pressing the last pleat. Be careful you don't burn yourself, but try not to let the fabric cool too much between pleats.

IMGP0108

Also, I started out working towards myself on the ironing board, but quickly realized that I wouldn't have enough space to pleat the entire piece. I had to turn the piece when it was about 6 inches long, and let me tell you - it's not easy to move a pleated piece of fabric! When I started the second piece, I did about three pleats working towards myself, then turned it lengthwise on the ironing board. It was much easier to get the pleats lined back up & keep working. It really was easiest for me to get it started even while it was facing me, but you can certainly just start out working it lengthwise on the ironing board.

When it comes time to iron on your interfacing (it'll already be cut out from the pattern piece), you'll need to flip the pleated piece over. Like I said before, it's not easy to move pleats, and it's a lot to pin each & every pleat. I used my quilting rulers, sliding one under the pleated fabric & used another on top to flip it over. Then just slide the bottom one back out after you get it flipped.

When you baste the interfacing to the pleated fabric (after you've ironed it into place), make sure you're moving your fabric through your machine with the pleats. After you do one side, you'll want to start new again on the opposite side (don't just stitch all the way around) so you're not working against the pleats. If you do try to sew against the pleats (remember, you'll be sewing on the interfacing side), it's easy for them to get flipped & sewn going the wrong direction. At first I just worked my way around the piece like I normally would, but found some of my pleats getting pushed the wrong direction. When I stopped & flipped it over, more than I had realized had flipped, so I had to rip out part of the seam & resew over those spots. It's all in your seam allowance though, so you won't see any of the basting stitches if they're messy (mine sure are!).

IMGP0112

Keep the same thing in mind when sewing your straight lines that will hold down the pleats. I had to start from the same side for both lines, while normally I would have sewn down one line, turned it & came back the opposite direction for the second line.

After you get the pleats sewn down, trim the extra pleated fabric from around the interfacing, then start all over again for your second pleated panel!

IMGP0111

Good luck with your pleats, I promise they're much easier than they look once you get the hang of it!

Until next time...
May: Perfectly Pleated Clutch

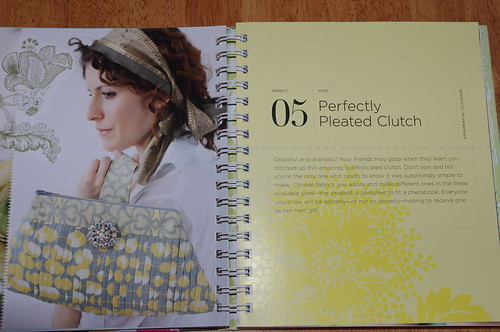
I know some of you who are really excited about this month's project, the Perfectly Pleated Clutch, and I've got to say, I am too! This is one of the ones I wasn't looking forward to as much as some of the others, but when I got looking at the pattern this week & thinking about what fabrics I'll use, I actually got really excited to start working on it.

IMGP0060

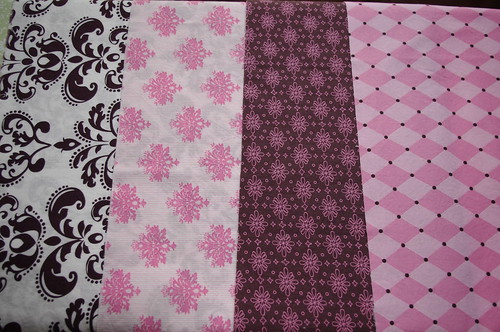
Speaking of fabric for the clutch, don't freak out when you see the requirements! I did at first - almost two yards of exterior fabric for a clutch?! Yikes! My goal is to make everything in the book from my stash, unless I want something specific for a gift, and I know I don't have any two-yard cuts just laying around! But, when I got to looking at the actual measurements for the pleated pieces (two pieces 8"x54" for the small clutch), I realized I can put together three fat quarters (approx 18x20) and have plenty of fabric for both exterior pieces of my clutch. And once I realized that, I knew exactly what fabric I wanted to use!

IMGP0107

I picked up this fat quarter set at JoAnn's sometime last spring or summer for just a couple of the prints & have a fair amount of it left over. I'm using three fat quarters for the exterior, one for the band & handle, and another two for the interior & pockets - and still have a decent amount of fabric left over! So seriously, don't freak out about the amount of fabric this calls for.

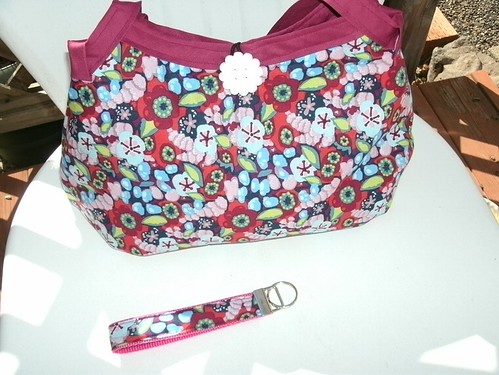
This month's giveaway is sponsored by Bree at B Sew Crafty. Bree is one of the first people I "met" in the blogging world, and has become a great friend of mine. She makes beautiful purses, just had to sew 87 java sleeves (yes, 87!), and is starting to list a ton of fun kids stuff in her Etsy shop. Bree is making a Sweetheart Shopper & matching key fob for this month's winner.

may giveaway

Needless to say, I'll be pretty jealous of this month's winner, again! Yes, I know I've said that pretty much every month, but it's the truth!

Be sure to check out the Flickr group to share your photos of fabric you'll be using, your progress, or completed clutch & don't be afraid to ask if you've got any questions! Everybody has been so nice & helpful so far.

IMGP0061

Remember, it's still not too late to enter your Beautiful Balance Checkbook Cover to win the April prize. Head over to link up for your chance to win!

Until next time...