
First of all, I can't tell you how nice it is to make something just for me. It feels like forever since I've done that! Maybe not really, but I've been in such a crafting/sewing slump lately, that this may have been just the kick in the pants that I needed.
Like I mentioned before, I used the 241 Tote pattern from Noodlehead for this, but made some changes. The biggest was that I added six inches to the width of the bag. I really like the size as the pattern is written, but I knew I needed more space for myself.
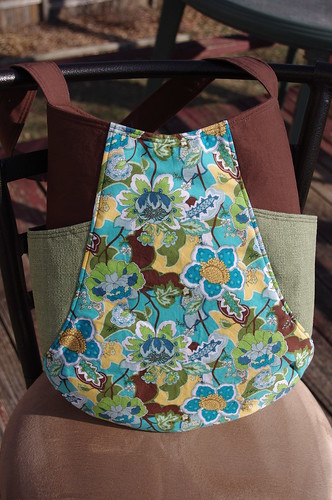
Here's the size as the pattern is written (I made this one for my mom for Christmas):
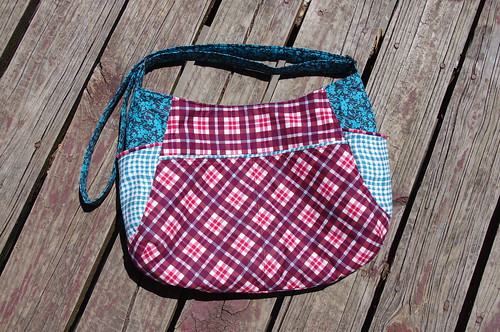
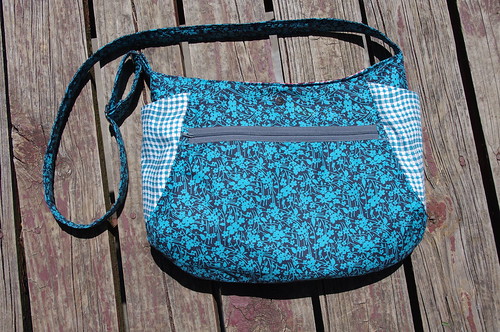
And my wider bag:
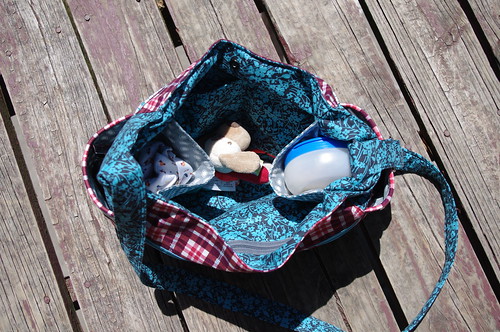
The other change I made was to add a ton of pockets. Again, as written the pattern is fine. It includes the fun contrasting pockets on the sides or zippered pockets on the center panel, but I'm kind of a pocket snob. I need lots of pockets, and I need certain types of pockets. I like everything to have its own place, and I knew what I needed to carry in this bag, so I was able to tailor it to me needs. I think that's what I love most about making something like this for yourself - you can make it exactly how you need it!
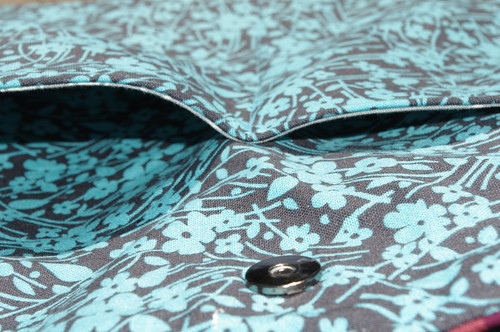
So for my pockets, I included the side pockets, but added piping for a little extra fun. I also added a key clip to one side. It's funny about the key clip, I had one on the old (store-bought) diaper bag, so I knew I wanted one on this bag since it was so handy. This weekend, as I was getting out of the car & trying to juggle a million things, hubby mentioned that I should have somehow moved the key clip from the old diaper bag to the new one I had just finished. I just laughed as I clipped the keys into the bag & showed him.

I also added a pocket to each side of the exterior. They are the full width of the bag, just a few inches shorter from the top. One side has an exposed zipper (because I liked the contrasting color):
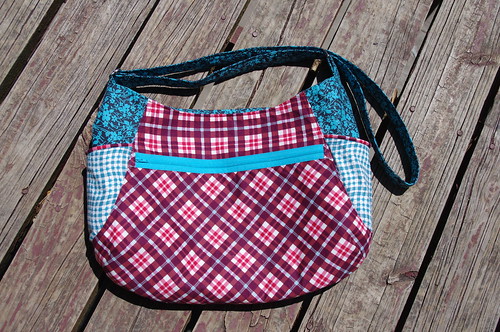
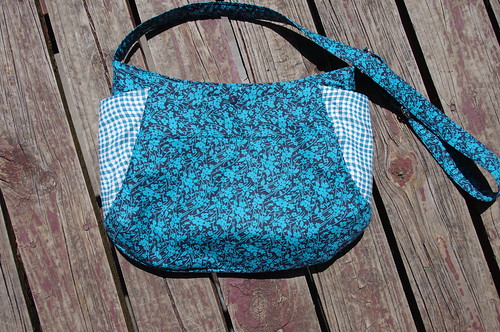
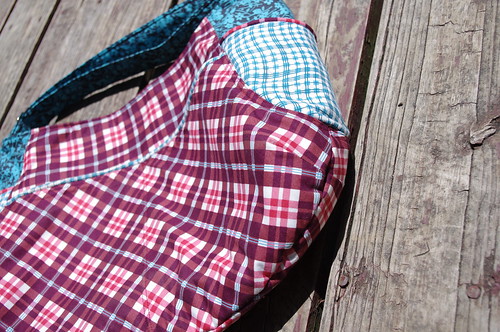
The other side just has contrasting piping at the top of the pocket. I split this side in half so I have two narrower pockets.
I also rotated the direction of the plaid when I cut out the pocket pieces for a little more variation. It's not a big detail, but I love it!
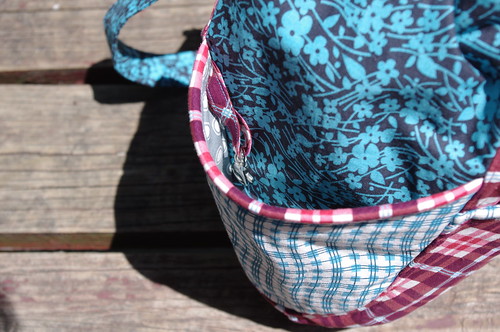
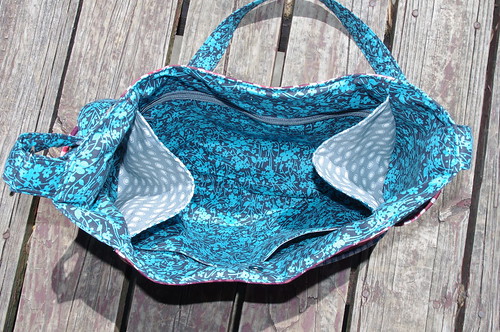
On the inside, I added the same pockets to both side pieces, but made them a bit taller than the outside pockets. I think when I make this bag again, I'll use the taller pockets on the outside as well. They don't show as much of the side panel fabric, but are a bit more practical. The shorter pockets on the outside aren't super deep, so things can fall out if you're not careful. I also added the same zipper & non-zipper pockets as the outside, but skipped the piping.
It's harder to see this pocket since I didn't use the piping, but I split it into two pockets just like on the outside.
On the inside, the side pockets pretty much stay open, but it makes it easy for bulkier items.
One other small change I made was just increasing the size of the darts on the bottom of the bag. Once again, the pattern is great as written, but I knew I wanted a bit more space. I marked the darts as shown in the pattern, but instead of sewing right on the line, I sewed about 1/4" from the line, making a bigger dart. I'm glad I did, and will do the same when I make this bag again.
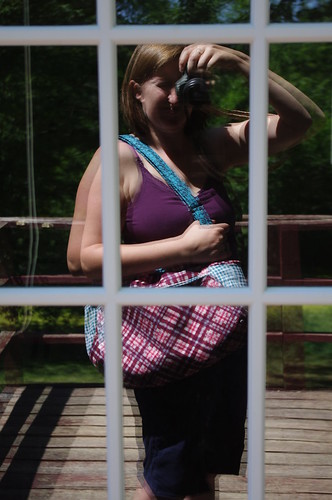
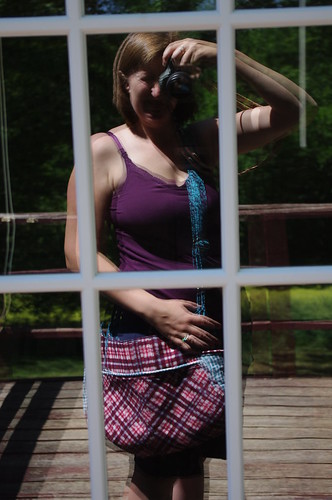
My old diaper bag had a long adjustable strap, which was perfect, so I chose to add the same to my new bag. I added two layers of quilt batting (not sure what kind exactly, I just cut some of the excess off the sides of Coop's quilt since it hasn't been trimmed yet!) to help pad the strap & make it thicker so it won't slip through the strap hardware. So far it's working perfectly. Sorry, but these are the worst pictures ever showing the strap length, but you get the idea!
Short
Long
All in all, I think I will definitely make this bag again, and probably keep all the changes I made. I'm not sure I'll bother with the piping again though, I love the look but it was a pain to do!
Until next time...
Very cool, and love the run down on how you made it
ReplyDeletegreat job!! you are going to love all those pockets!
ReplyDeleteLove it Bree. amazing as always!
ReplyDeletesuper cute! Love the new bag Bree!!
ReplyDeleteWhat a great bag! That plaid looks great!! :)
ReplyDeleteThis is SUCH a cute bag!!
ReplyDeleteI forgot to say--thanks for the ride from Dennys to quilt market on Friday! I really appreciated it. It was fun to actually meet someone who has played The Name Game. Thanks again.
ReplyDeleteSo many details and pockets, love it!
ReplyDeleteWow! It looks really great! Love the fabrics you used too!
ReplyDeleteLove all the modifications and the fabric chosen. Just started following with google reader.
ReplyDeleteI love mine!!!
ReplyDeleteI have also made this tote and wanted to go wider... Did you just increase the center panel by 6 inches or did you also add inches to the side panels?
ReplyDeleteI have also made this tote and wanted to go wider... Did you just increase the center panel by 6 inches or did you also add inches to the side panels?
ReplyDelete