
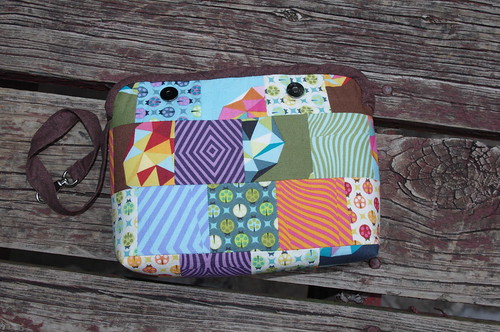
Sara sent me some Tula Pink The Birds & The Bees charm squares, so I decided this was a perfect project for them. I cut them all in quarters, so I have a 2" patchwork.
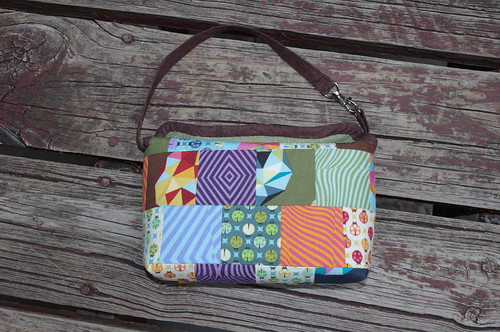
It's actually kind of funny because I absolutely love the little lady bugs, but I picked the other two because I'm not overly crazy about the prints & didn't mind chopping them up. But put together like this, I love it!
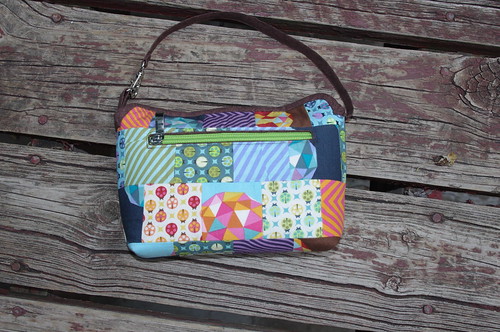
I added zipper pockets to the inside & outside (mom's just had a simple slip pocket in the inside). They aren't huge, but they are just big enough to fit my smart phone. It's nice to have a place to securely stash a few things.
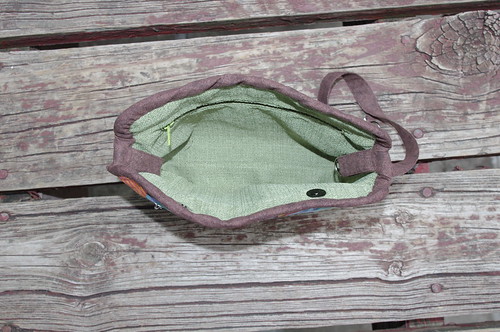
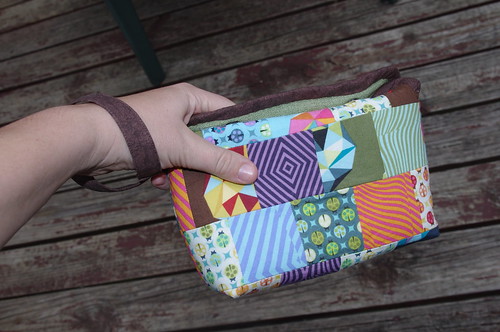
The lining is a suiting remnant I picked up at JoAnn's a while back. The color is perfect, but it's kind of thick & not the best choice for the lining. Something a bit thinner would definitely be better. I added D-rings to both sides so the strap can be attached two different ways: on the same side as a loop or on the opposite side as more of a purse-type strap. Personally I prefer the loop, at least so far.
The flaps fold over on top of each other, so the snaps are on the inside on one side & the outside on the other.
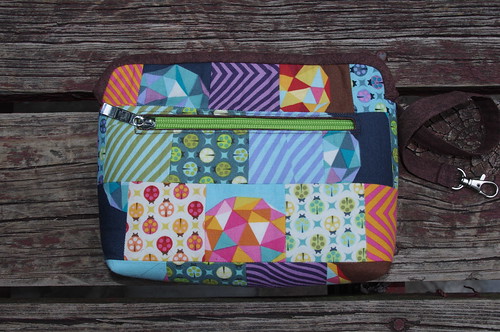
I used bias tape to bind around the top. It wasn't easy, and it certainly isn't as pretty as it should be, so I'm not sure if I'll do it this way again. I do like the way it looks with the binding at the top, but it was such a pain to sew on!
Overall, I'm pretty happy with how it turned out & look forward to making another. Hopefully it'll come together easier than this one!
Until next time...
Cute idea for a bag, and the prints look great together :o)
ReplyDeleteI love it! I've been looking for a pattern similar to this. Would you be giving a tutorial? =) I like the magnet snaps.Your colors are great!
ReplyDelete