
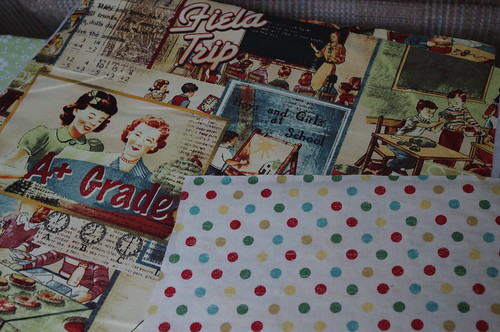
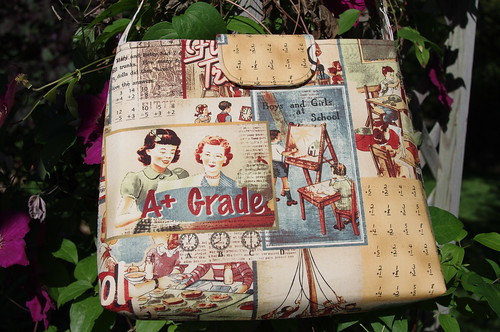
I picked up this fun retro school print & matching polka dots at my local quilt shop. I wasn't super crazy about them in the beginning, but the bag was for someone who worked in a school, so I thought it was a good fit. Now that it's all said & done, I couldn't be happier with the fabrics I chose!
I used the same pattern as I did for the Wizard of Oz bag back in December, the Mabel Bag from Jenna Lou Designs, but modified it just a bit. Yes, I know that I said back then I would never make this bag again. I absolutely love the finished bag as written, but it was such a pain to make! I realized after making it the second time that I certainly made it a lot harder on myself the first time by using the patchwork. I love the finished look of the patchwork, but it was so much more time-consuming to have to make my "yardage" before even starting on the bag.
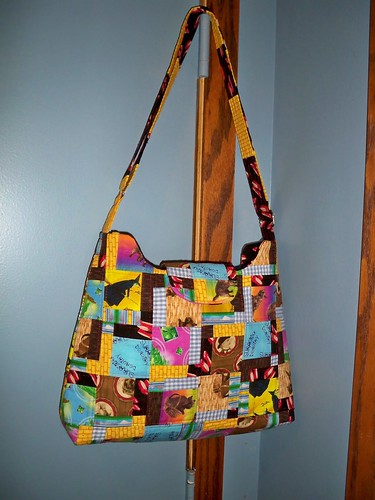
The only change I made to the pattern was to straighten out the top, getting rid of that curved part. I love the look of it, but the Peltex makes it so stiff that it's really hard to maneuver around my sewing machine. Getting it sewn together at the top the first time was really difficult, but not impossible since all the misses on the curve are hidden inside. Unfortunately, there was no way to top stitch it & have it look nice on the outside, something that really bothers me not to be able to do. Straightening out the top of the bag made it much easier to put together & I was able to top stitch once it was all put together, so I was much happier with the newer version.

I did add the zippered pocket to this version. I didn't on the WOZ bag since I only had enough fabric left for the lining & didn't have any extra in case I screwed up. This was my first try at a zippered pocket, and while it didn't turn out perfect, it at least worked.
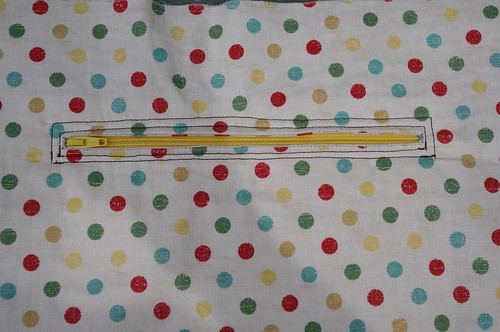
I'm not crazy about the double border on it, and wish I had used lighter thread so it didn't stand out so much since it doesn't look so pretty. But like I said, it's functional, and that's what matters!
I didn't use the instructions for the zippered pocket that came as part of the pattern because I just couldn't figure out what I was supposed to do. Instead, I used instructions for a zippered pocket that came in the Sweetheart Shopper pattern from Keyka Lou. After the fact (of course!) I found out that The Bag Making Bible includes instructions for doing zippered pockets. I did look at the book when I was trying to find good instructions, but silly me, I looked in the Pocket section. Turns out the instructions are in the Lining section, and they look like a piece of cake, so I'll be trying that method next time.
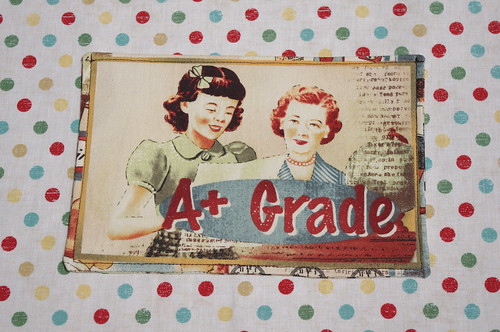
I also added a simple slip pocket to the inside because I couldn't resist some fun fussy cutting for the pocket.
The front & back of the bag are each a little bit different.
Front
Back

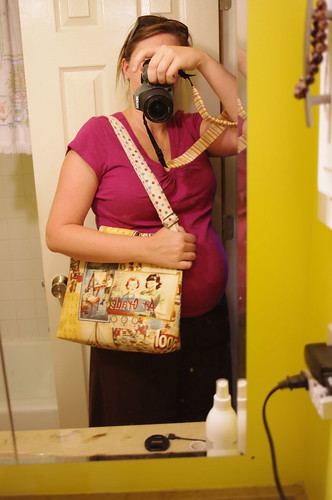
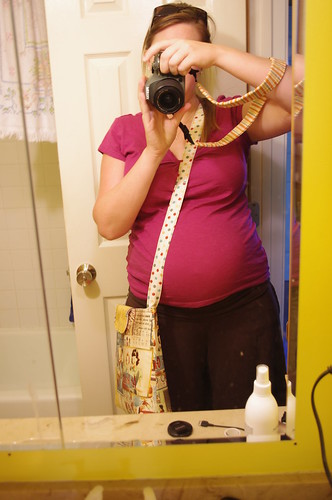
I made an adjustable strap (using this hardware, also from Jenna Lou Designs) so it can be carried over the shoulder or across the body. I can't remember exactly, but I think my strap was about 56", so it's plenty long, even when extended all the way.
All in all, I'm really happy with how this turned out, and even happier since the recipient loved it! And since it was so much easier this time around, I'm already planning another one for myself.
Until next time...
It looks fab! Great fabrics. So retro and funky :-)
ReplyDeleteSo glad she loved it because its simply fabulous :)
ReplyDeleteIt looks fantastic! Those retro fabrics are really fun!
ReplyDeleteIt looks great, love that fabric, and well done on figuring out the zipper. It's on my to do list to work out one of those...
ReplyDeleteSo beautiful! I really dig the fabric you used, it's really cool. I'm glad you tried this bag out again, it's still one of my favorites. :-) I totally agree with everything you said, about the curve being difficult to sew, and also what you said about the topstitching (you're right, it's almost impossible to make that look nice with the Peltex).
ReplyDeleteThat looks great! Glad you decided to try that bag again. It really displays the fabric well.
ReplyDeleteIt's adorable!!
ReplyDeleteIt is great Bree! Great job changing up that pattern!
ReplyDeleteWhat a great bag Bree!! That fabric is so super cute! (And so are you!! :)
ReplyDeleteThanks so much for linking up to Think Pink Sundays!! :)
It turned out fantastic, love it! The instructions for the zippered liner pocket in The Bag Making Bible are brilliant, I'd definitely recommend giving them a go. Stupid place to put it though!
ReplyDelete